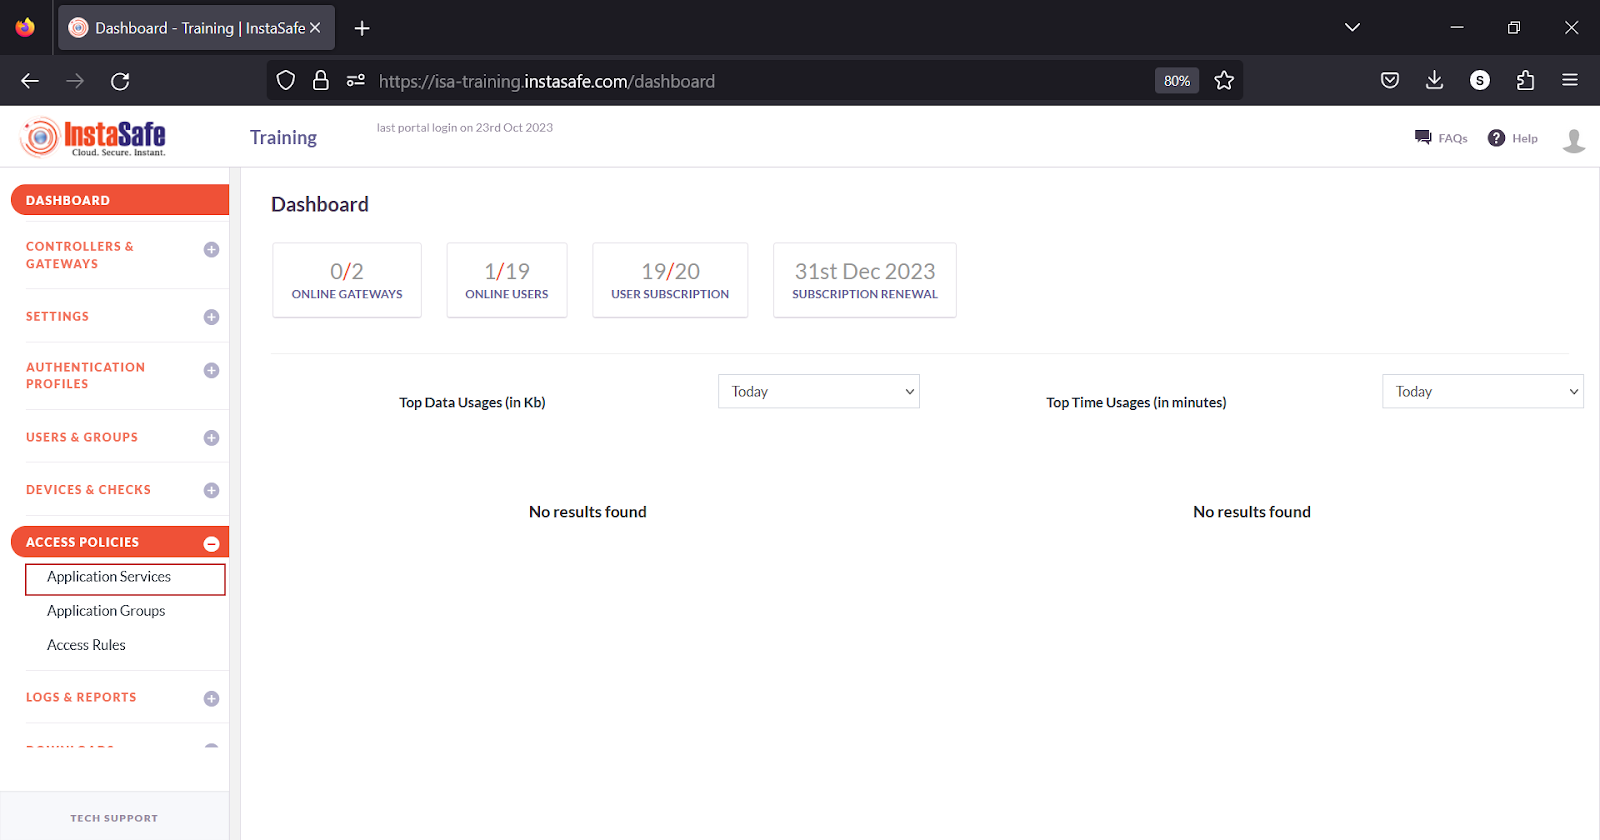
Application Access
Configure Application Services
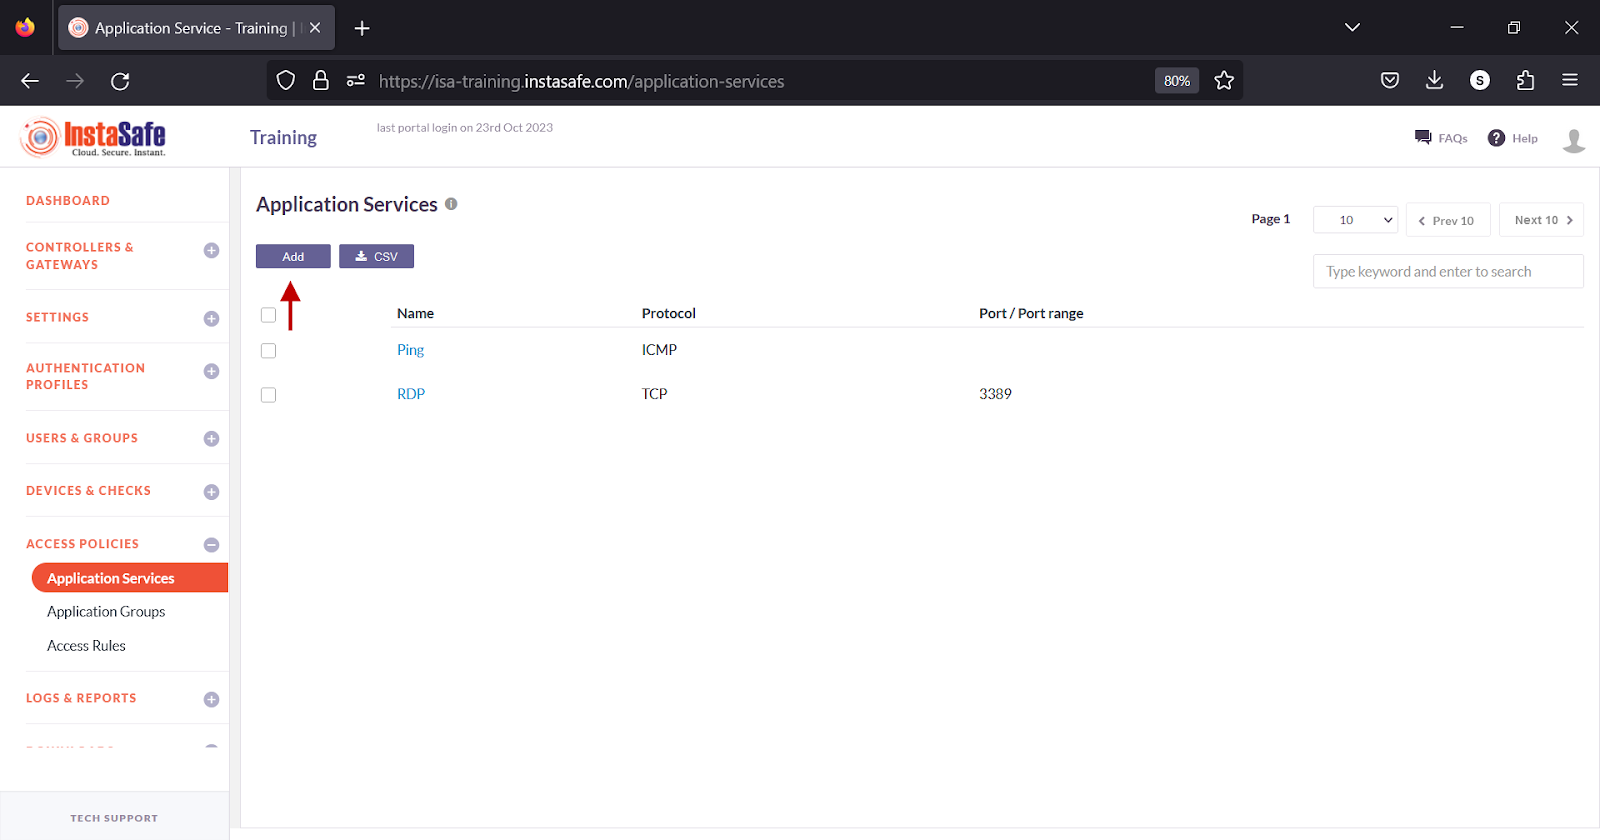
Application services are objects with an IP protocol name and one or more port numbers. Once defined, the service objects are referenced in application groups, which in turn are used when creating access rules. A service can be used in multiple application groups.
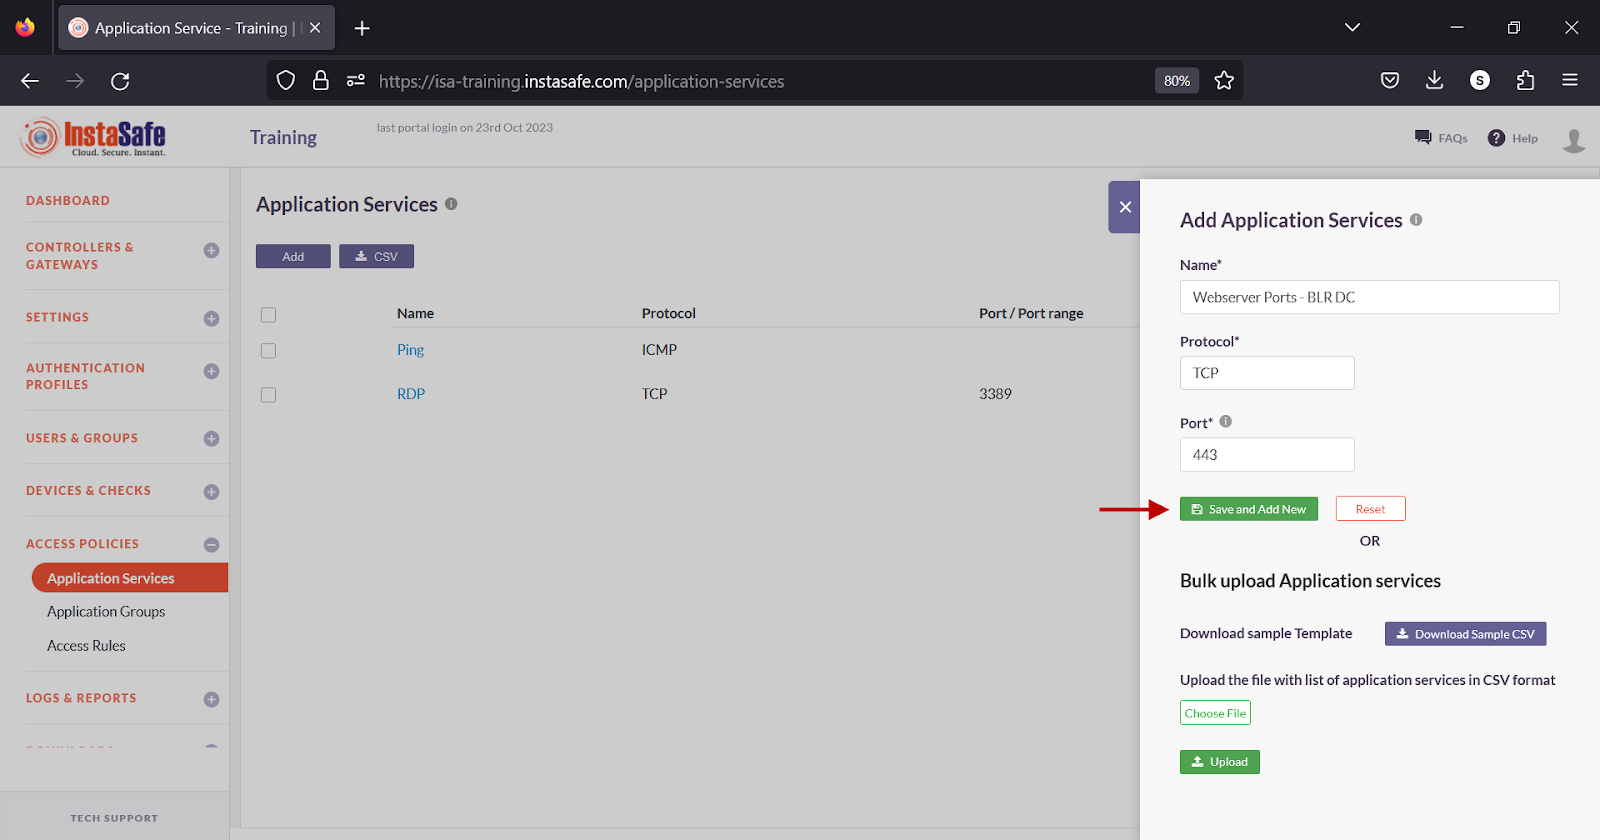
Add Application Services
- Login to the ISA web console using administrator credentials
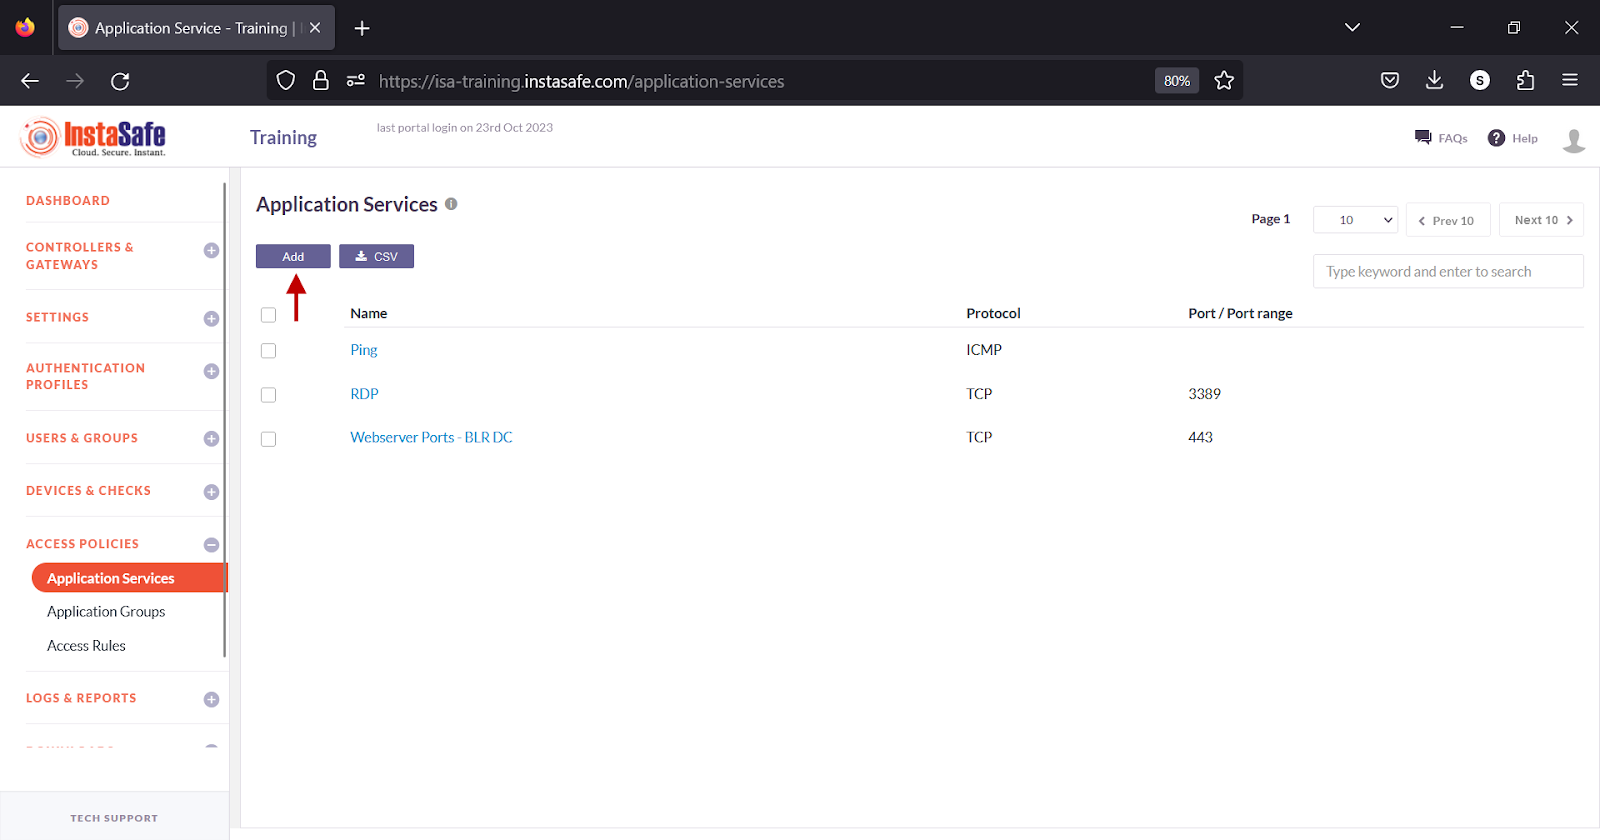
- Navigate to the Application Services page under the ACCESS POLICIES menu.
- Click the Add button at the top.
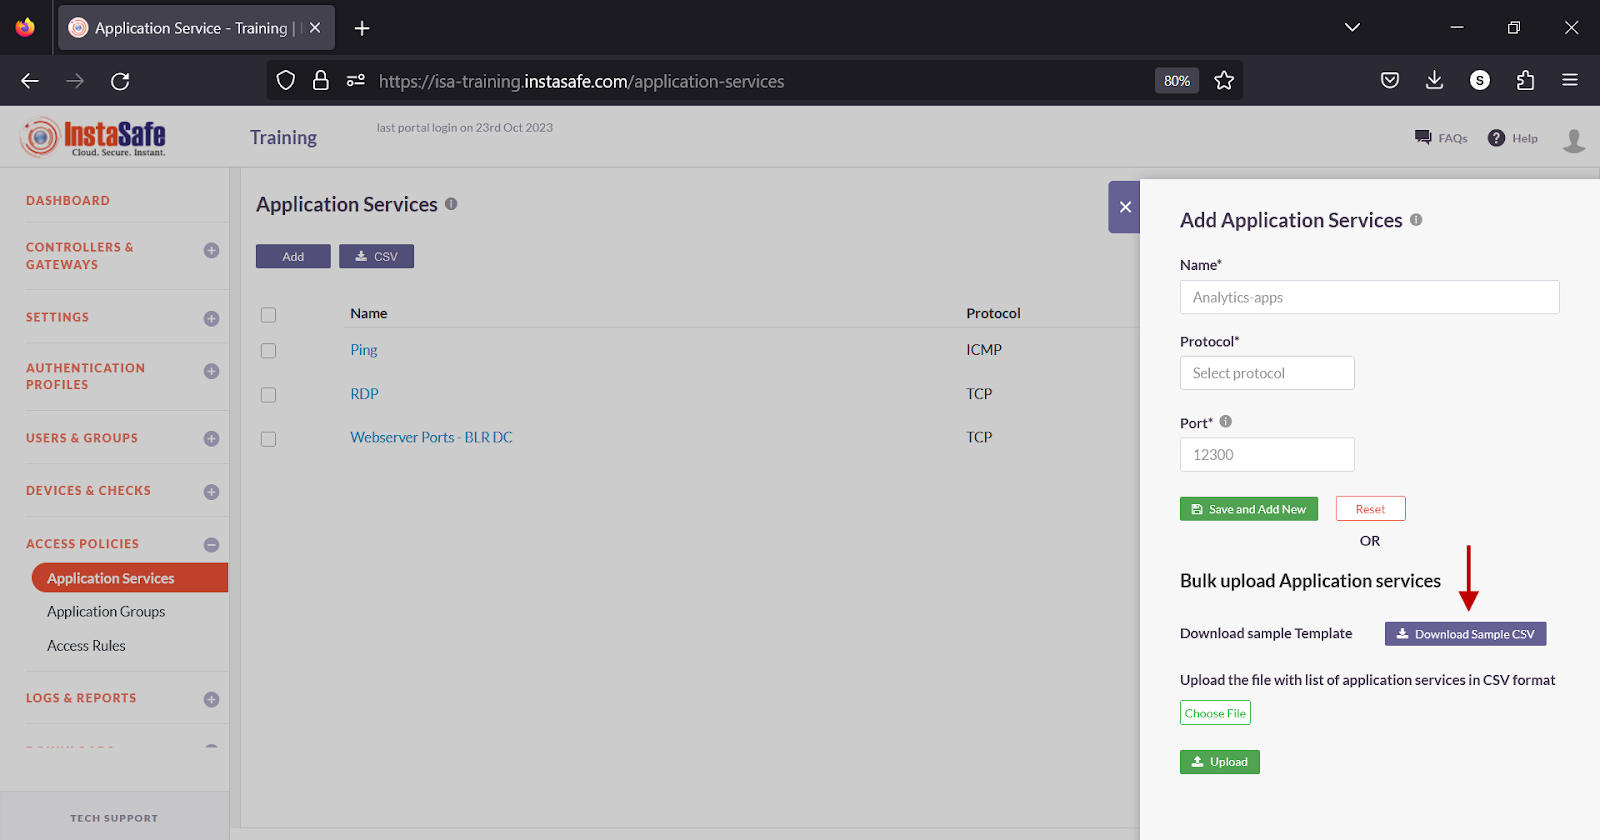
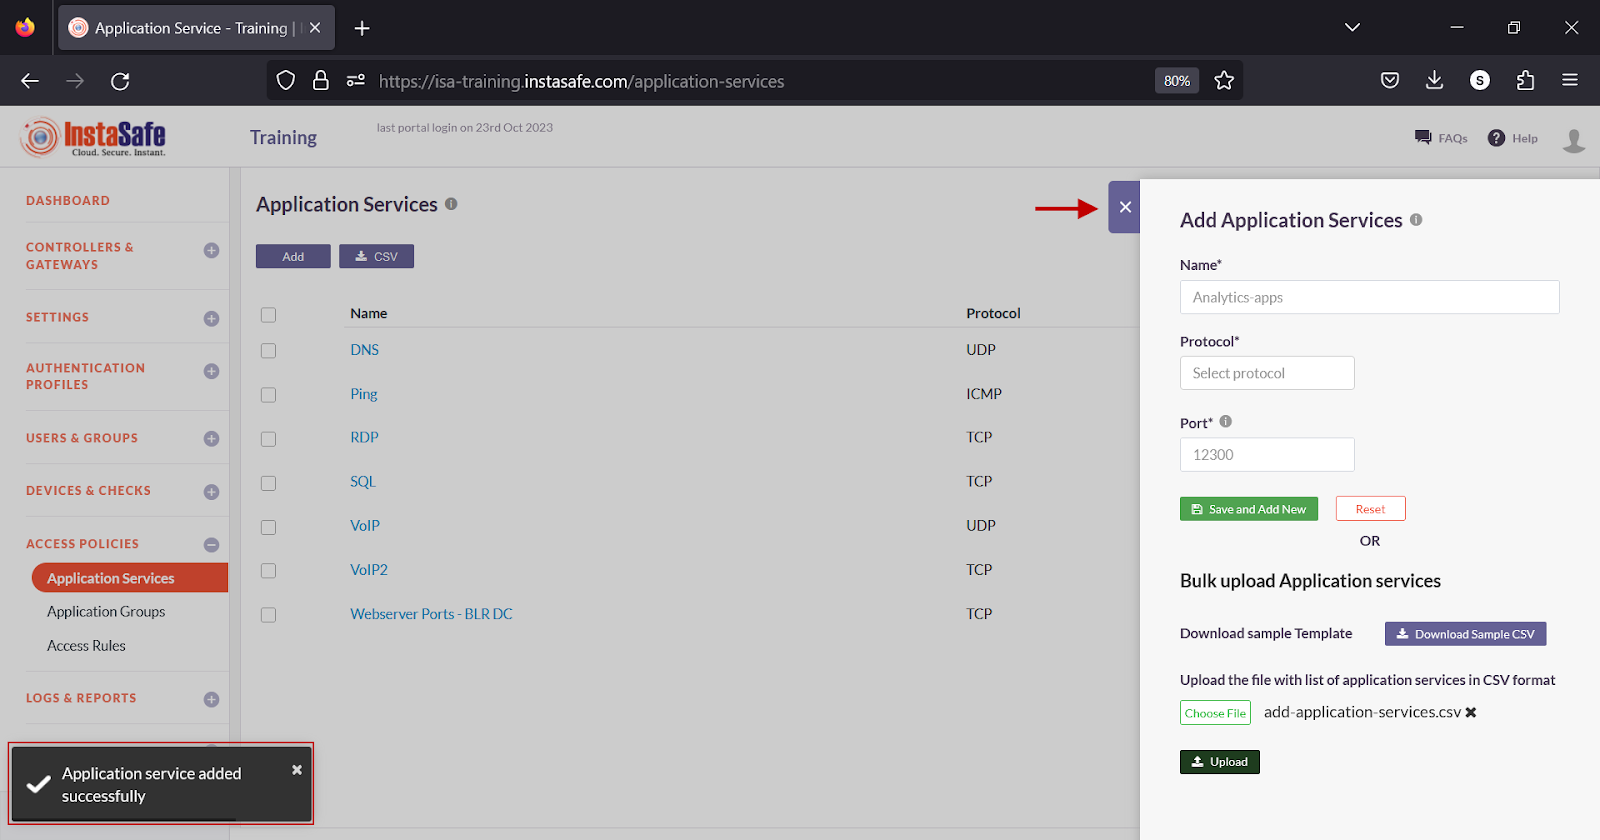
- On the Add Application Services window, under Name, enter a name for the application. Characters A-Z, a-z, 0-9 are allowed in this field. The maximum number of characters allowed is 50.

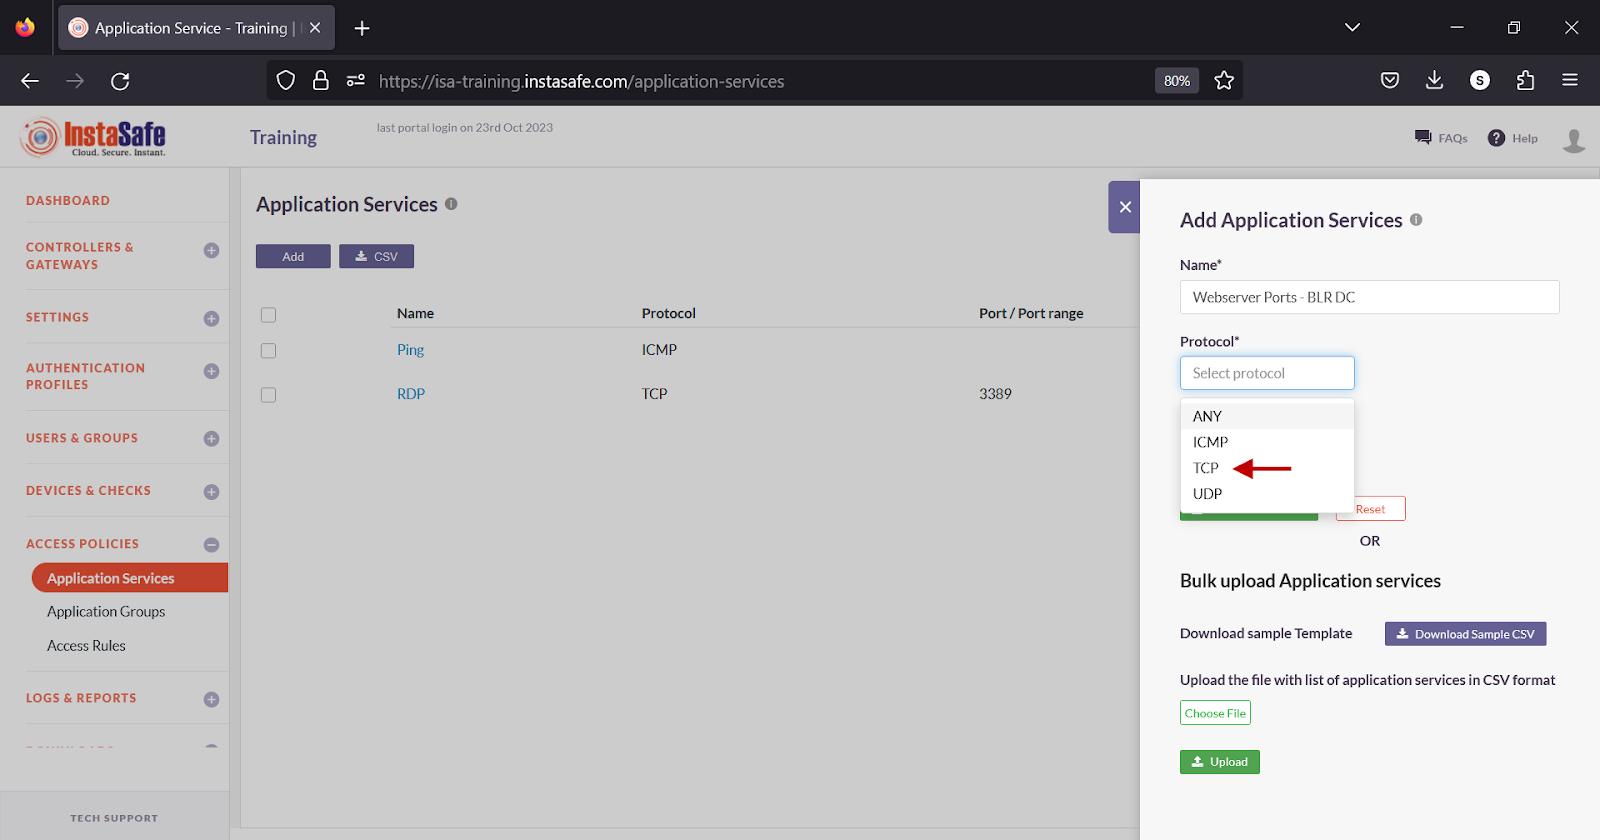
- Under Protocol, click the white box.
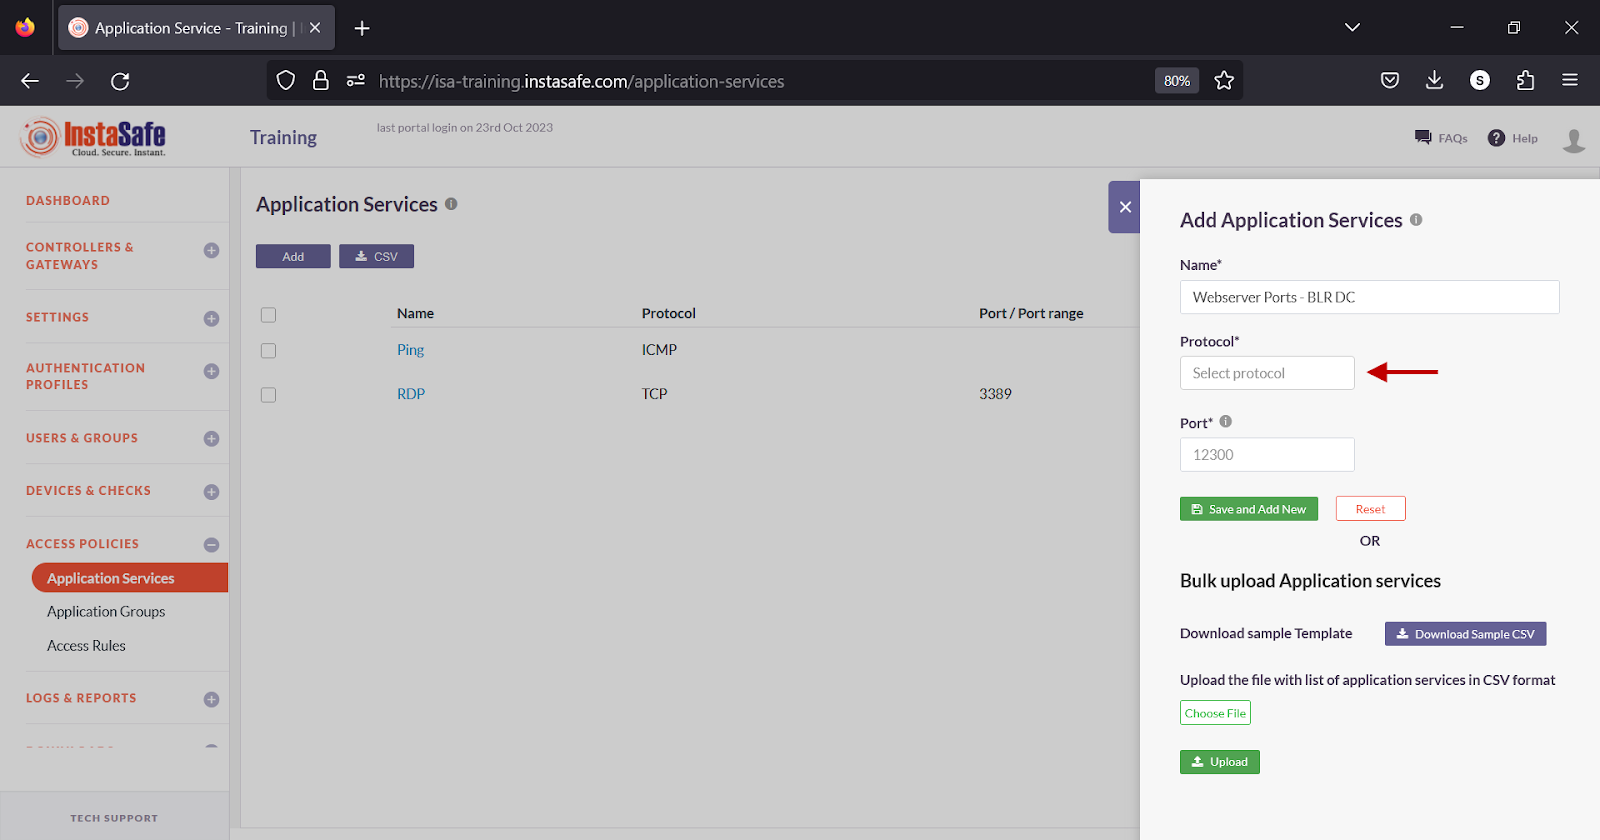
- Select the protocol from the drop-down. The options available are Any, ICMP, TCP, and UDP. Selecting Any or ICMP would not require a port number. Selecting Any is equivalent to defining all protocol types and port numbers. In this example, TCP is selected.
- Under Port, enter the port number. This field must not be left blank. Any port number from the range 1 to 65536 can be entered here.

- Click Save and Add New.
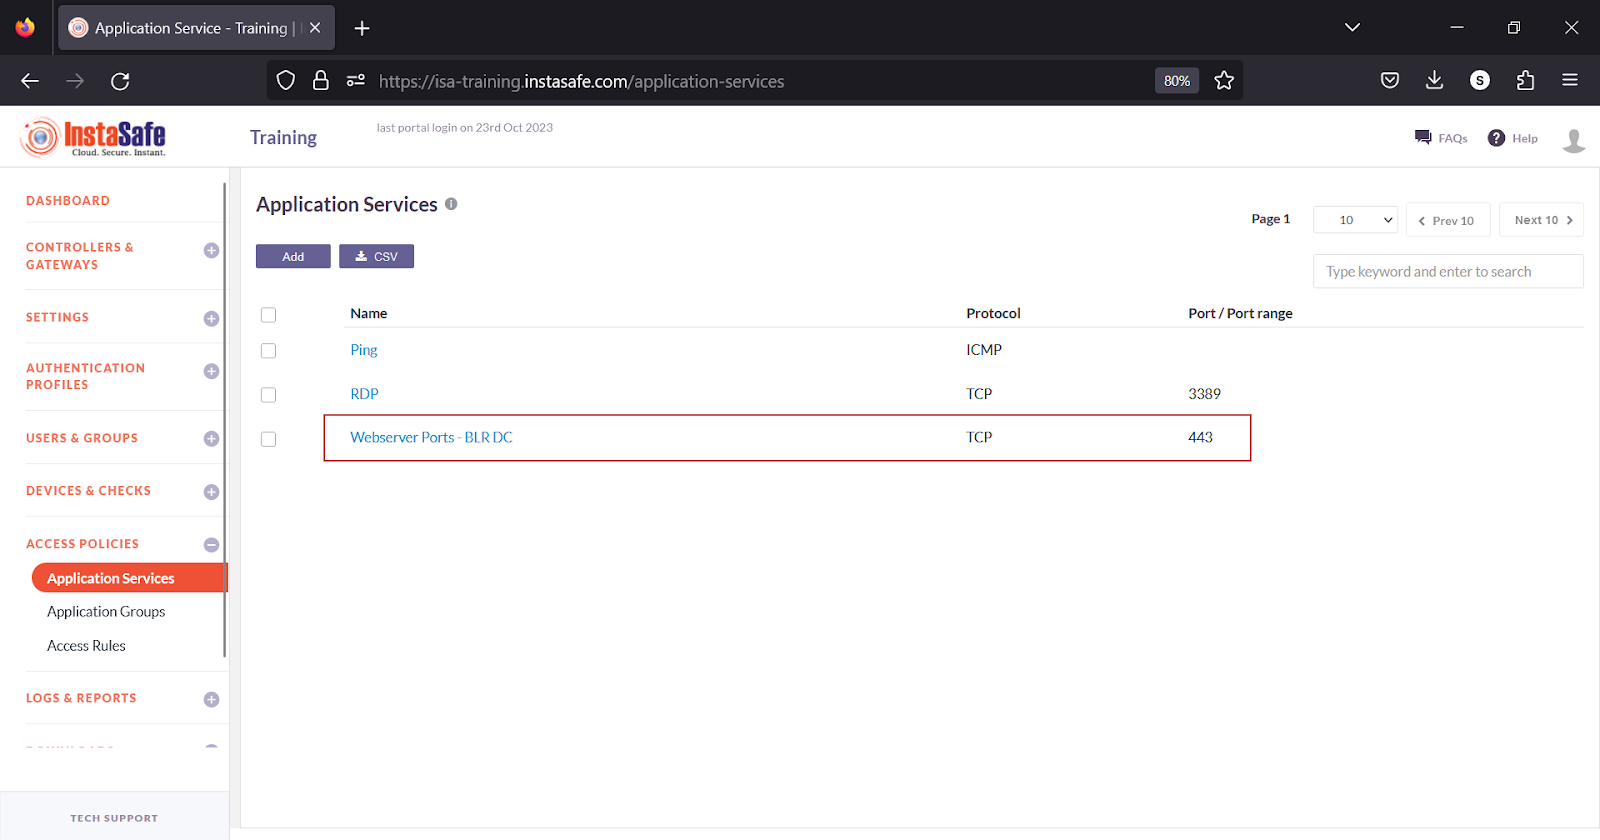
- The application service is added.
Edit Application Services
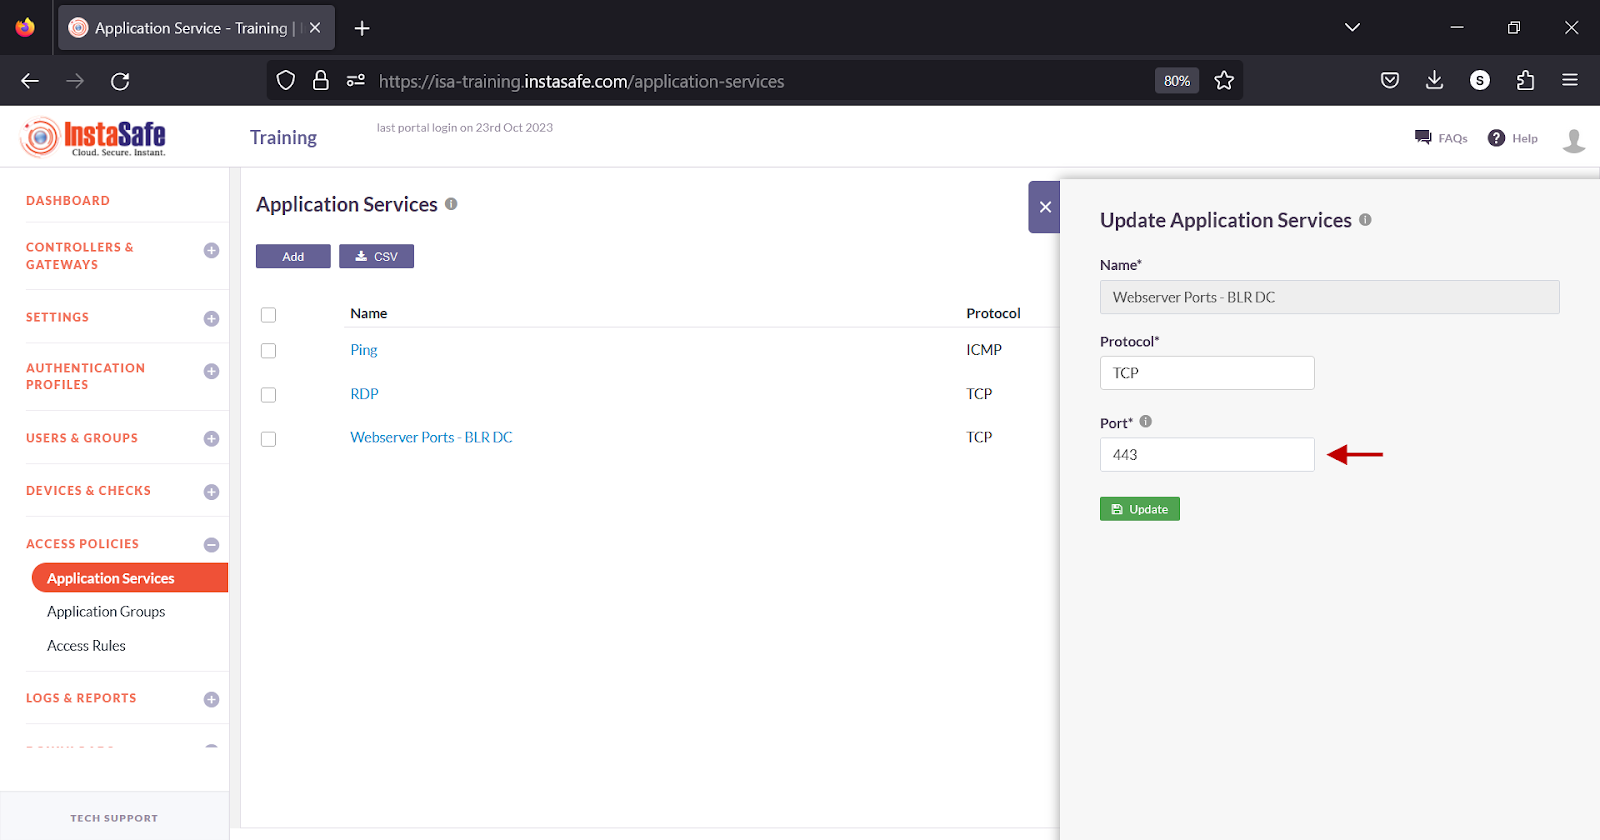
- On the Application Services page, click the name of the application service.

- In the application service window, click the Edit button.

- In the Update Application Services window, you can edit the protocol and port number. Click inside the port field.
- Add additional port numbers to the field. Each port number must be separated by a comma with no space in between. Click Update to save the change.
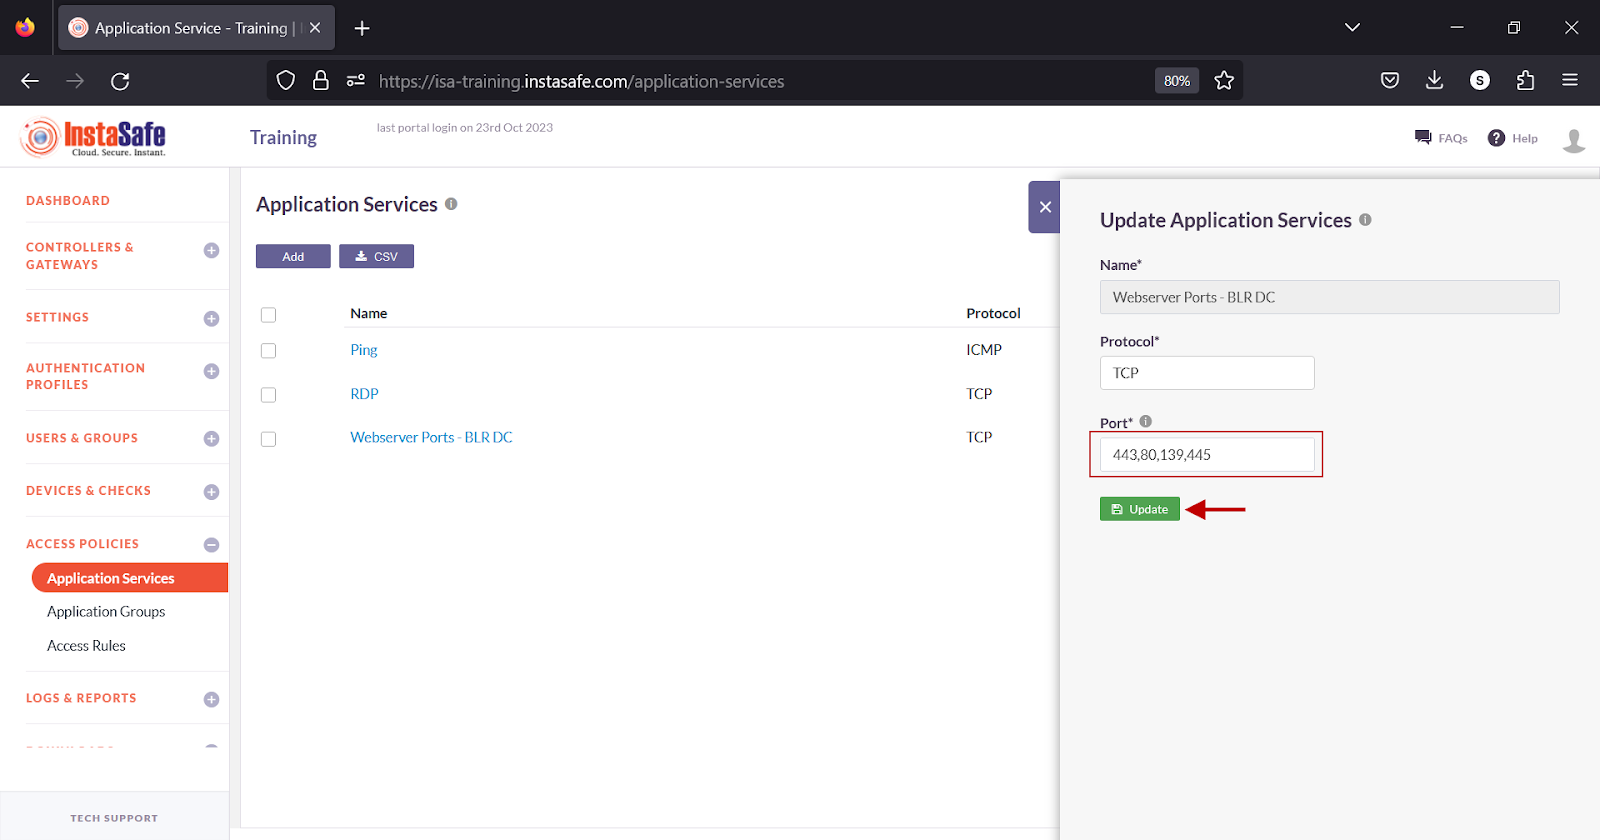
- The port numbers are added to the service object.
Add Application Services in Bulk
This option allows the administrator to add a large number of application services at once.
Supported fields in the file are:
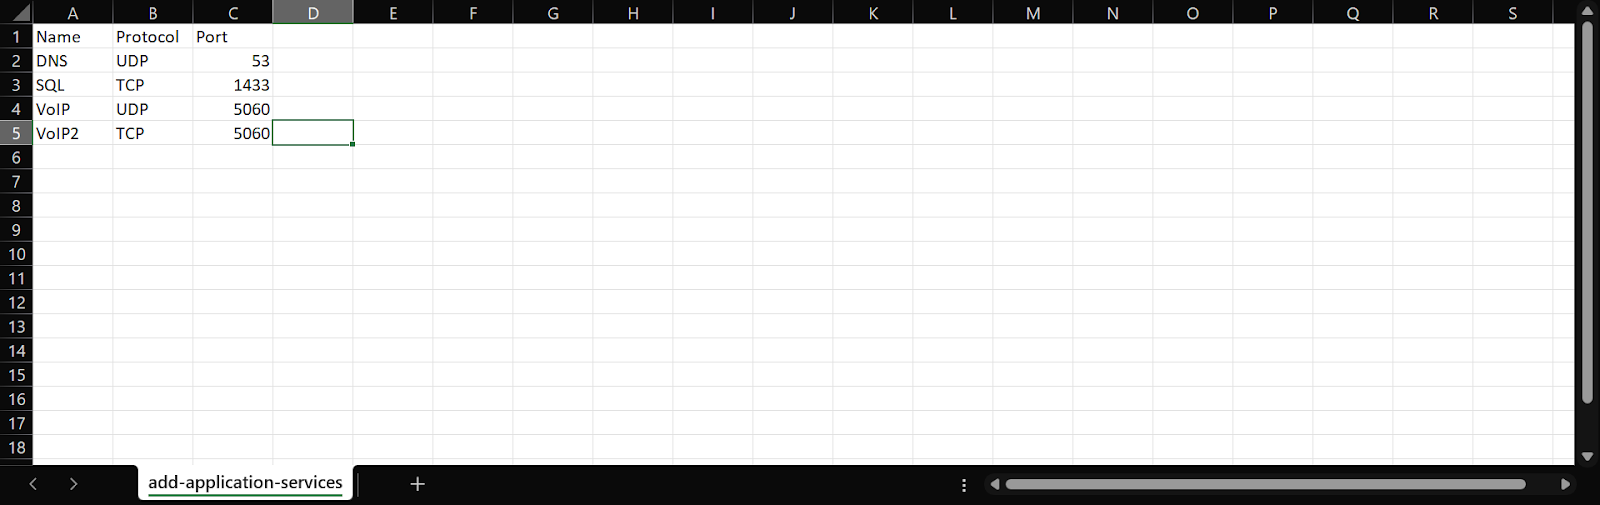
- Service Name: Name for the application service.
- Protocol: The protocol name.
-
Port: The port number of the service.
-
On the Application Services page, click the Add button.
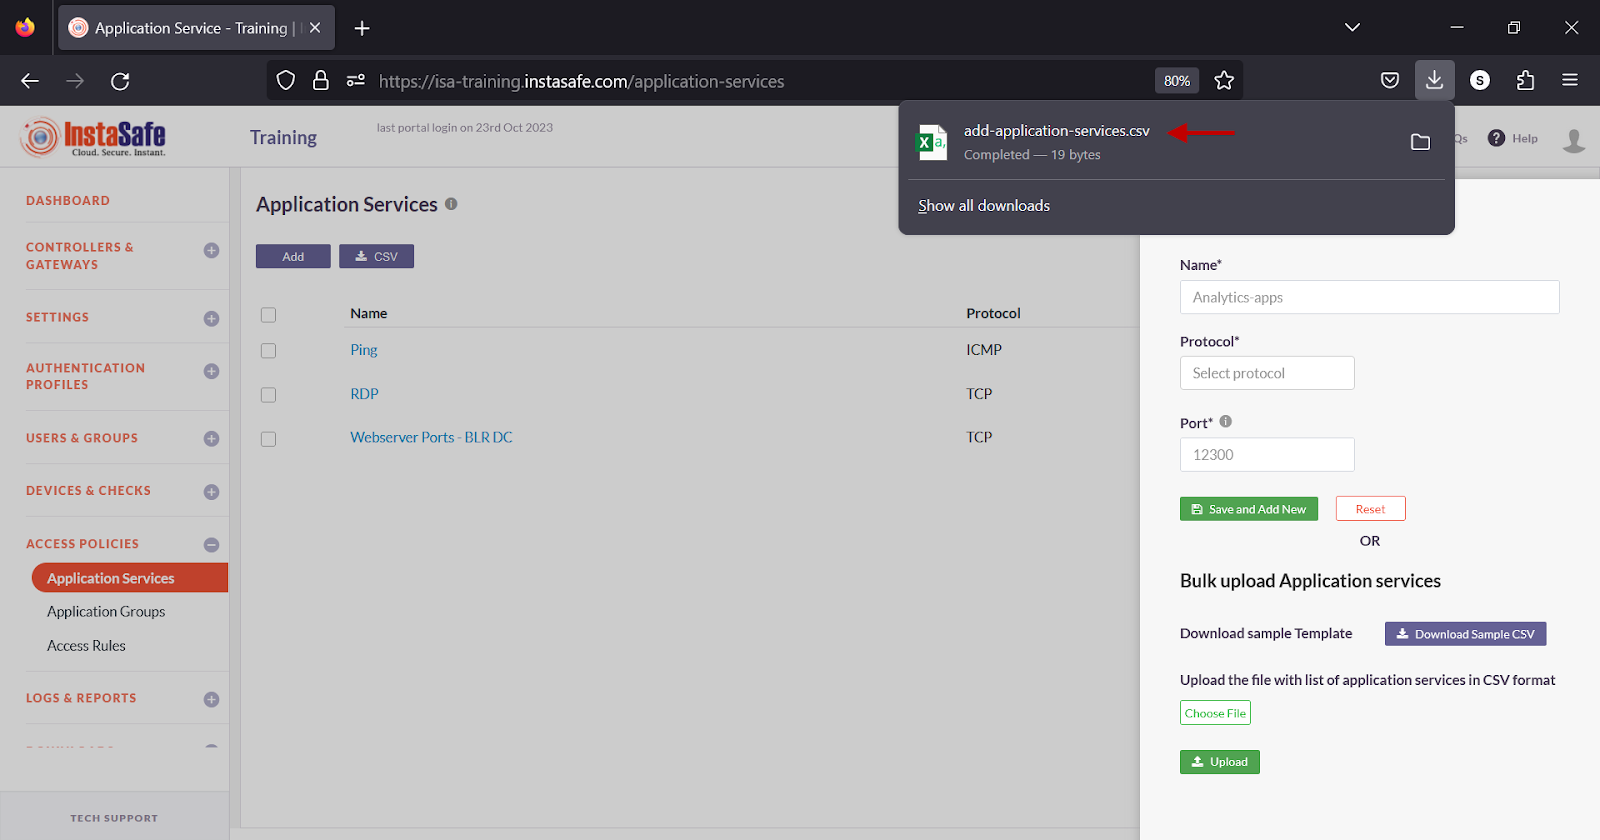
- Under Bulk upload Application services, click Download Sample CSV.
- Open the file using a spreadsheet application.
- The template file has the following fields.
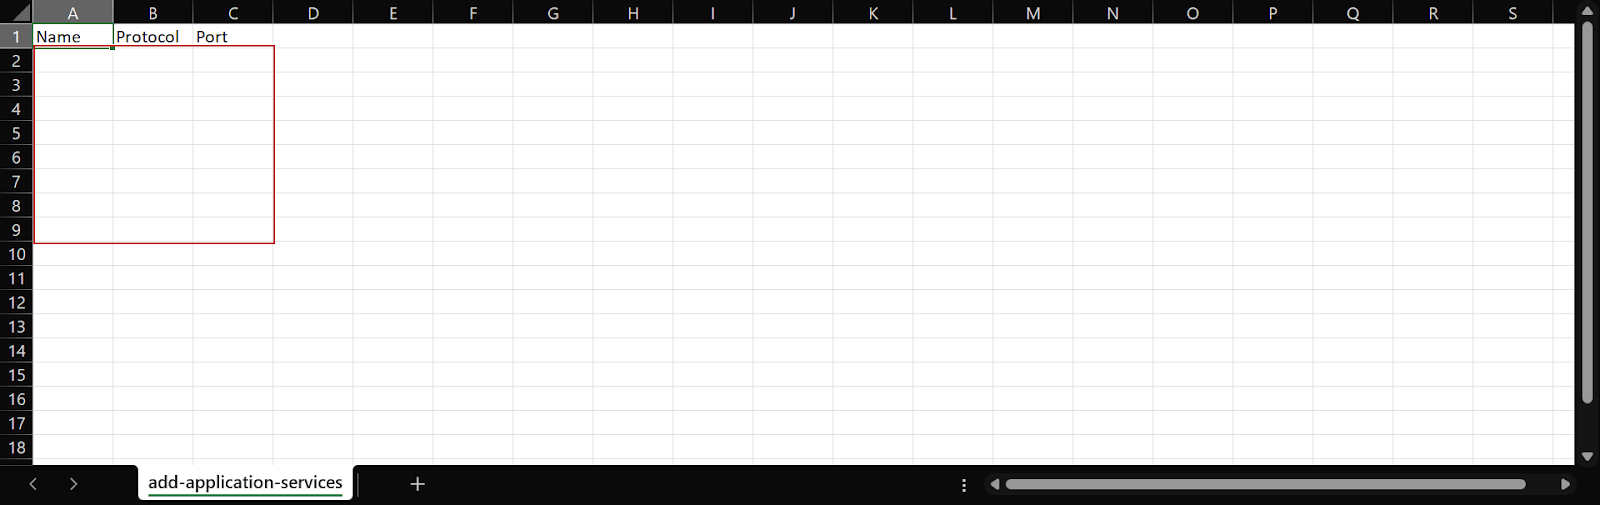
- Enter the services information in their respective fields and save it.
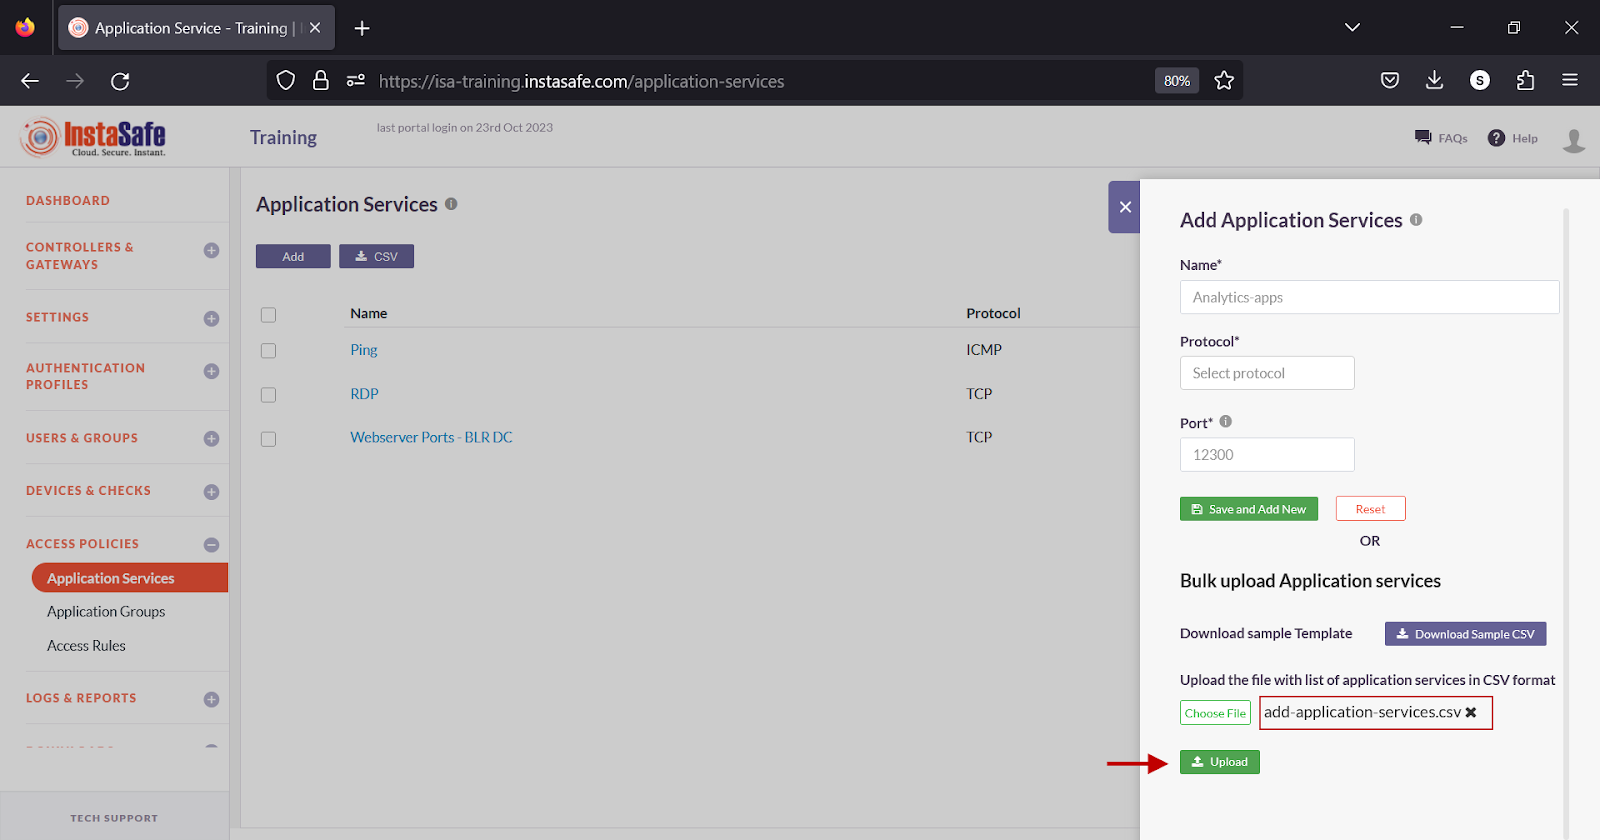
- Under Upload the file …., click Choose File and select the file from the local drive.
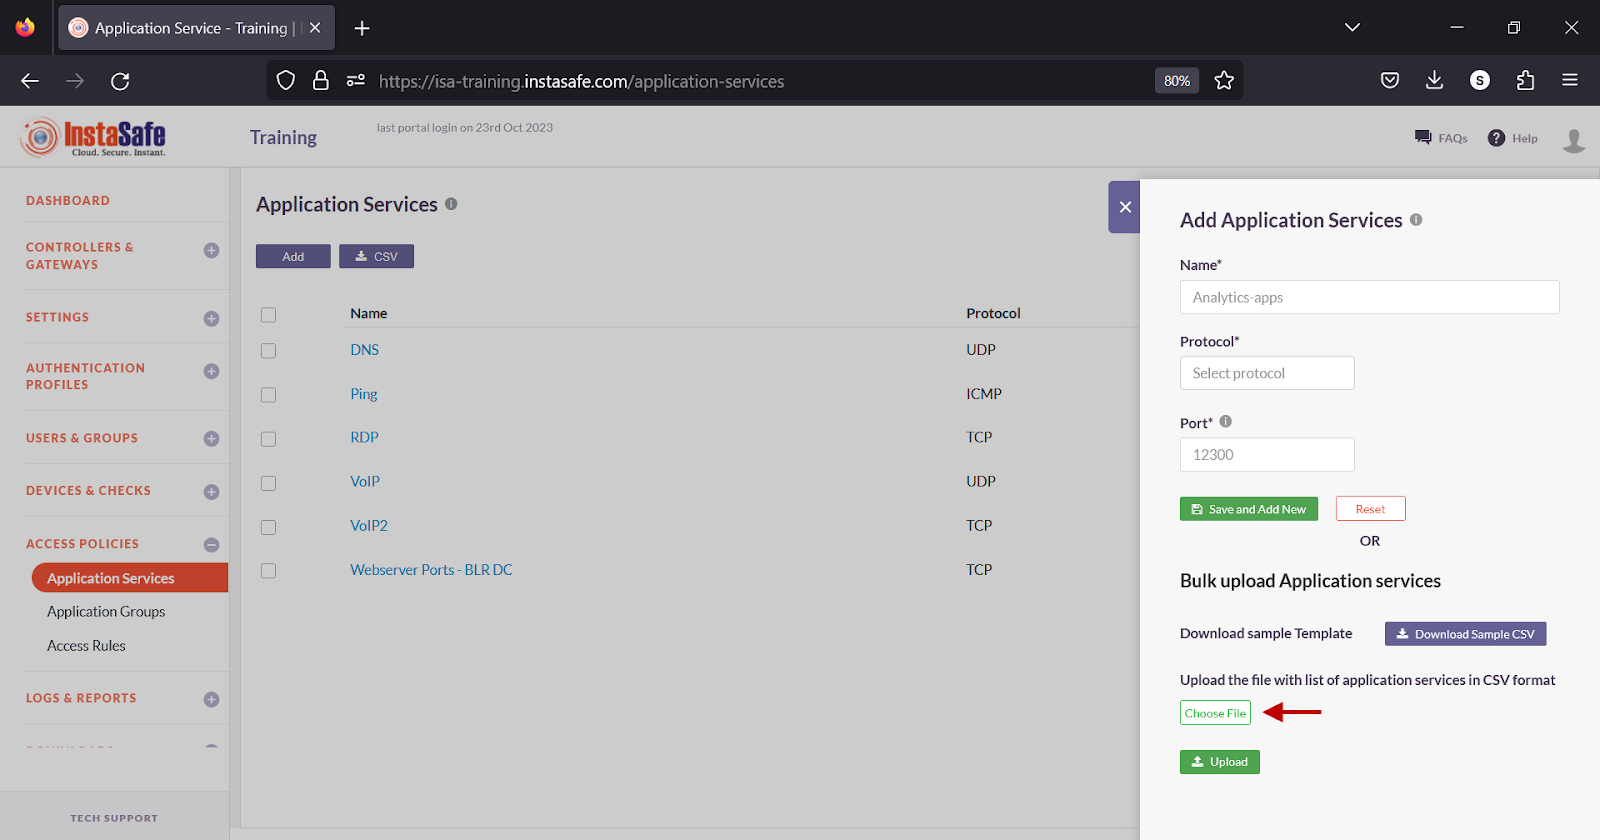
- Click Upload.
- In the Uploaded Application Services window, review the information and click Save Application Services.
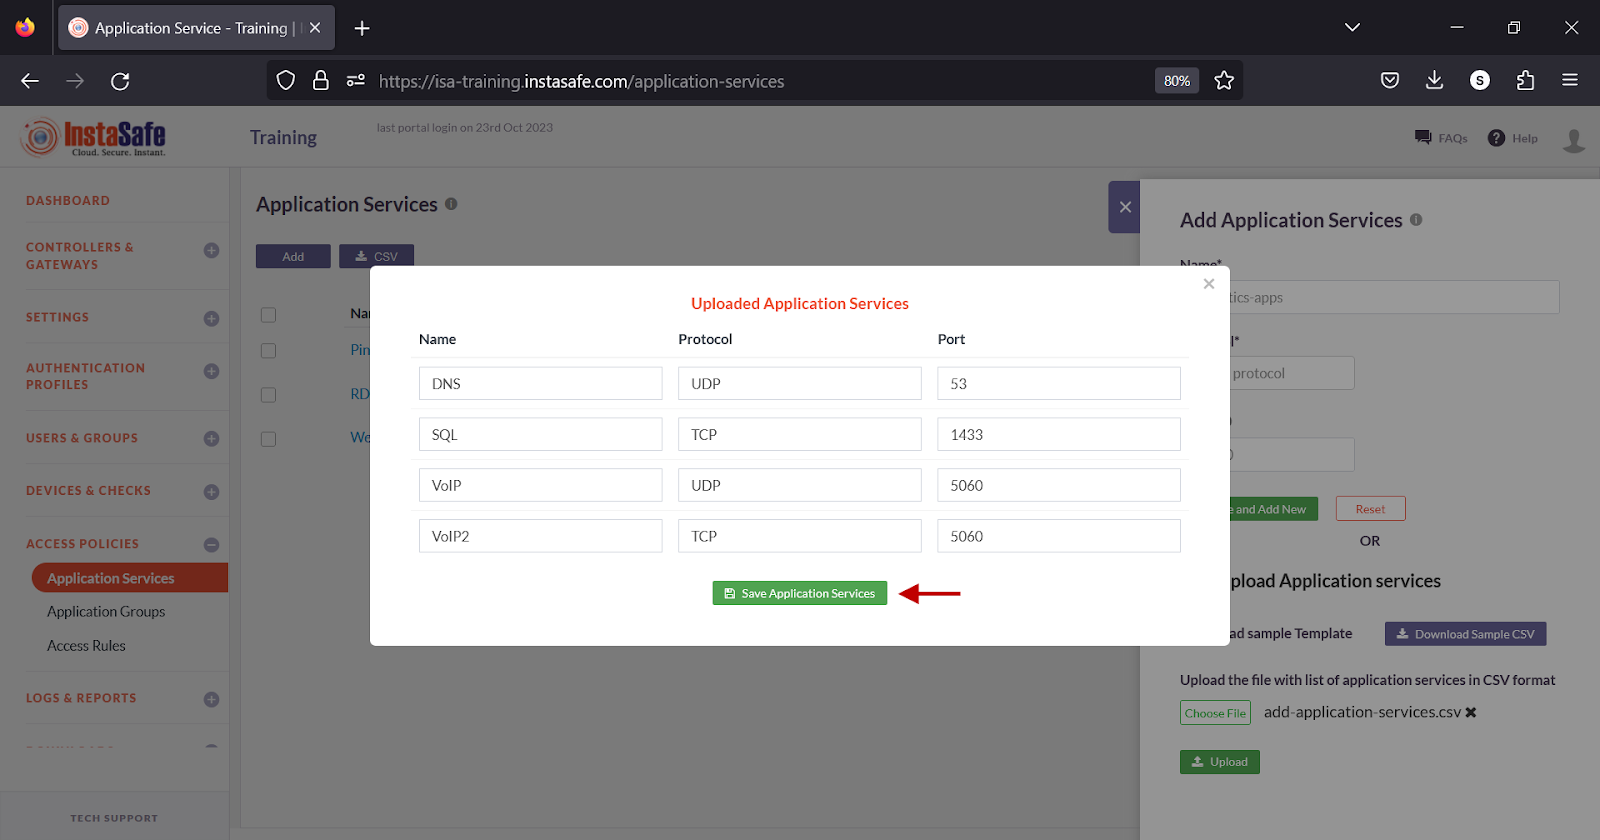
- Click the X button to exit the window.
- The newly created application services are listed on the page.

Download Application Services List
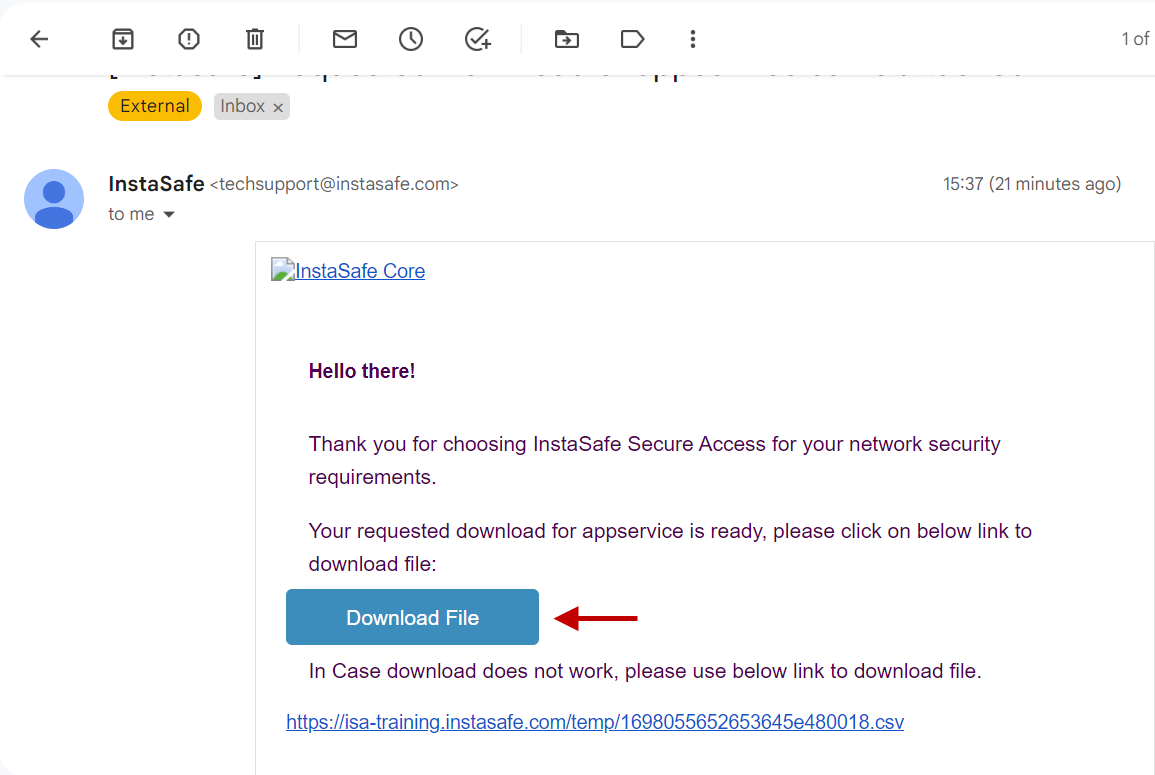
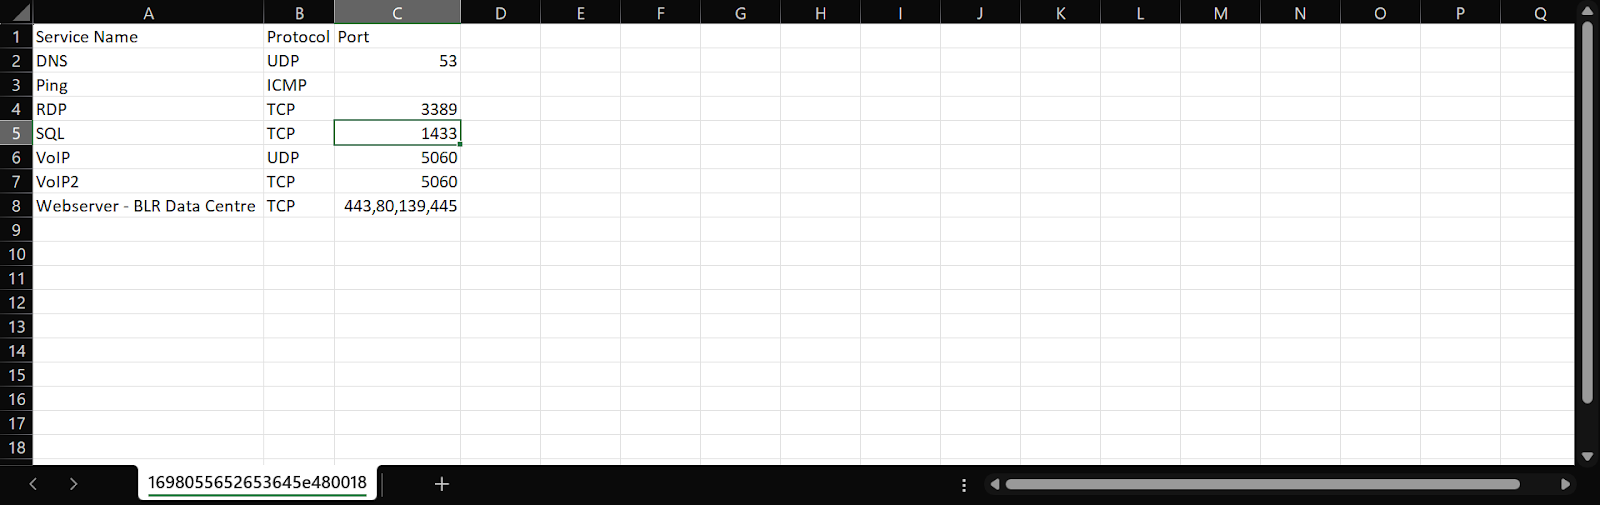
ISA web portal administrators can download the complete list of application services by clicking on the CSV button on the Application Services page. An email with the link to download the file in CSV format is sent to the logged-in administrator’s email address. The file has the following information:
- Service Name - Name of the application service.
- Protocol – The protocol name.
-
Port – The port number of the service.
-
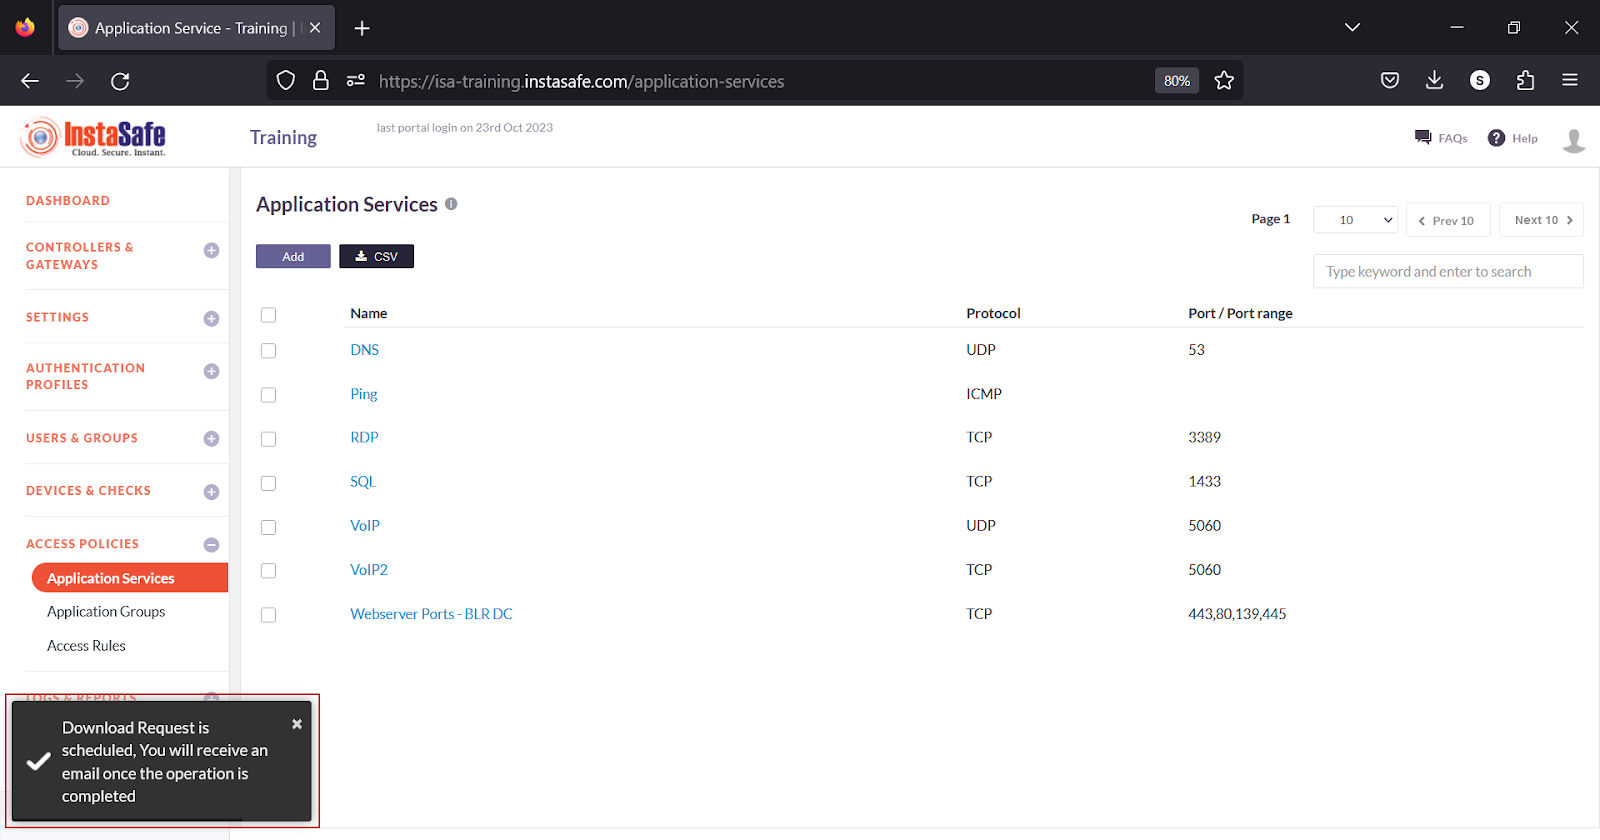
On the Application Services page, click the CSV button at the top.

- A message that an email is scheduled to be sent to the administrator’s email address is displayed.
- Click the download link within the email.
- View the file in a spreadsheet application.
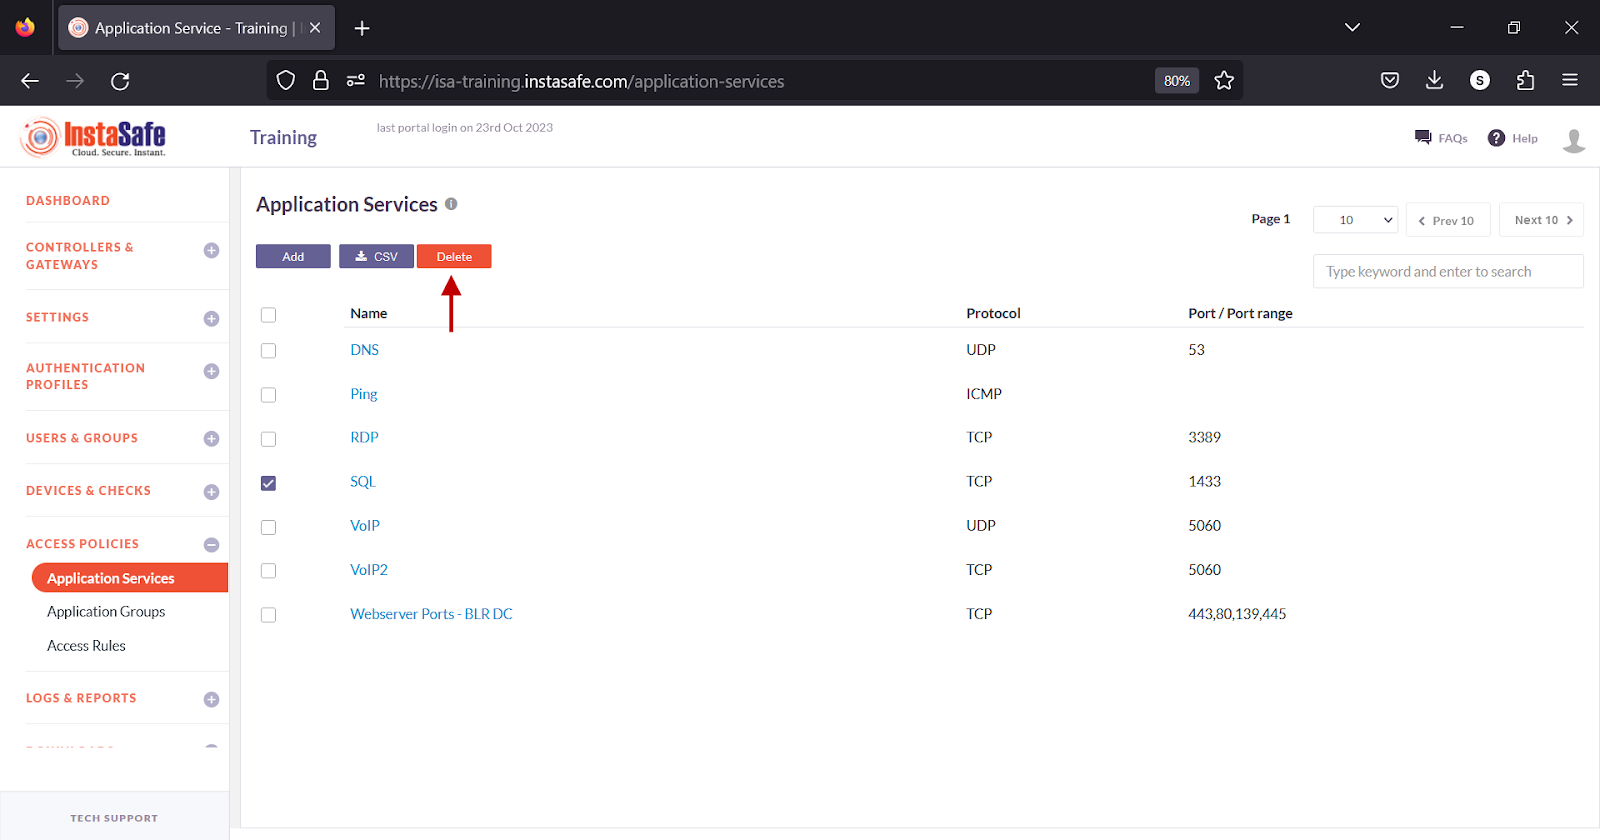
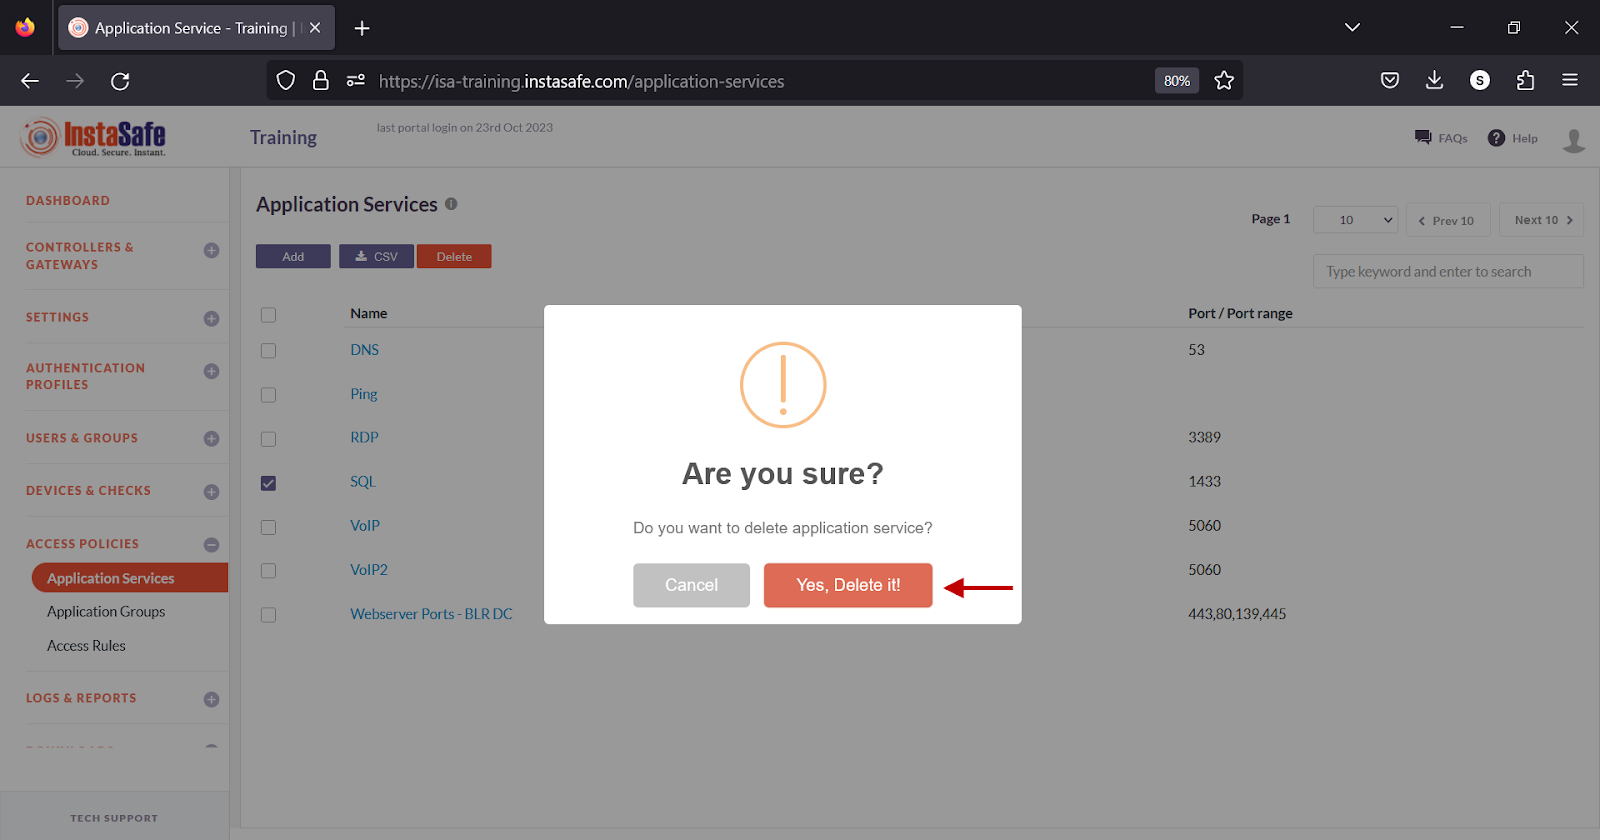
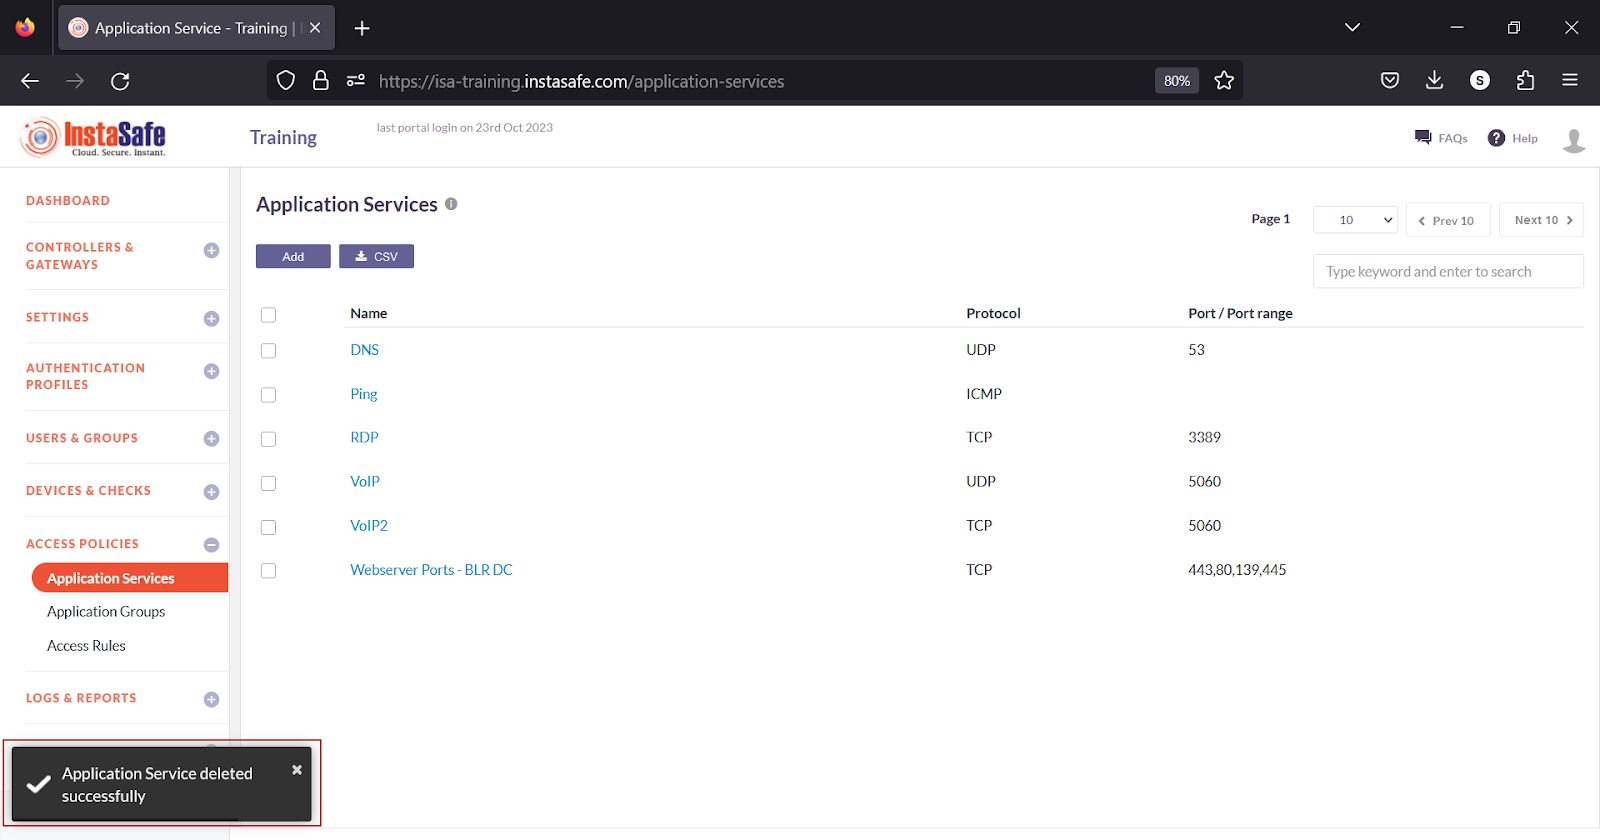
Delete Application Services
- Enable the check box alongside the service you wish to delete.

- Click the Delete button at the top.
- On the pop-up window, click Yes, Delete it!.
- On the bottom left, an Application Service deleted successfully message is displayed.
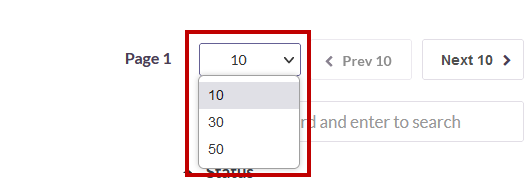
Navigating the Application Services list
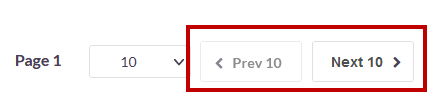
The Application Services page allows easy pagination for viewing a large number of application services. You can view application services by using the navigation control bar at the top right of the page.
Click the drop-down box to select the number of services to be displayed on the Application Services page. By default, it is set to display 10 services. You can change it to display either 30 or 50 services.
Click the Next button to view the next page of services. Click the Prev button to view the previous page.
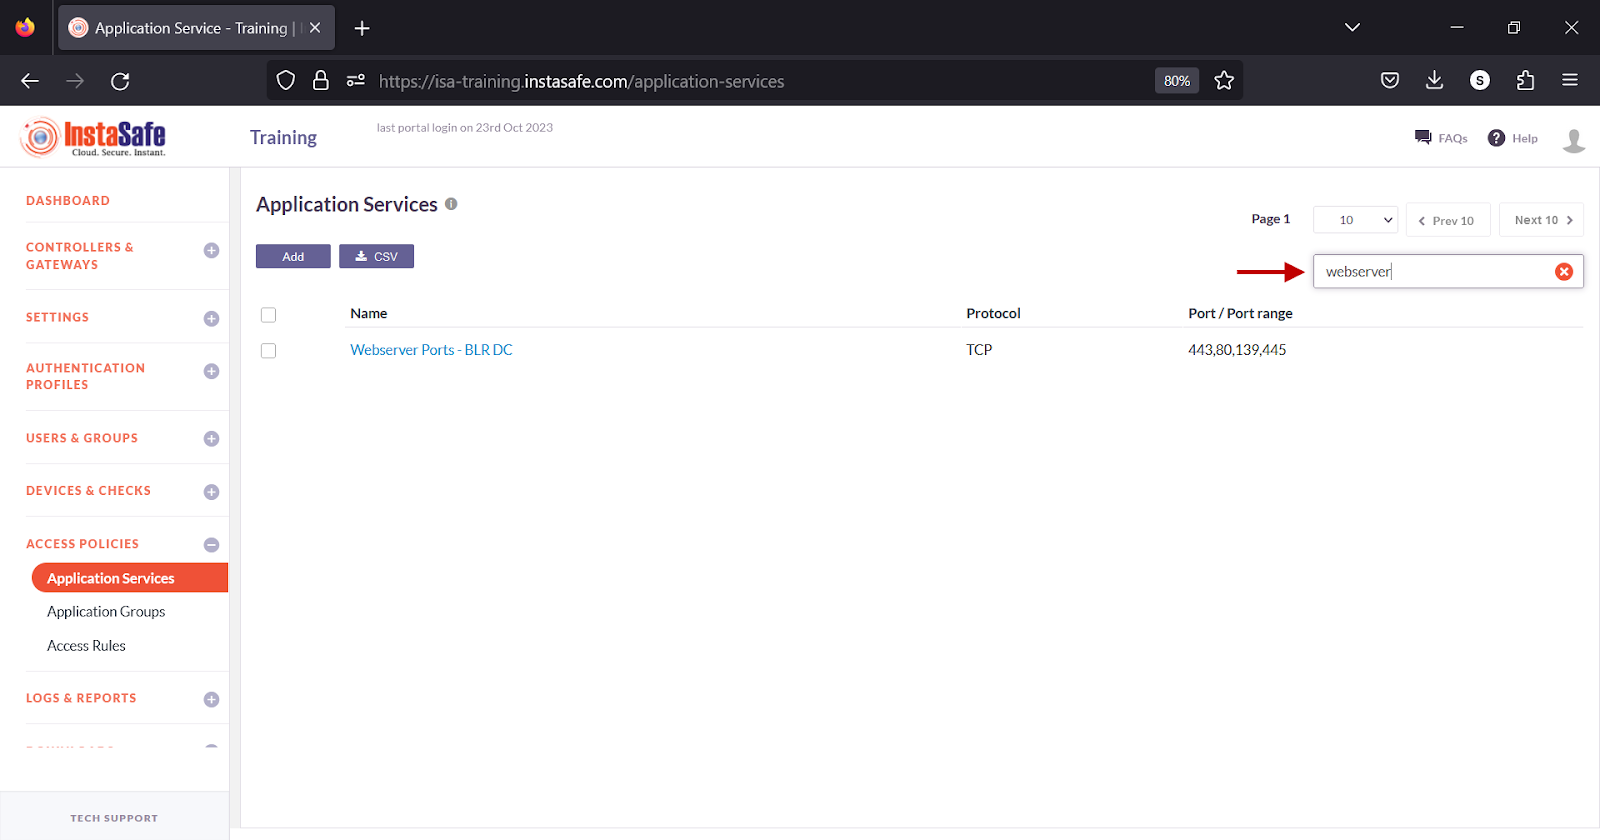
You can search an application service by name by entering it in the search box.
Conclusion
The Application Services page of the ISA web portal allows the administrator to define services for applications which can be used in application groups and access rules to allow or deny access to corporate resources.
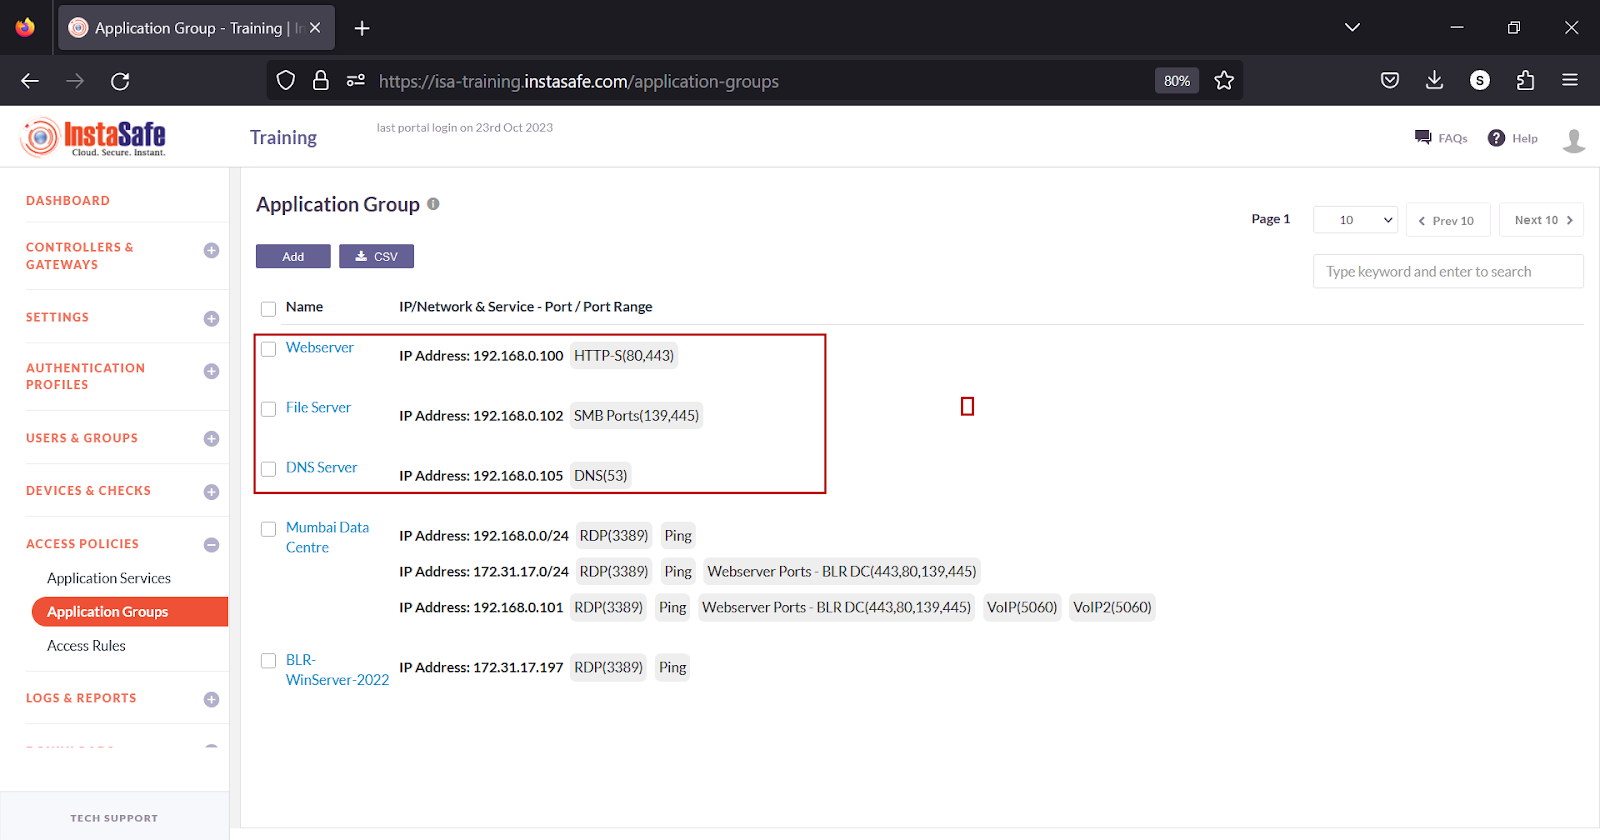
Configure Application Groups
Application groups are pairing of IP addresses or network IDs and application services. More than one pairing can be configured within each group. Once defined, the groups are referenced in access rules. The following types of pairings can be created in a group:
- Network and one or more application services – Each IP address within the network is paired with the services defined in the pairing. This is useful in allowing or blocking network-wide access to service ports when creating access rules.
- IP address and one or more application services – The services are paired to the IP address. This is useful in allowing or blocking access to specific service ports on a host when creating access rules.
This user guide describes the various configuration options to manage application groups on the ISA web portal.
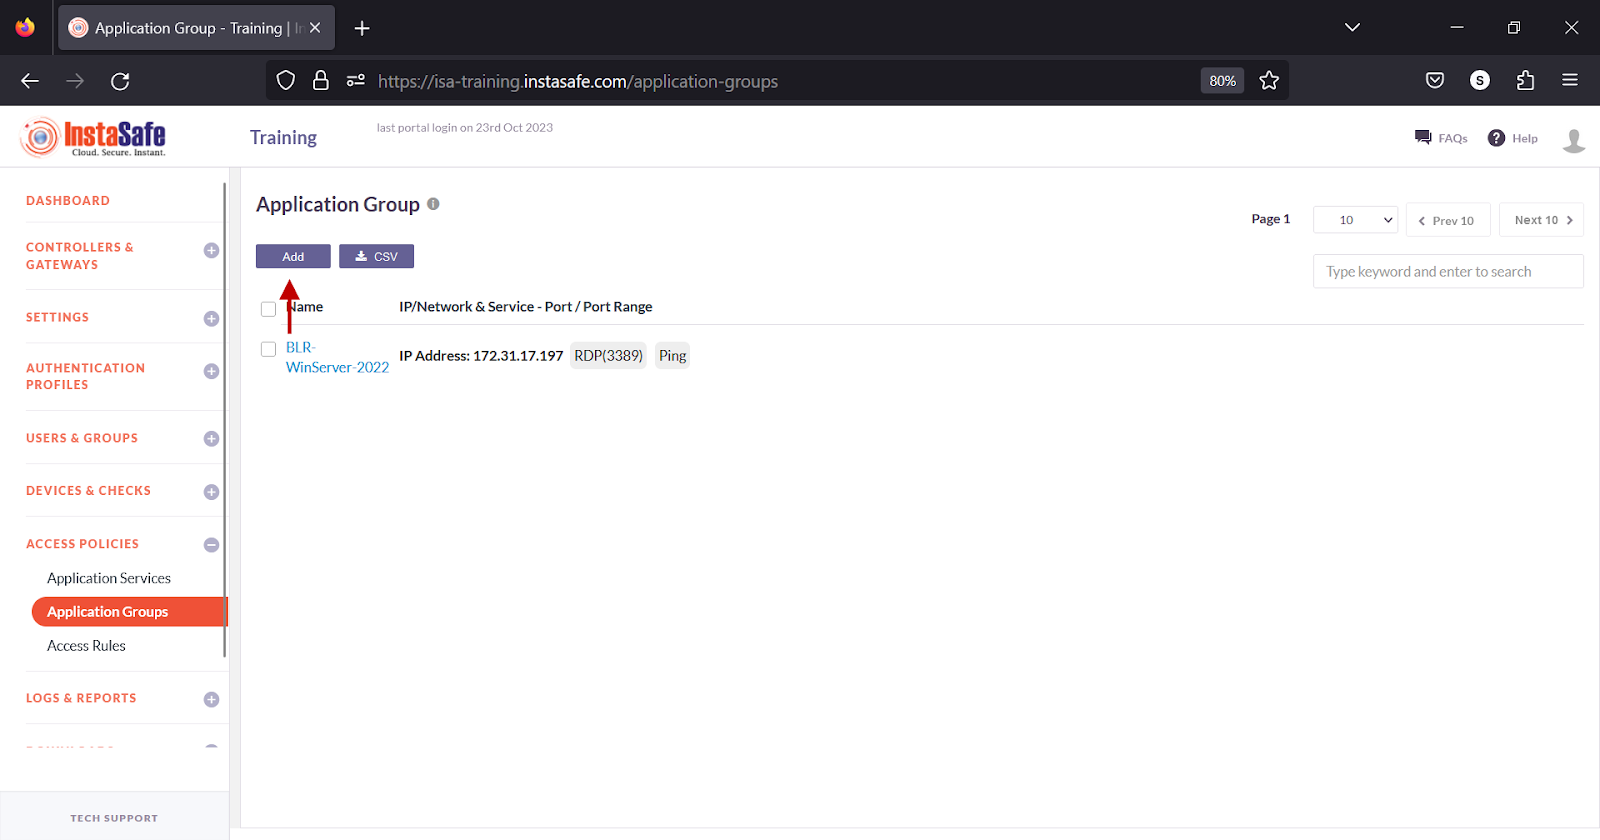
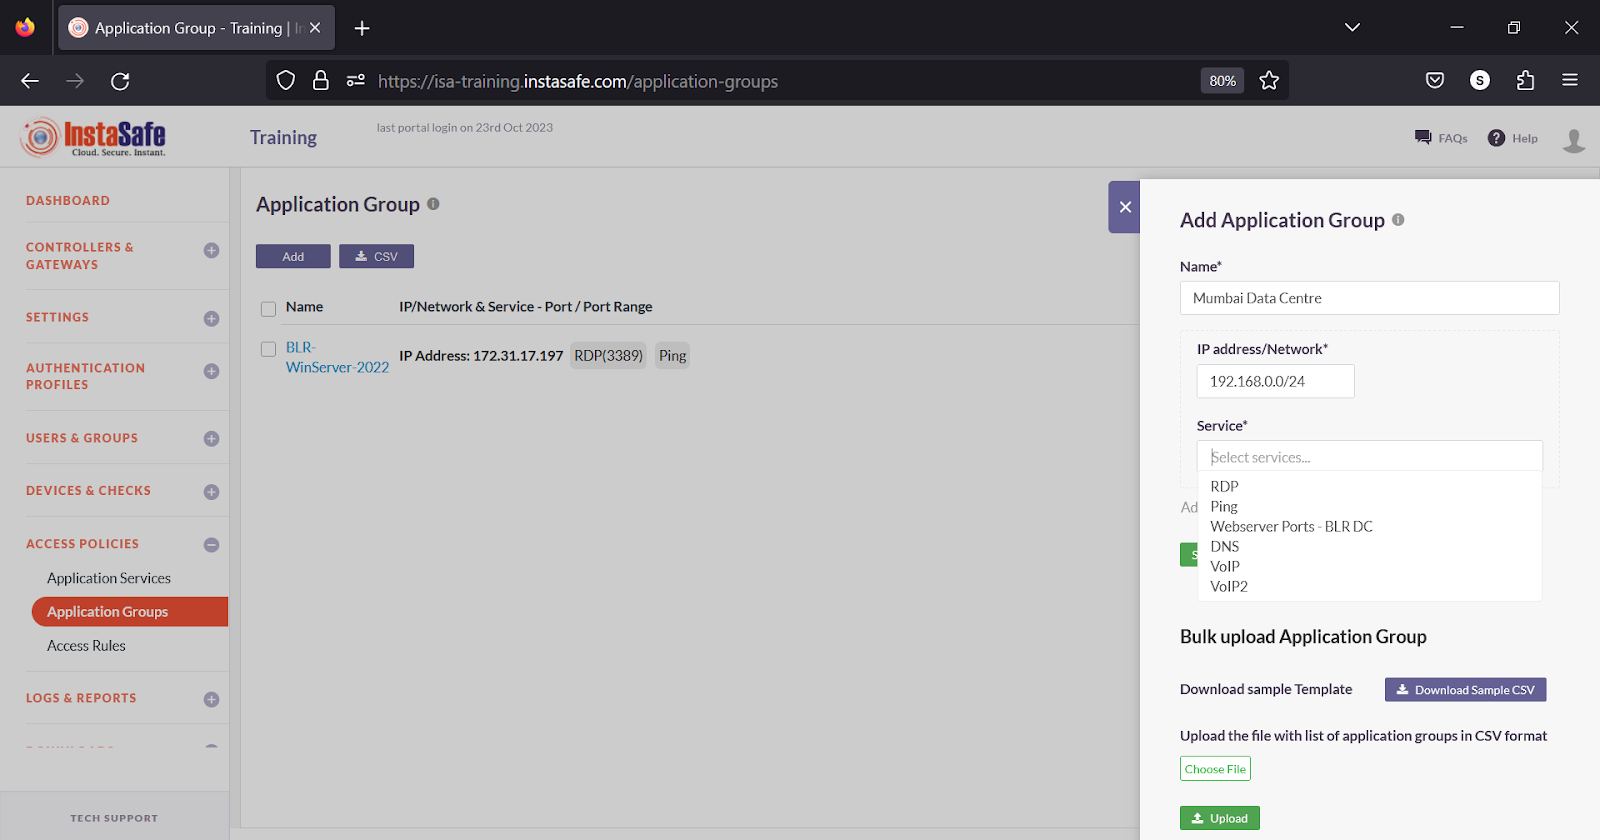
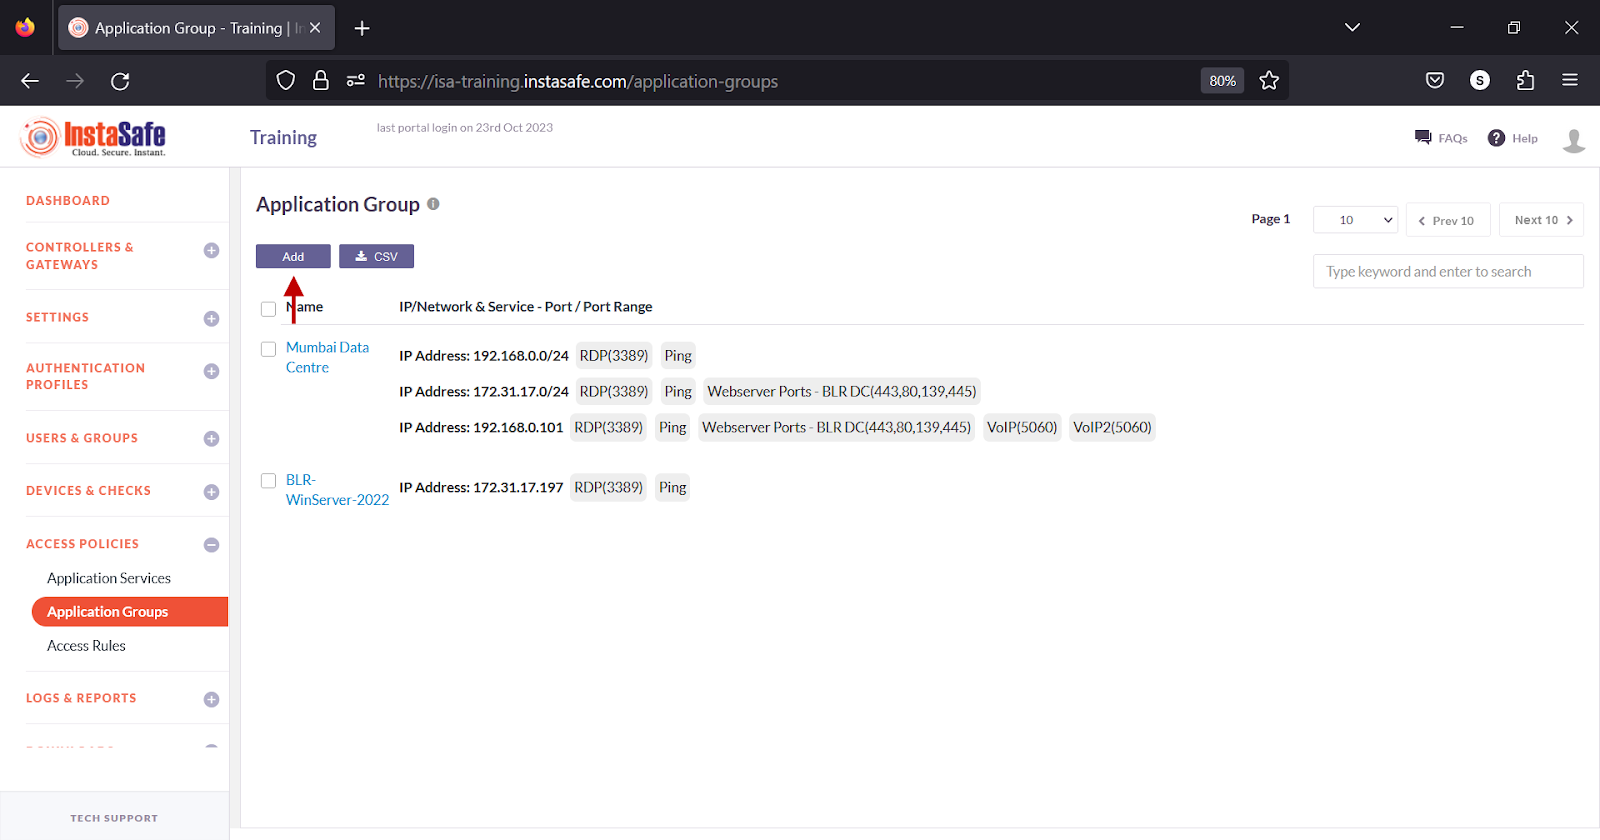
Add Application Groups
- Login to the ISA web console using administrator credentials
- Navigate to the Application Groups page under the ACCESS POLICIES menu.

- Click the Add button at the top.
- On the Add Application Group window, under Name, enter a name for the application. Characters A-Z, a-z, 0-9 are allowed in this field. The maximum number of characters allowed is 50.
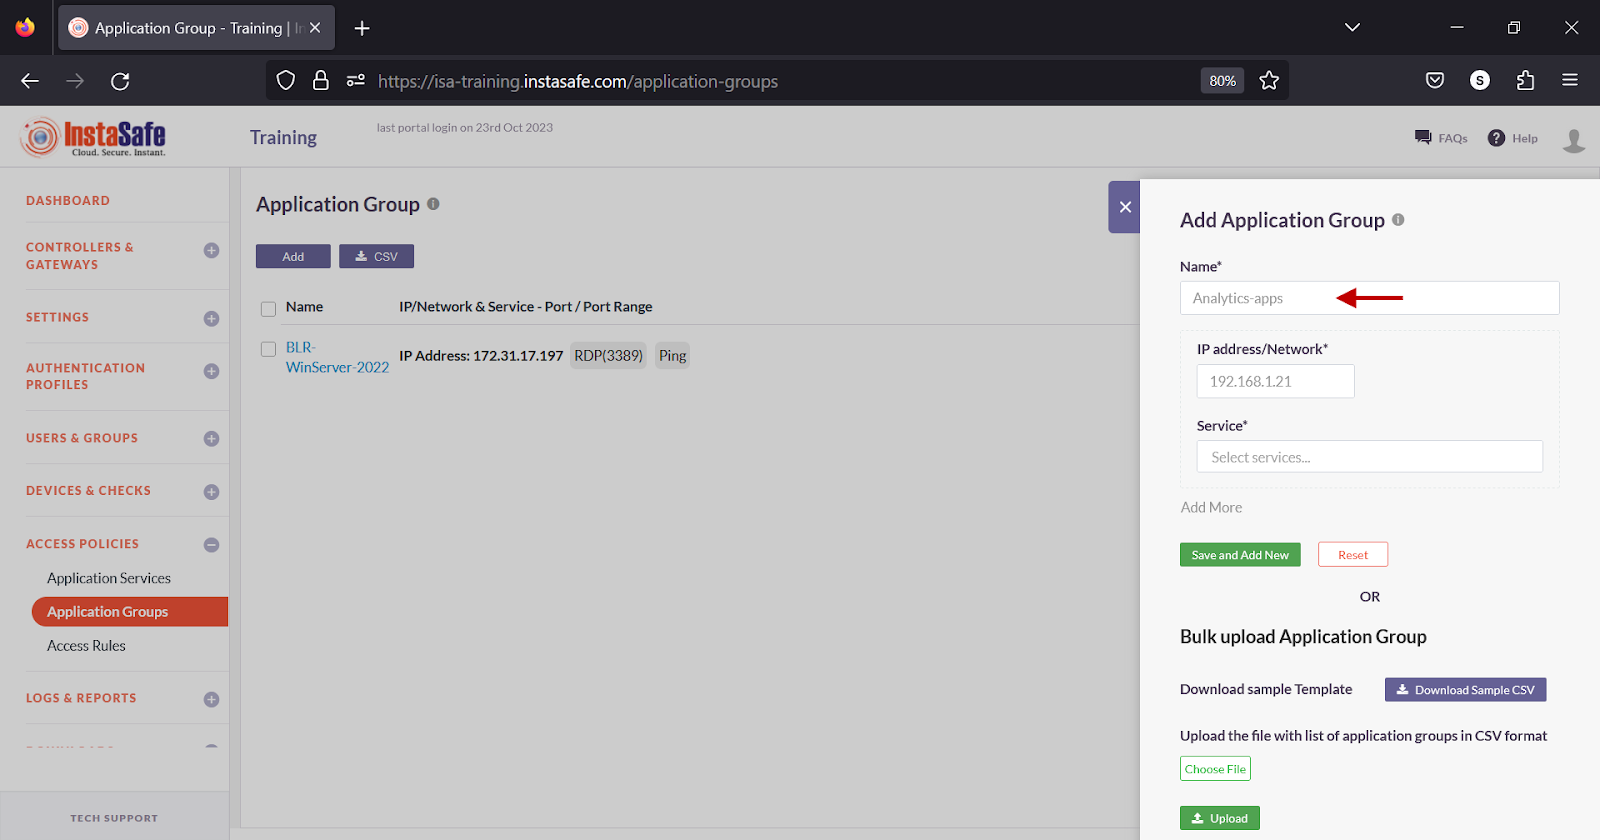
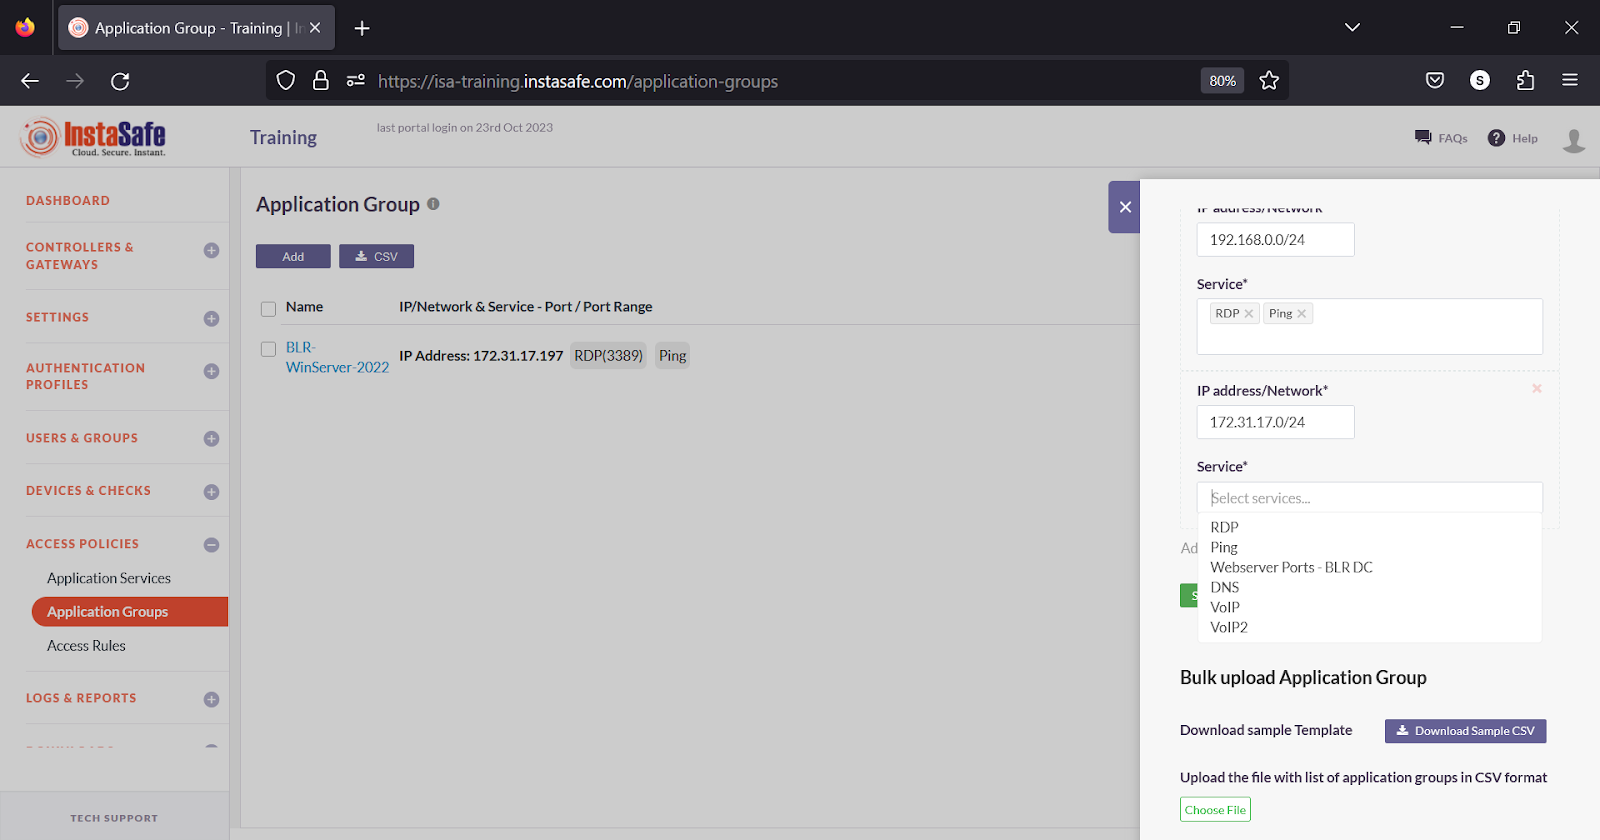
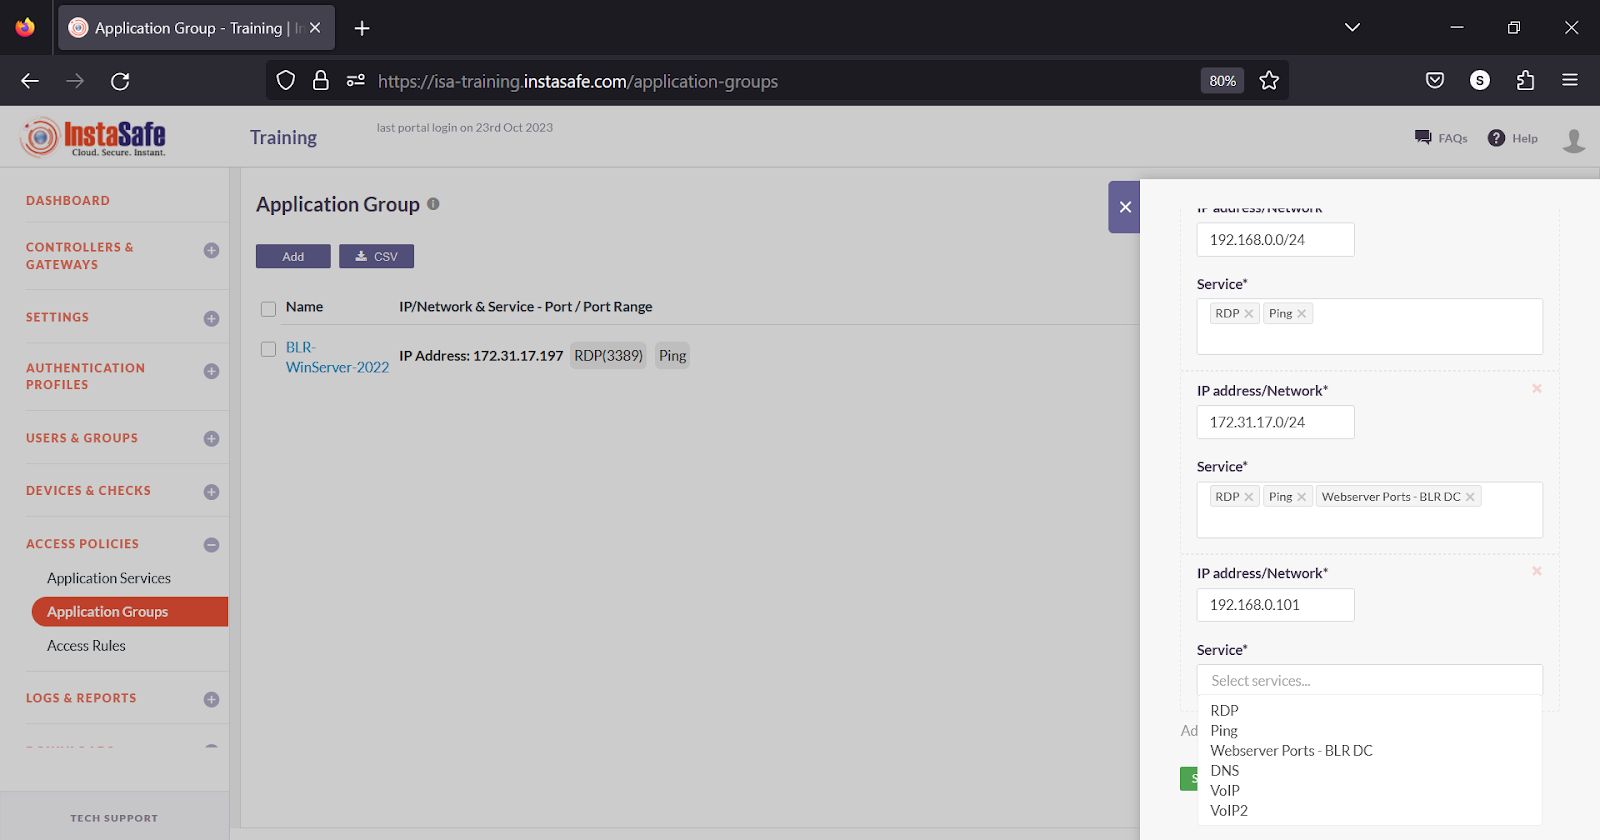
- Under IP address/Network, enter an IP address or a subnet in CIDR notation.

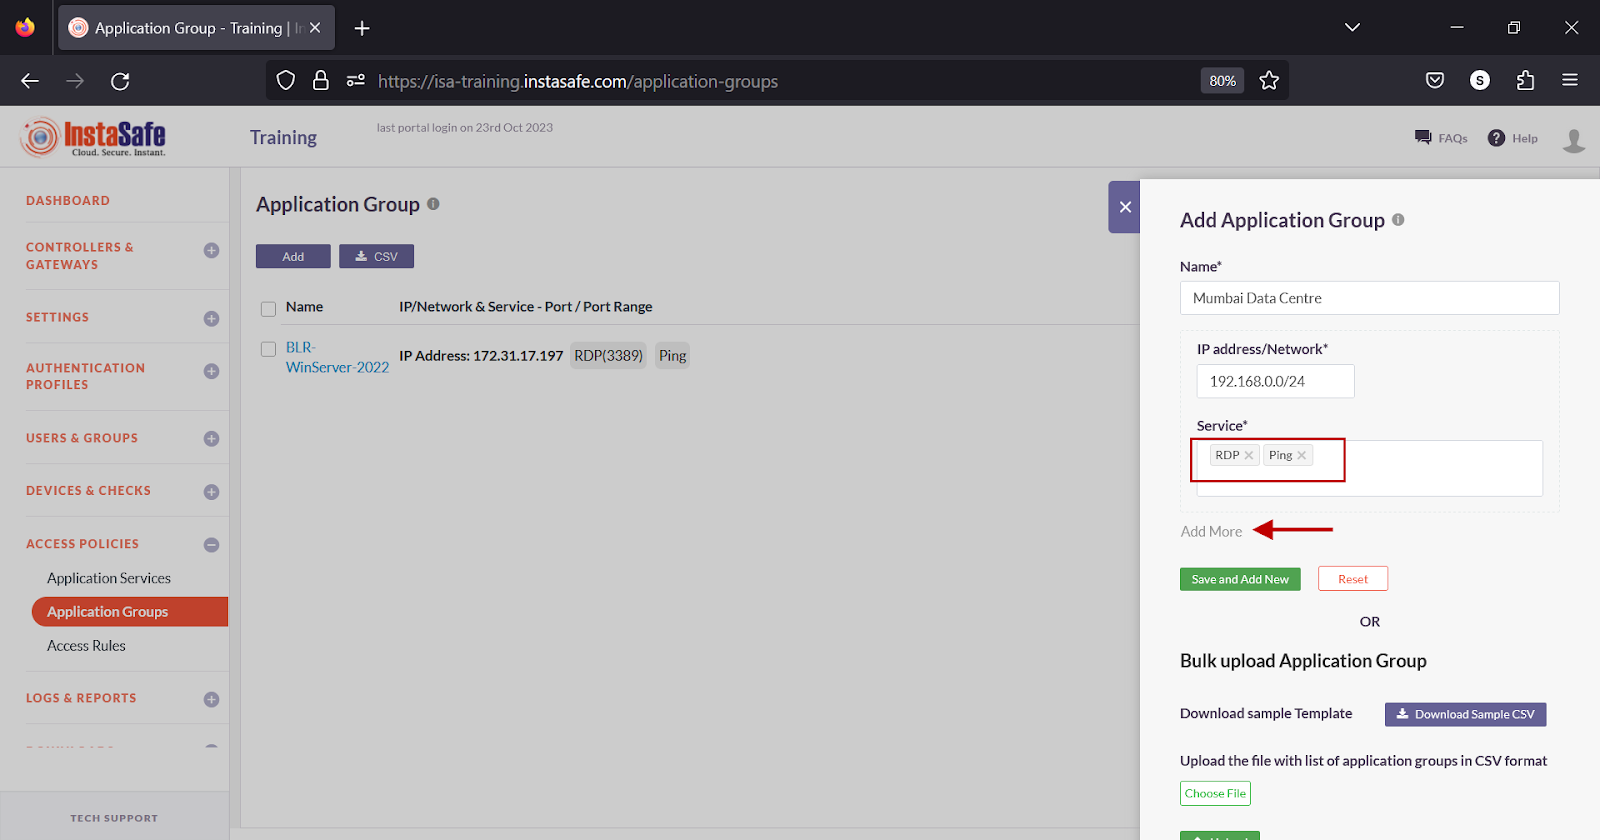
- Click the Service field.

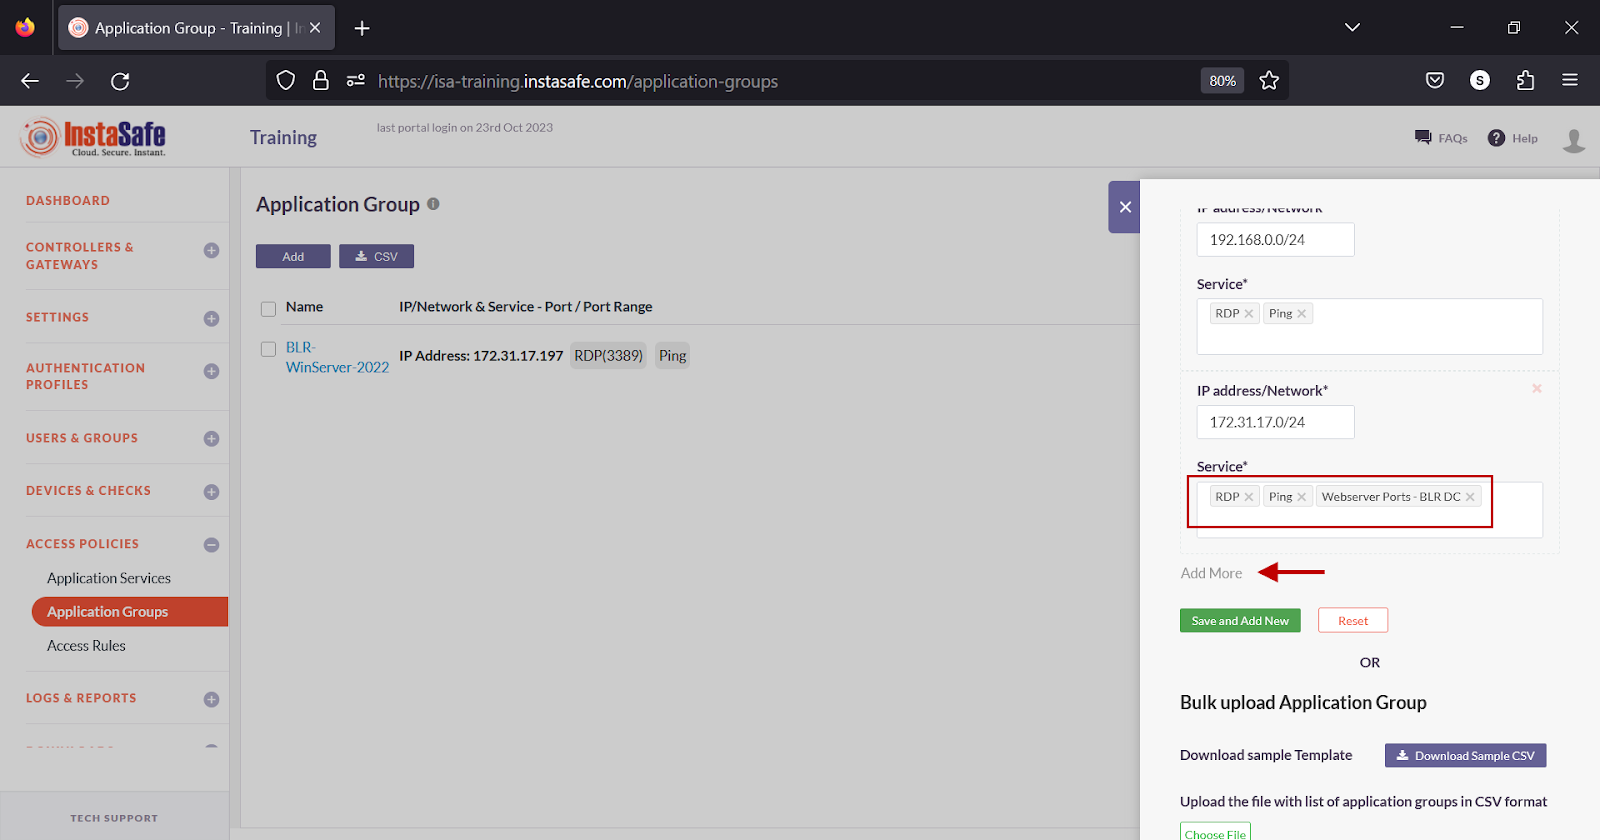
- From the drop-down list, select the application service. Multiple services can be added to this field.
- Click Add More.
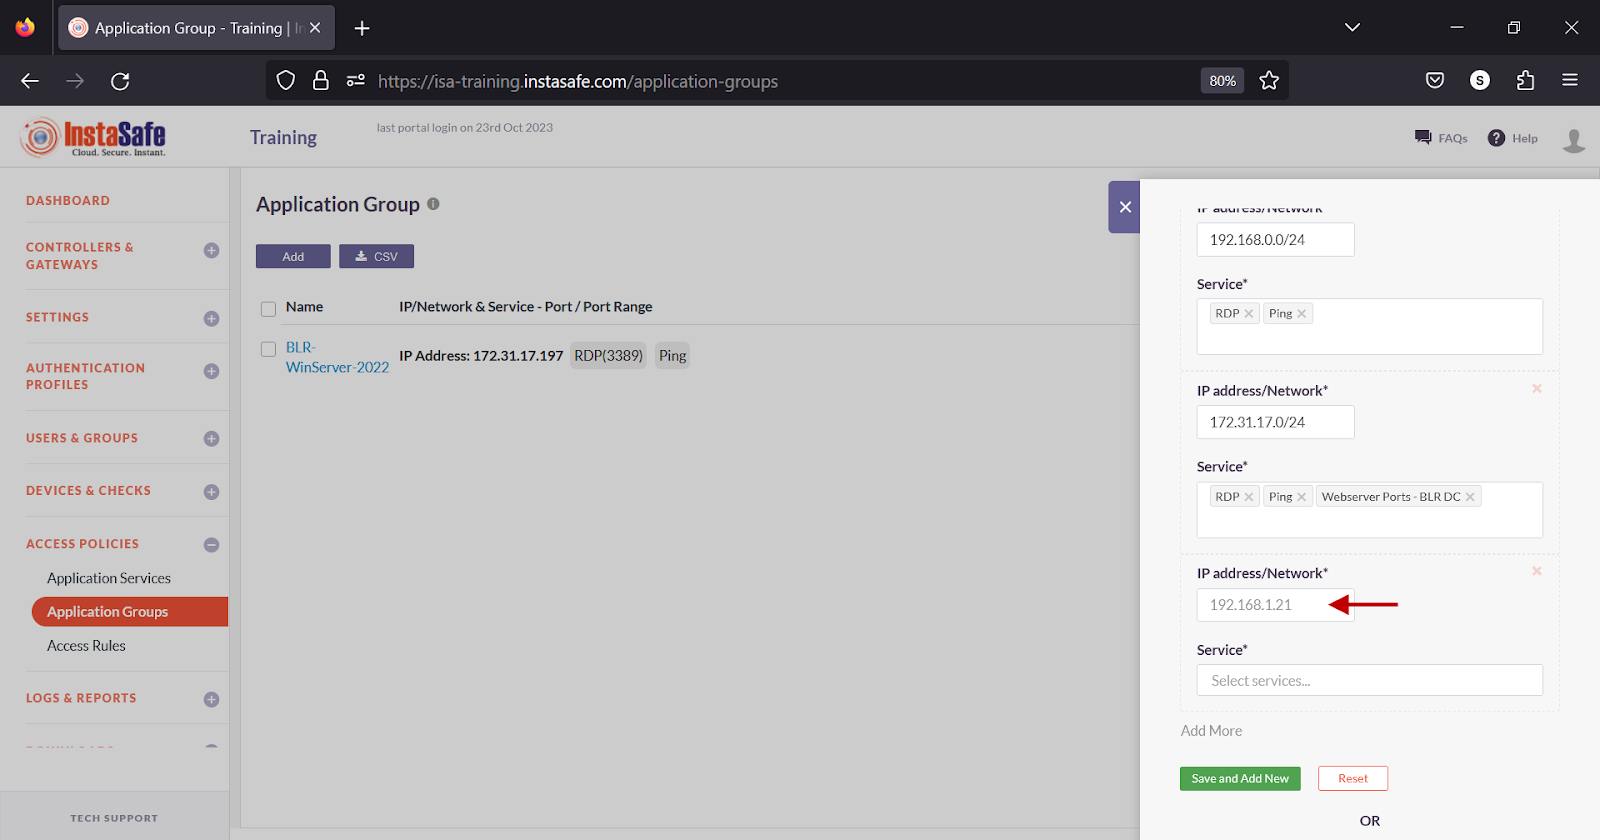
- Under IP address/Network, enter an IP address or a subnet in CIDR notation.
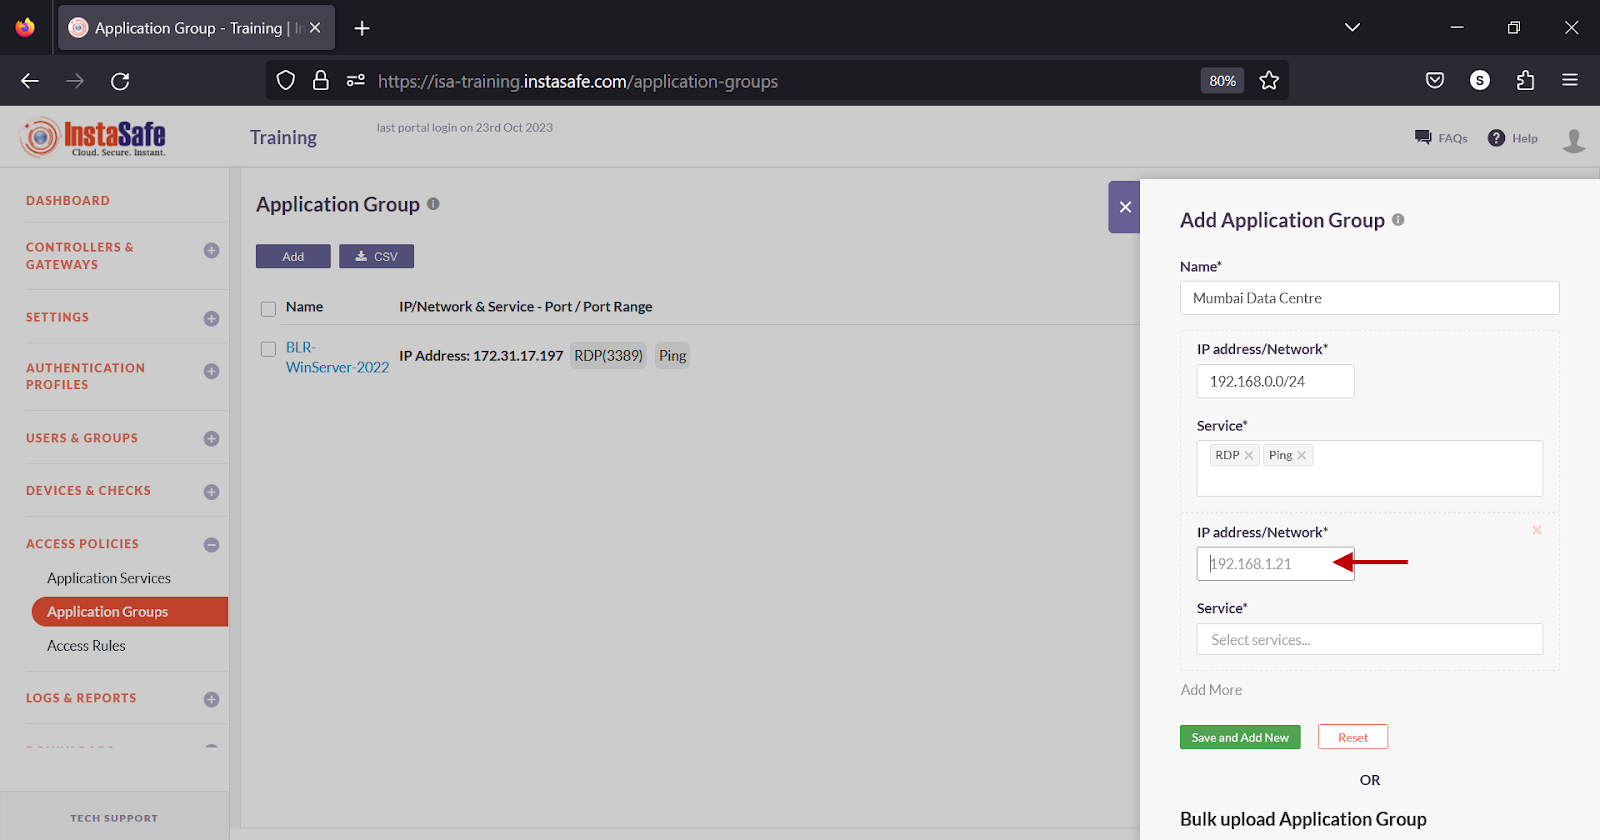
- Click the Service field.
- From the drop-down list, select the application service. Multiple services can be added to this field.
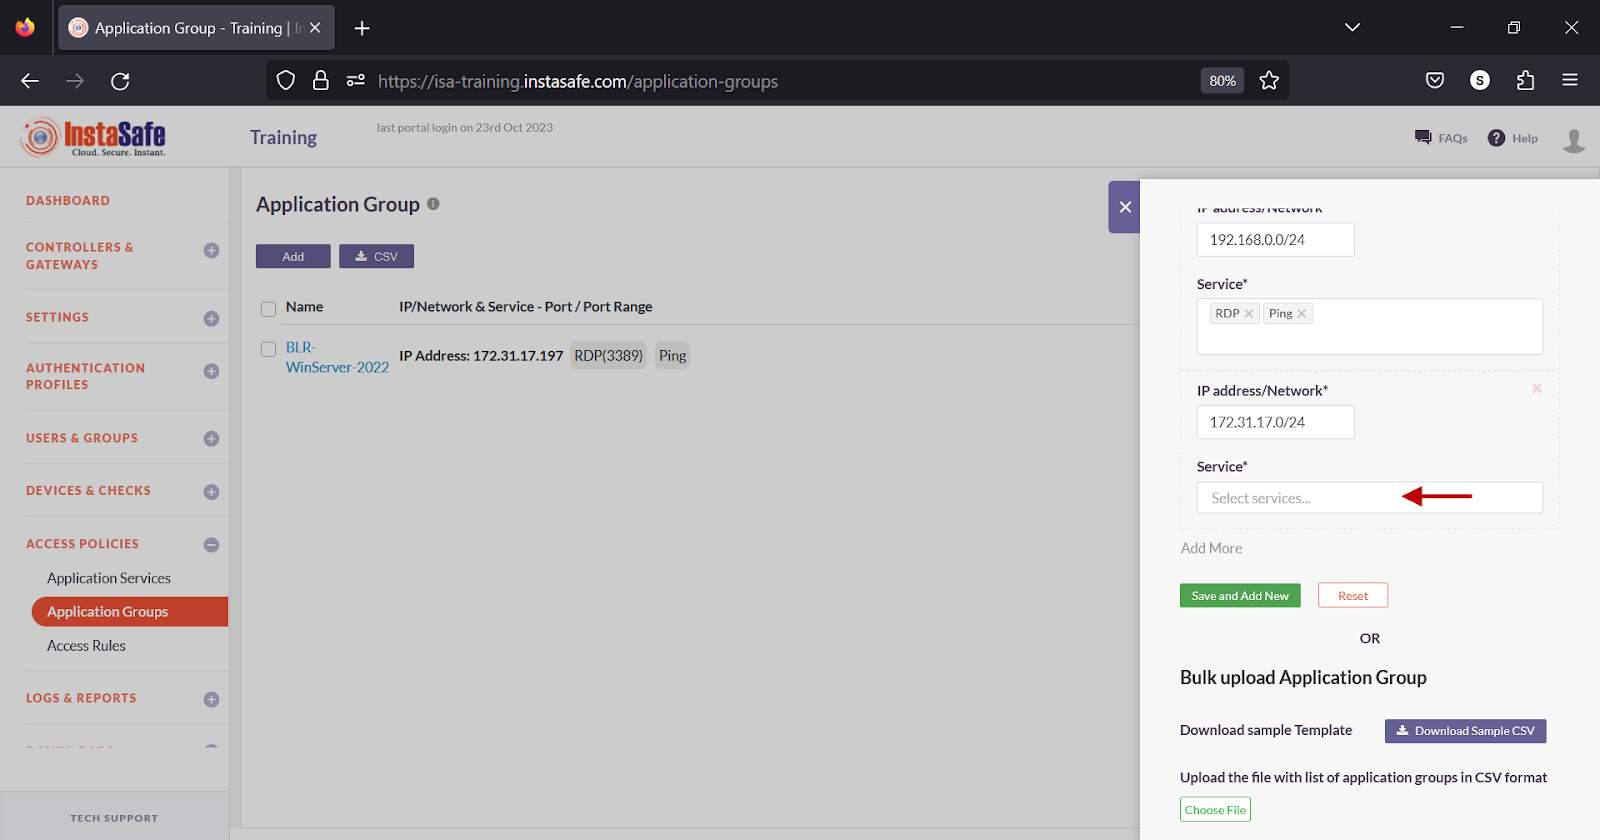
- Click Add More.
- Under IP address/Network, enter an IP address or a subnet in CIDR notation.
- Click the Service field.
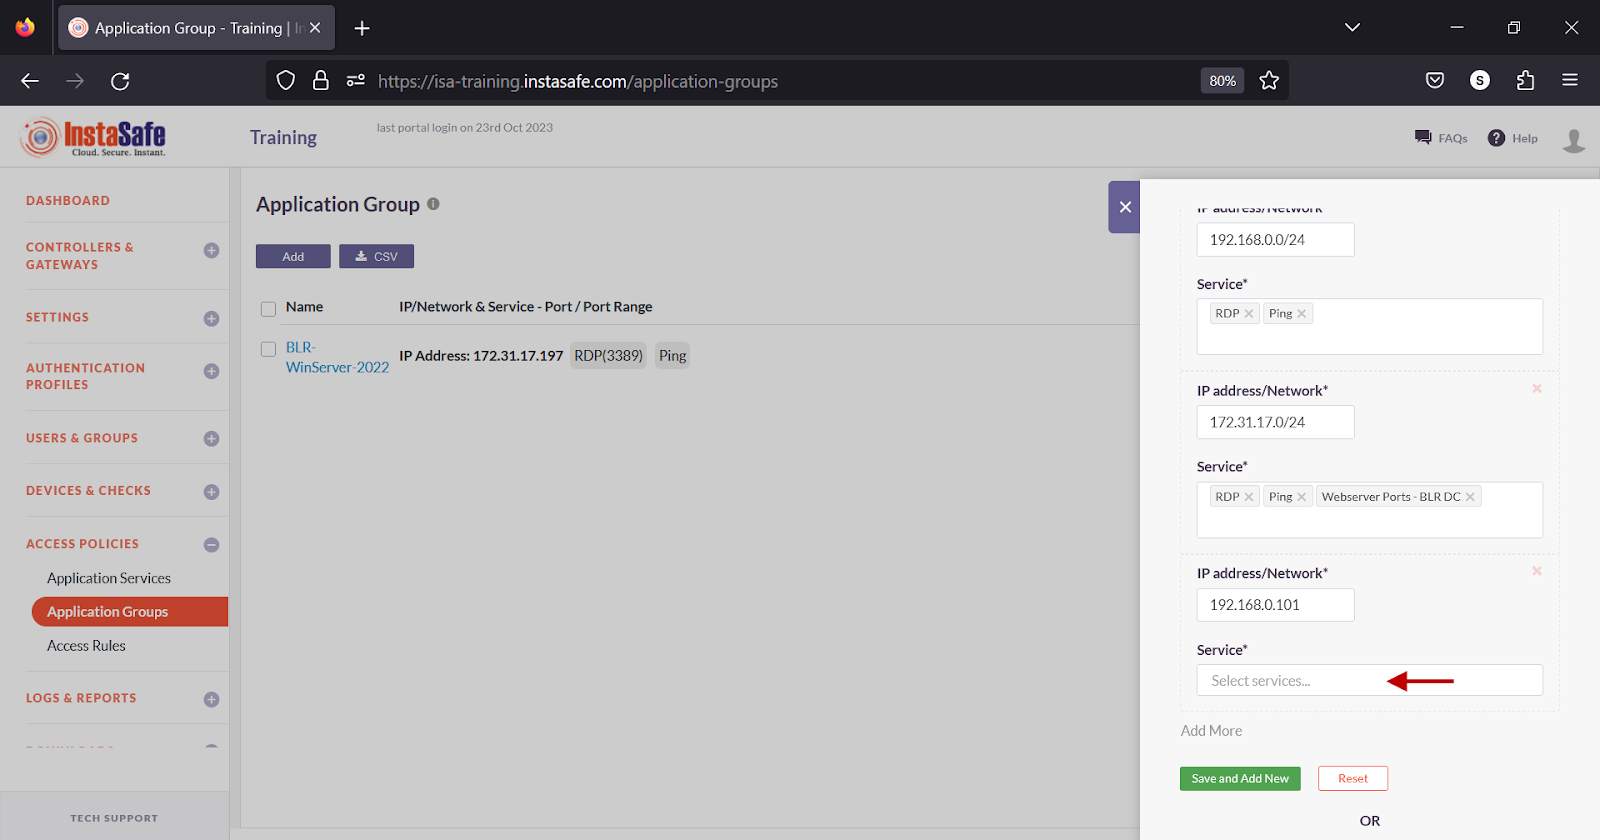
- From the drop-down list, select the application service. Multiple services can be added to this field.
- Click Save and Add New.
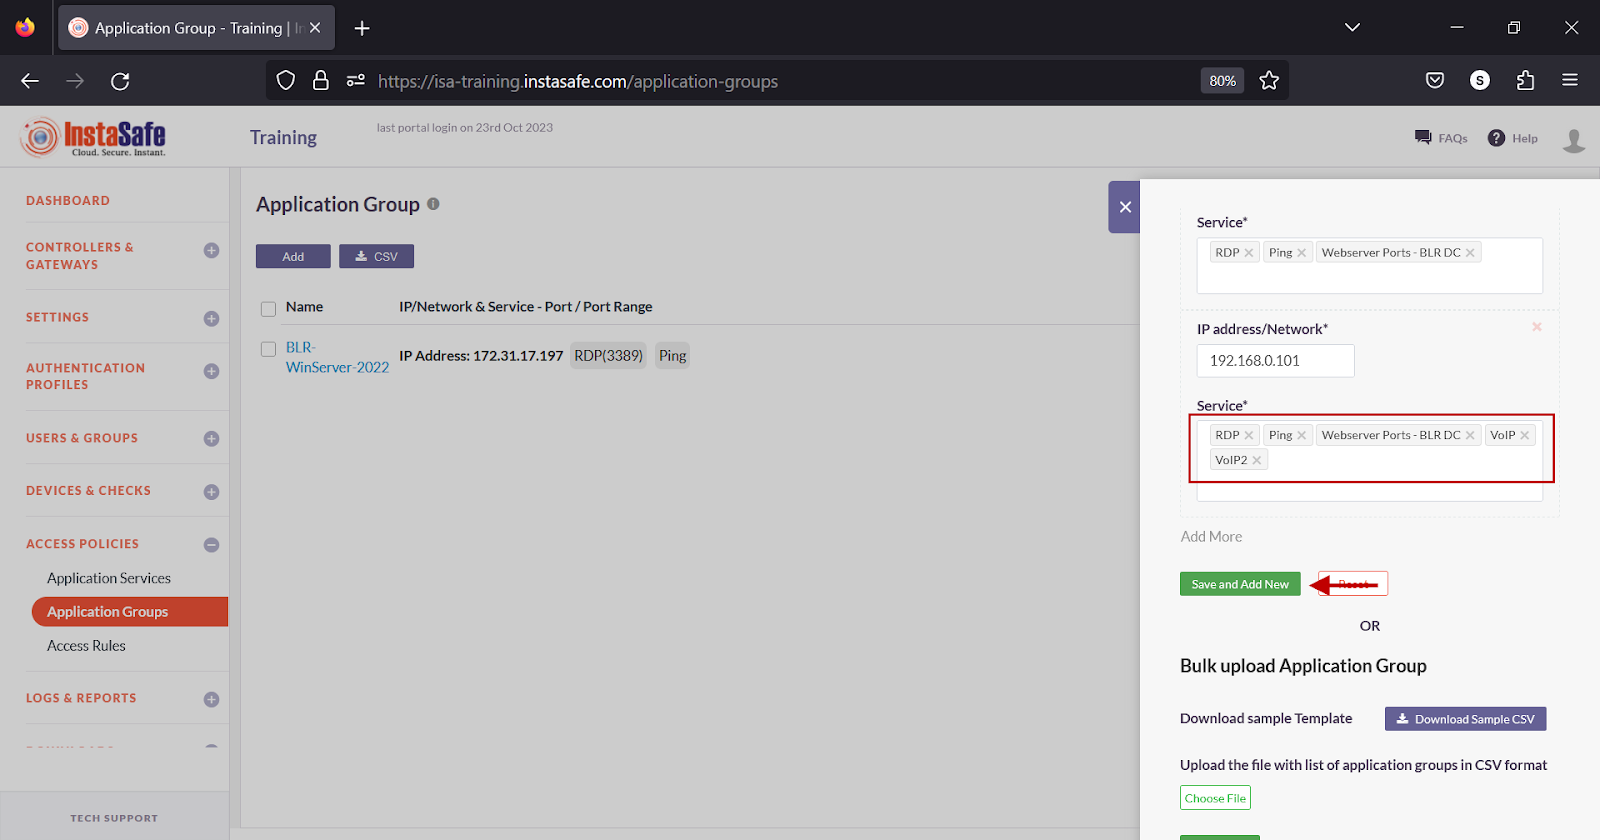
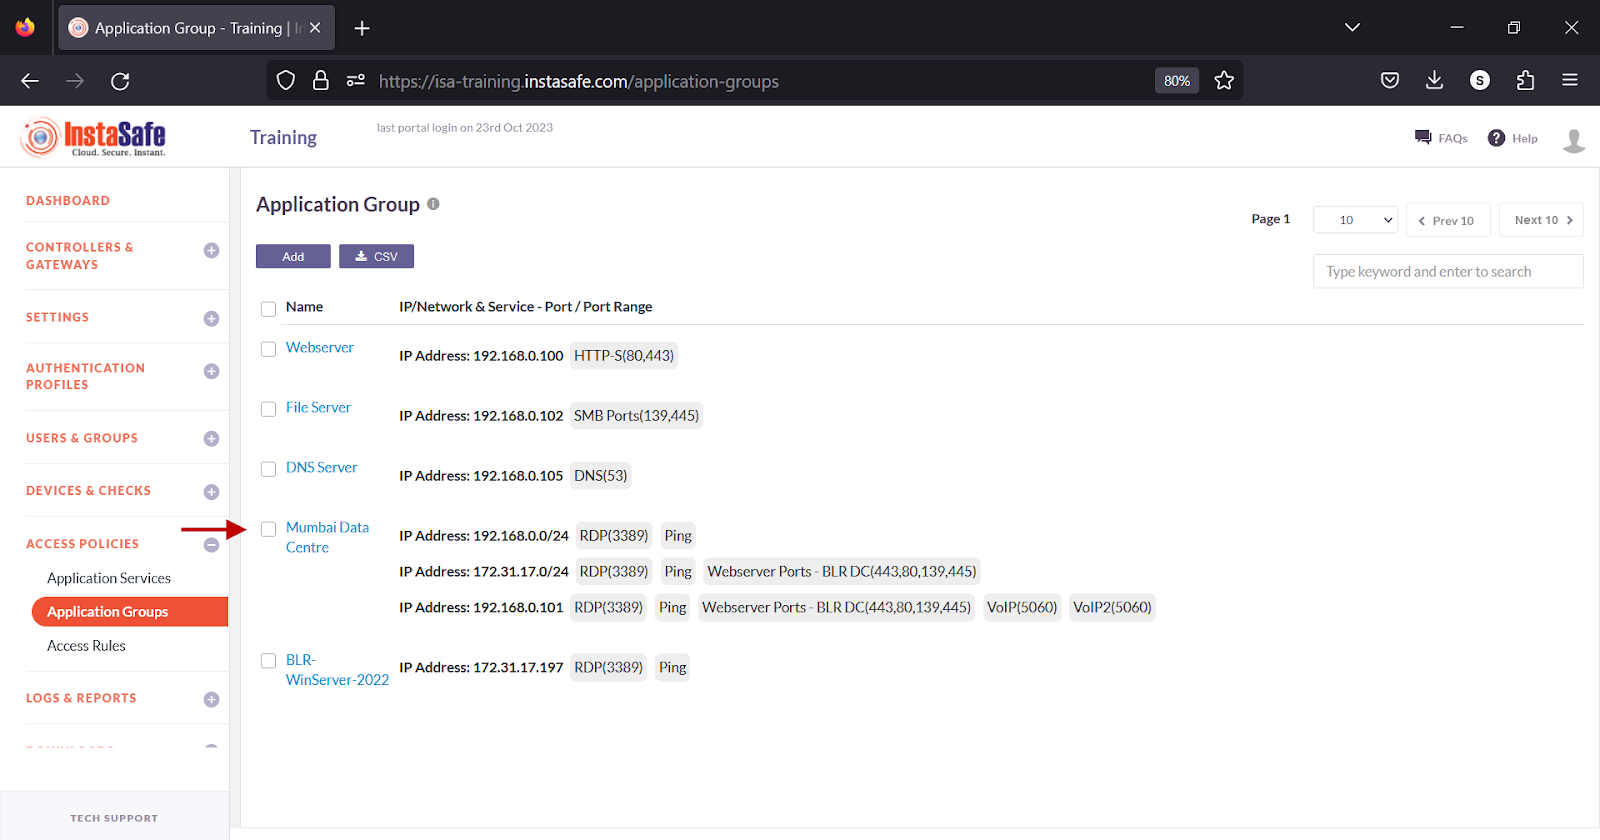
The new group is listed on the page.

Edit Application Groups
- On the Application Group page, click the name of the application group you want to edit.
- In the application group window, click the Edit button.
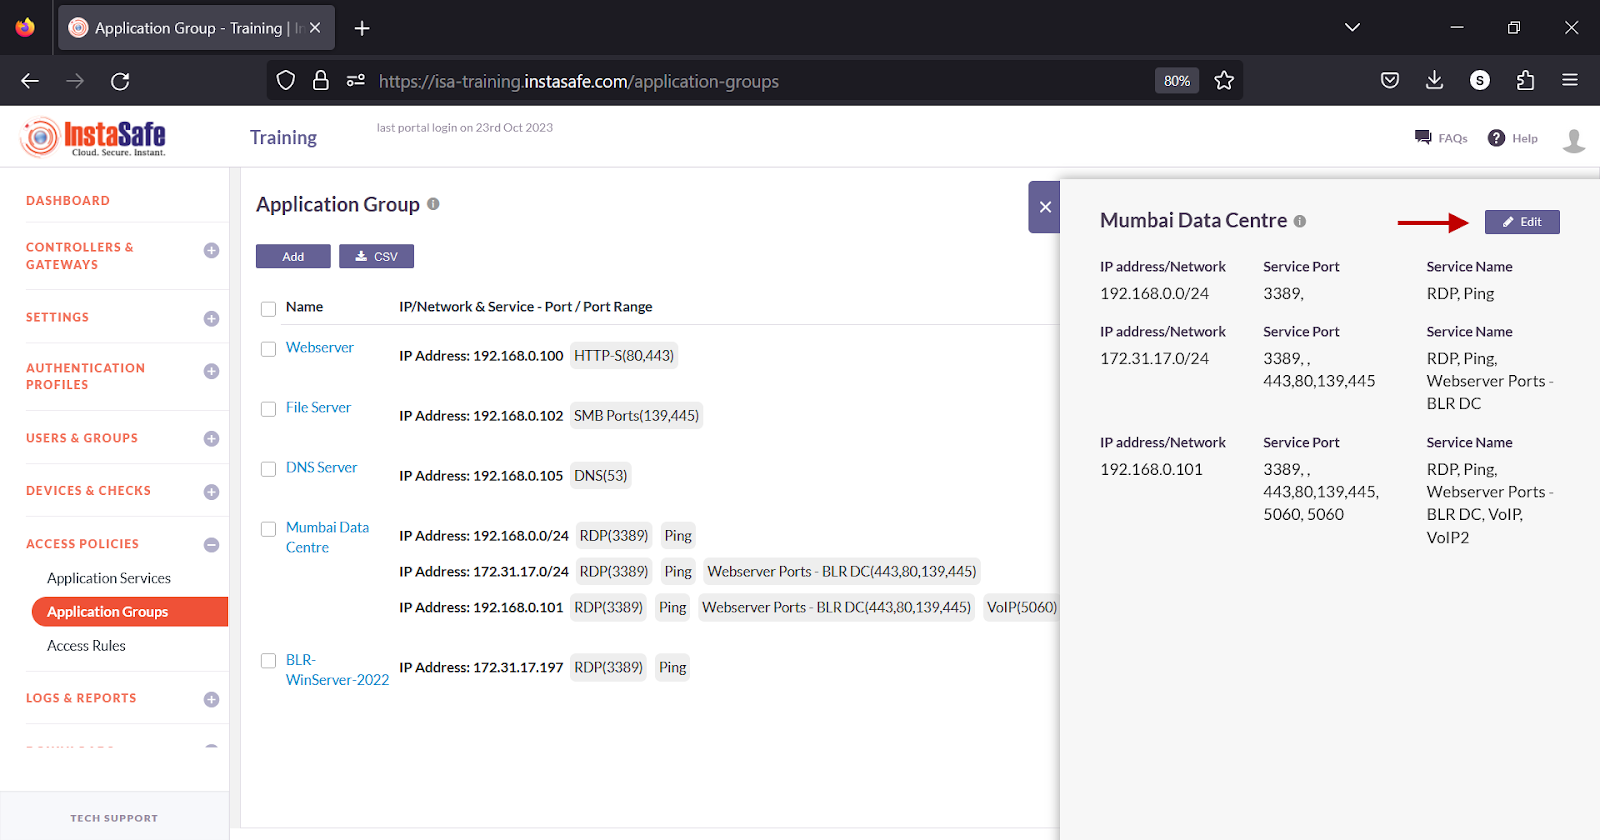
- In the Update Application Group window, you can edit the IP address/Network and Service fields. You can delete an IP address/network and service pair by clicking the “x” icon.
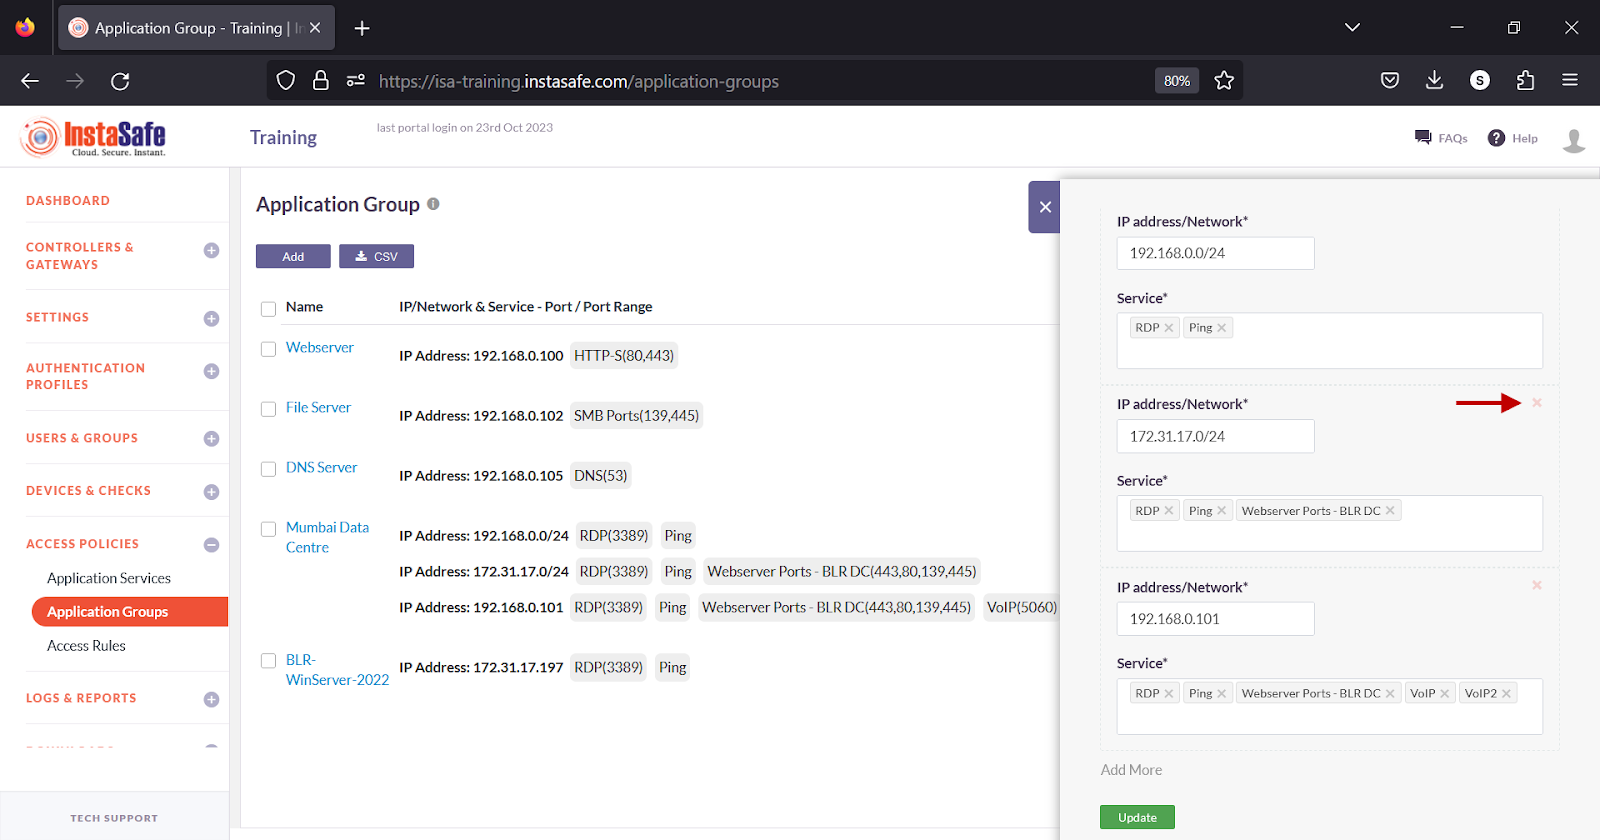
- Click Update to save the change.
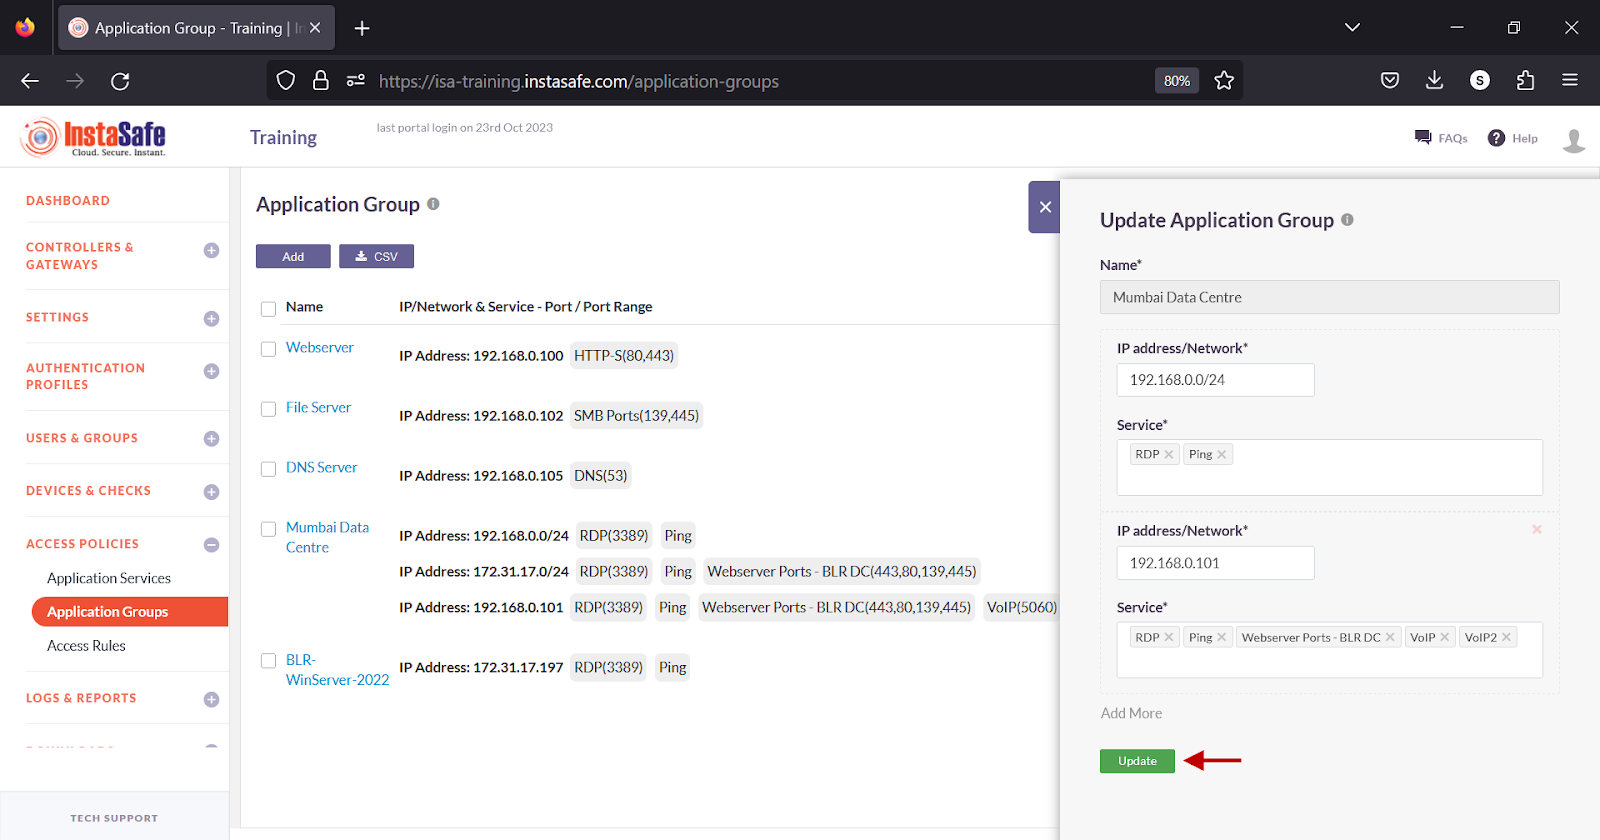
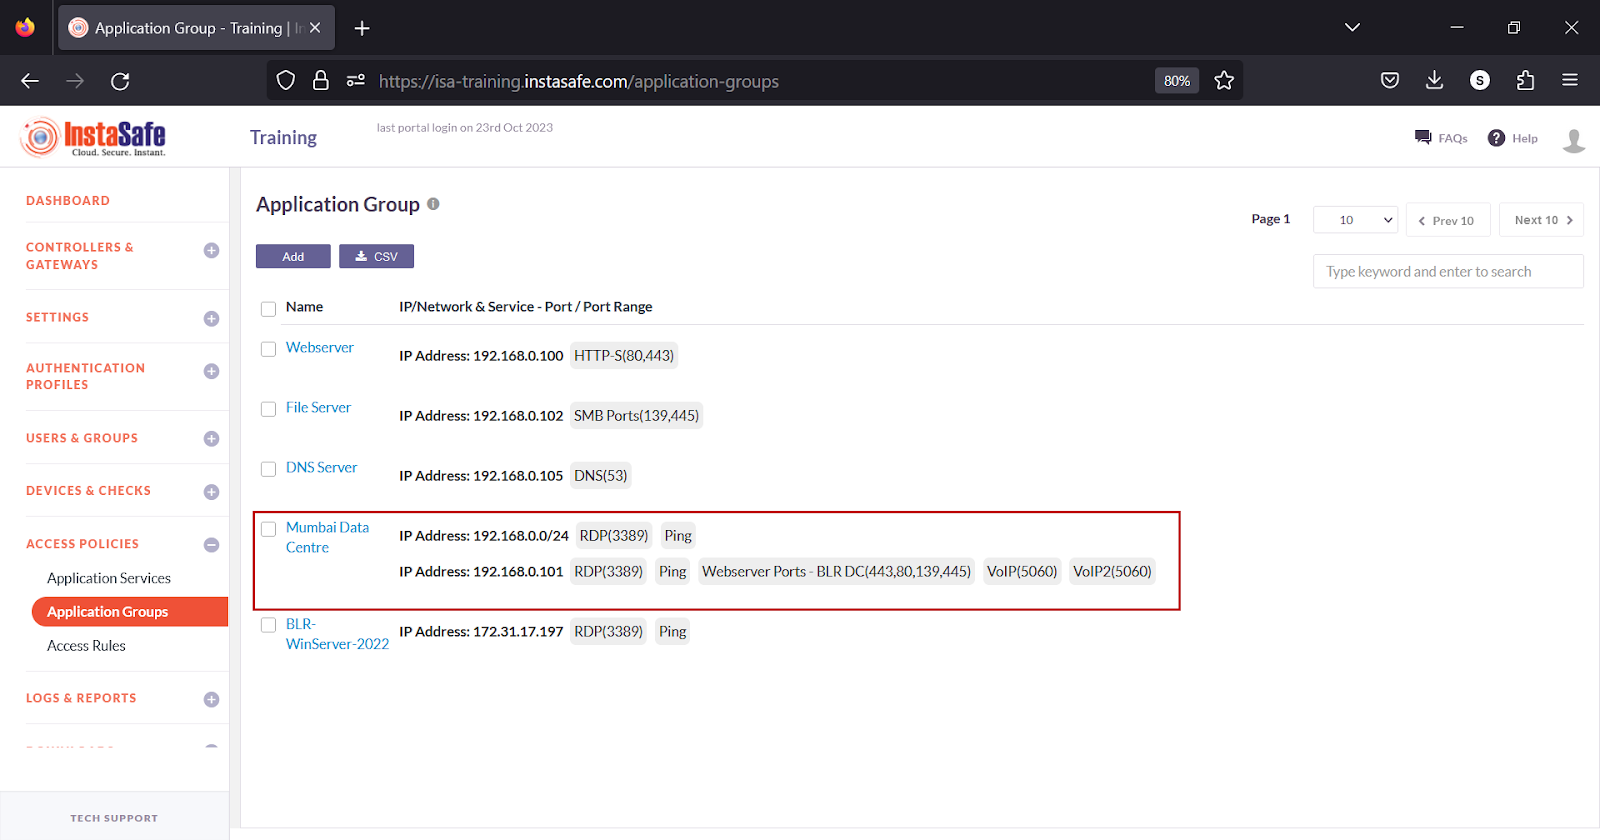
- The updated group is listed on the page.
Add Application Groups in Bulk
This option allows the administrator to add a large number of application groups at once.
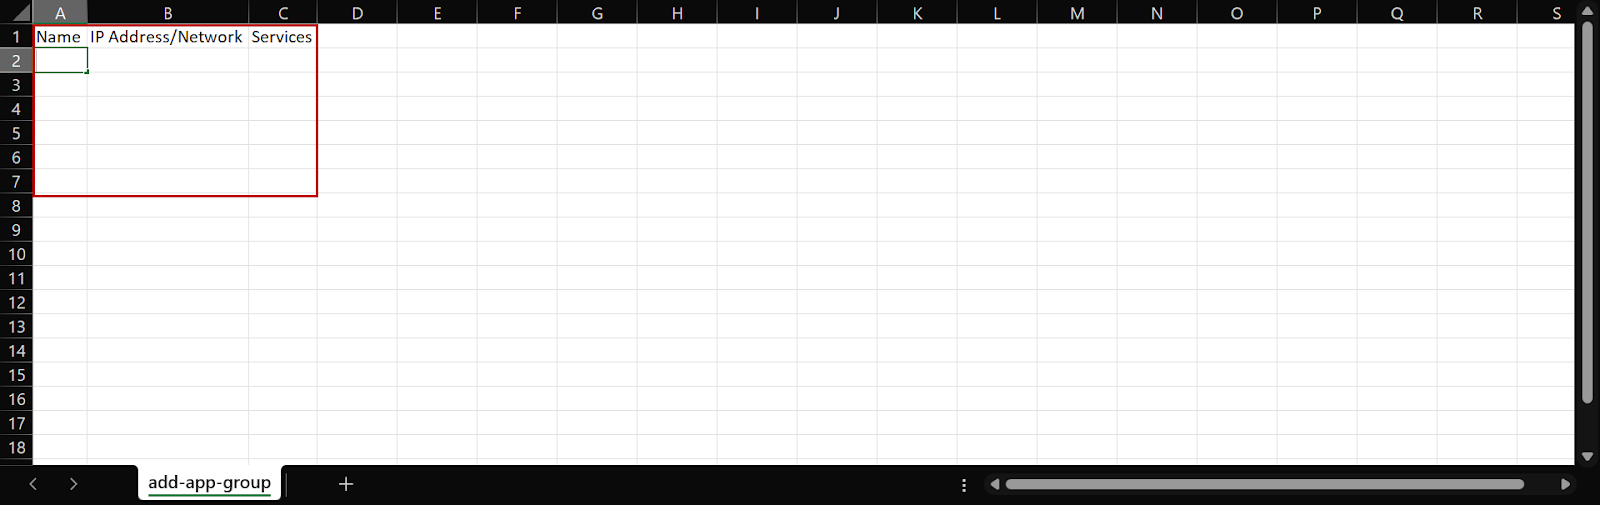
Supported fields in the file are:
- Name: Name for the application group.
- IP Address/Network: The IP address or a subnet in CIDR notation
-
Services: The application services.
-
On the Application Groups page, click the Add button.
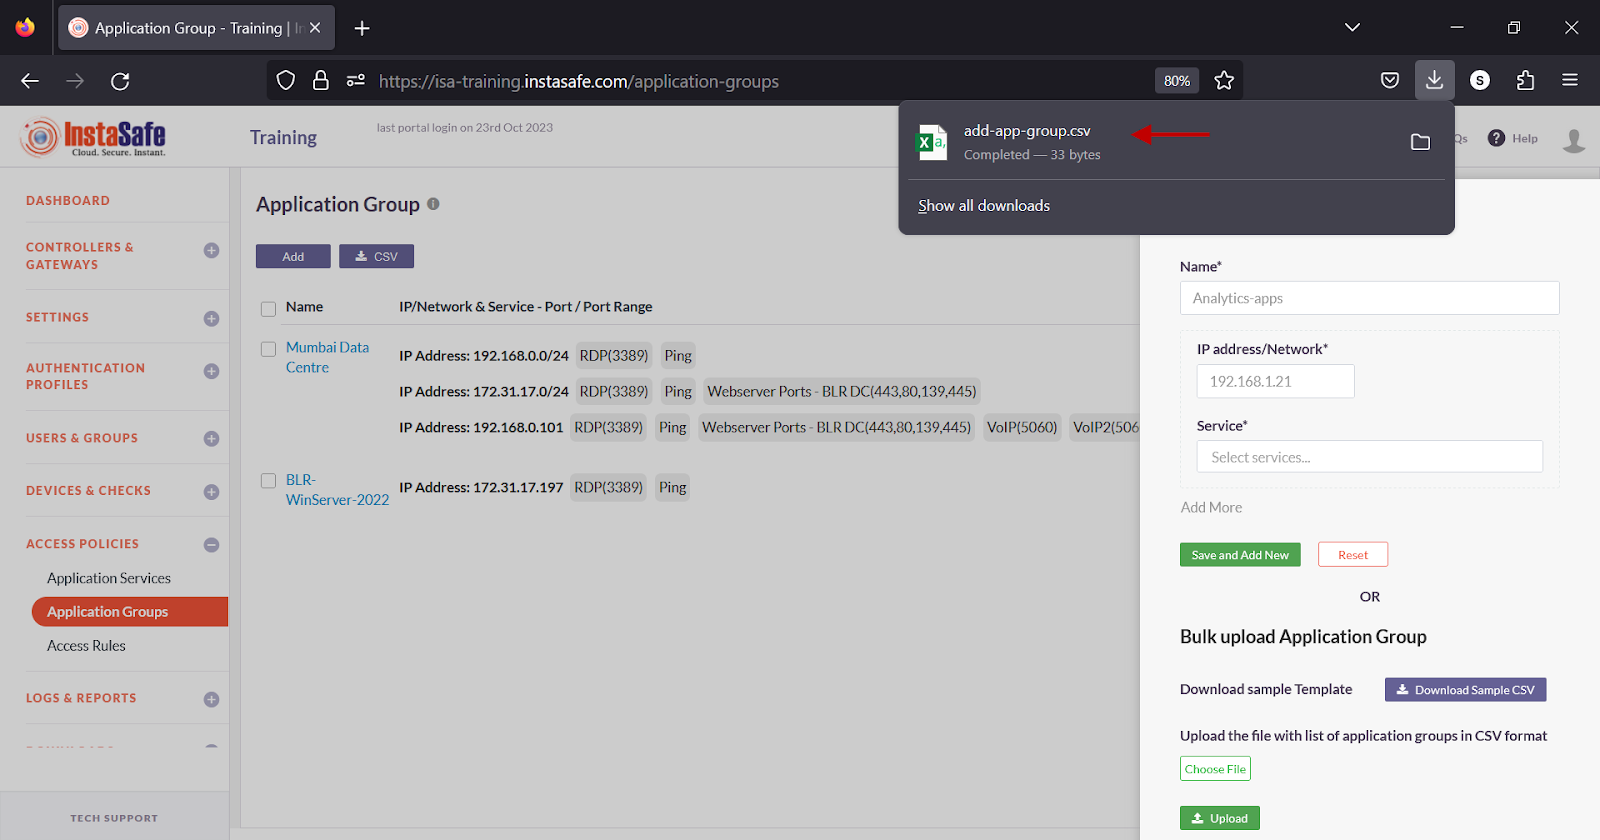
- Under Bulk upload Application Group, click Download Sample CSV.
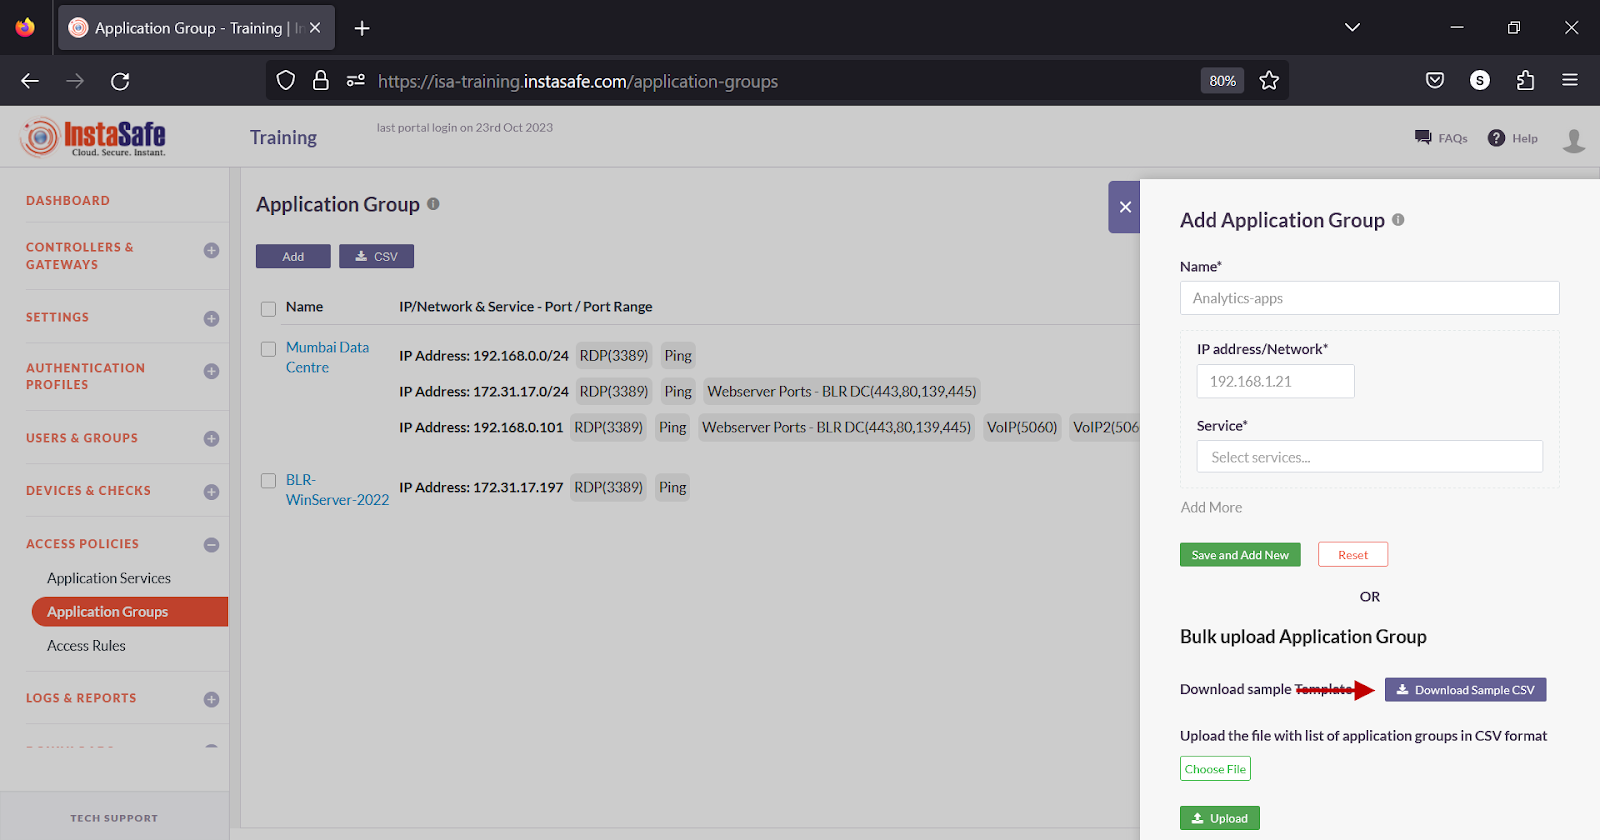
- Open the file using a spreadsheet application.
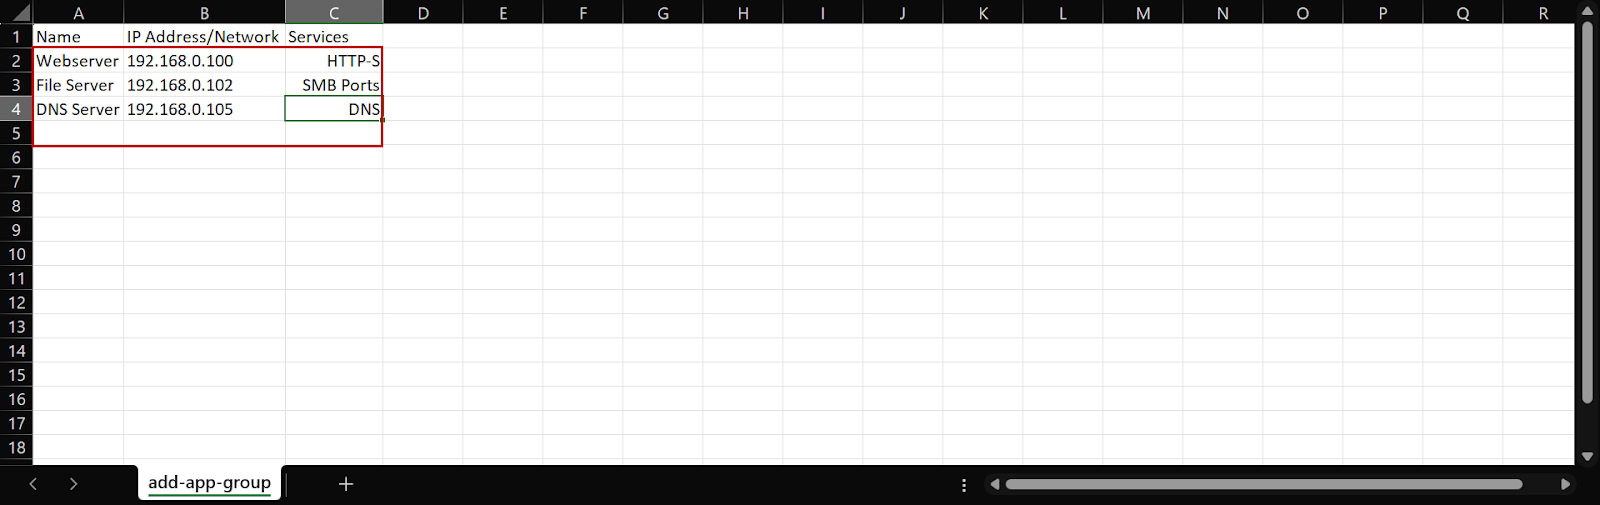
- The sample file has the following fields.
- Enter the group information in their respective fields and save it.
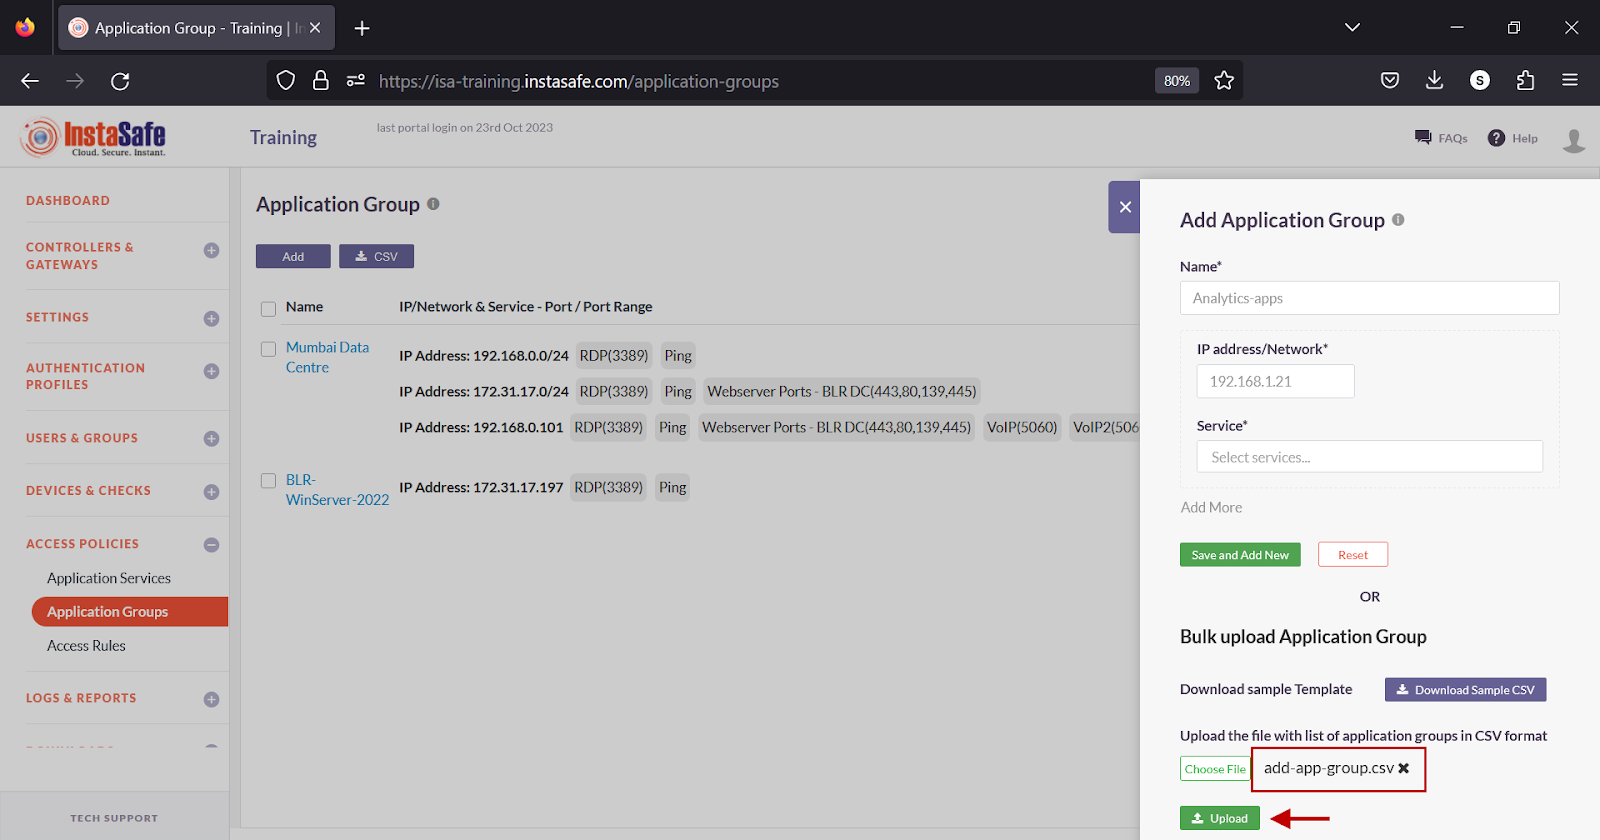
- Under Upload the file …., click Choose File and select the file from the saved location.
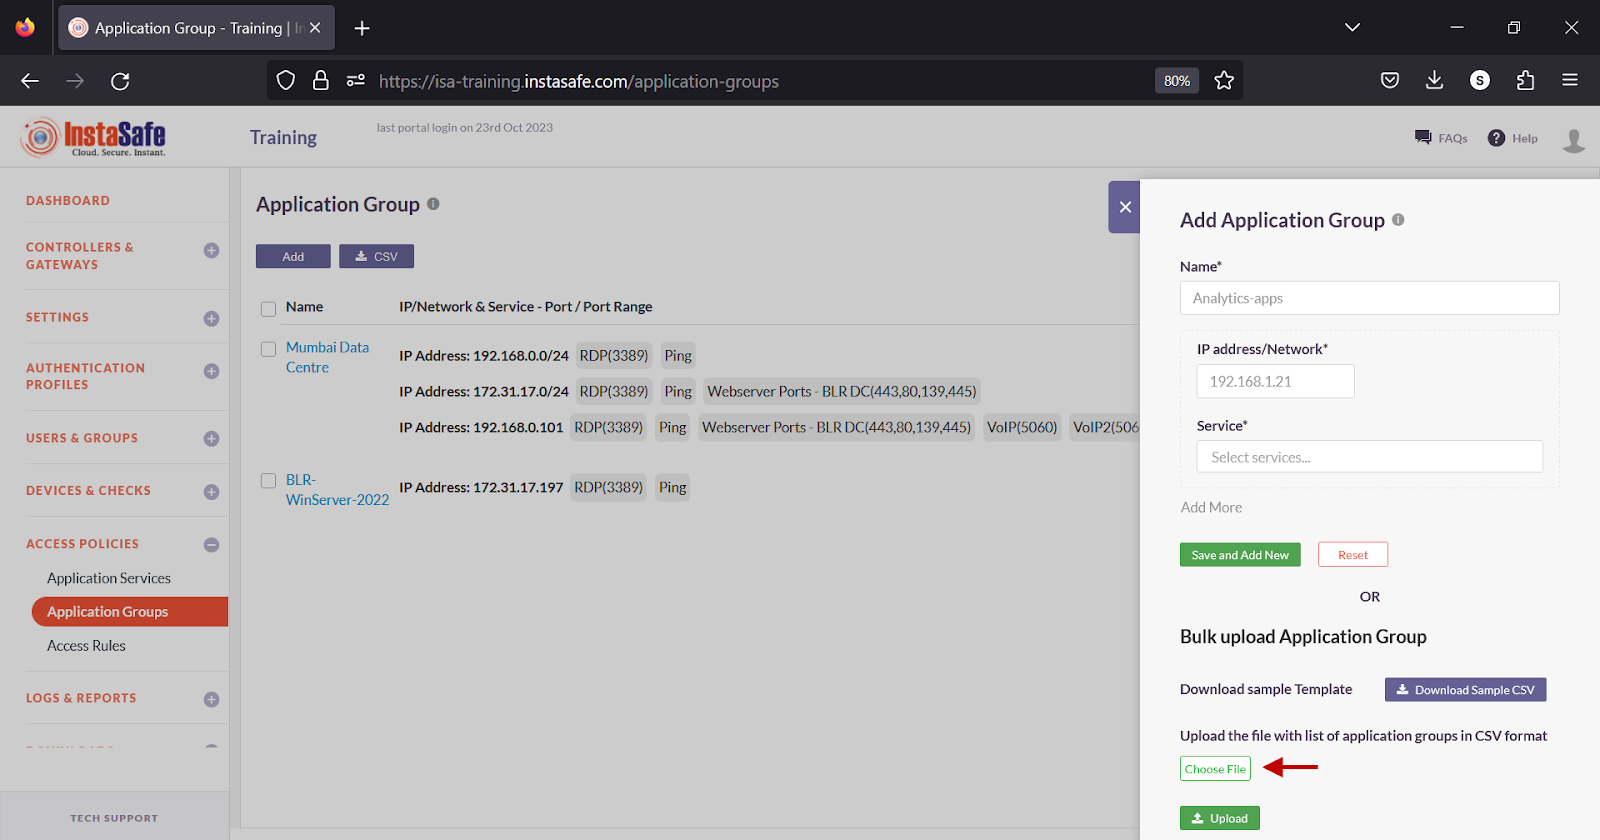
- Click Upload.
- In the Uploaded Application Groups window, review the information and click Save Application Groups.
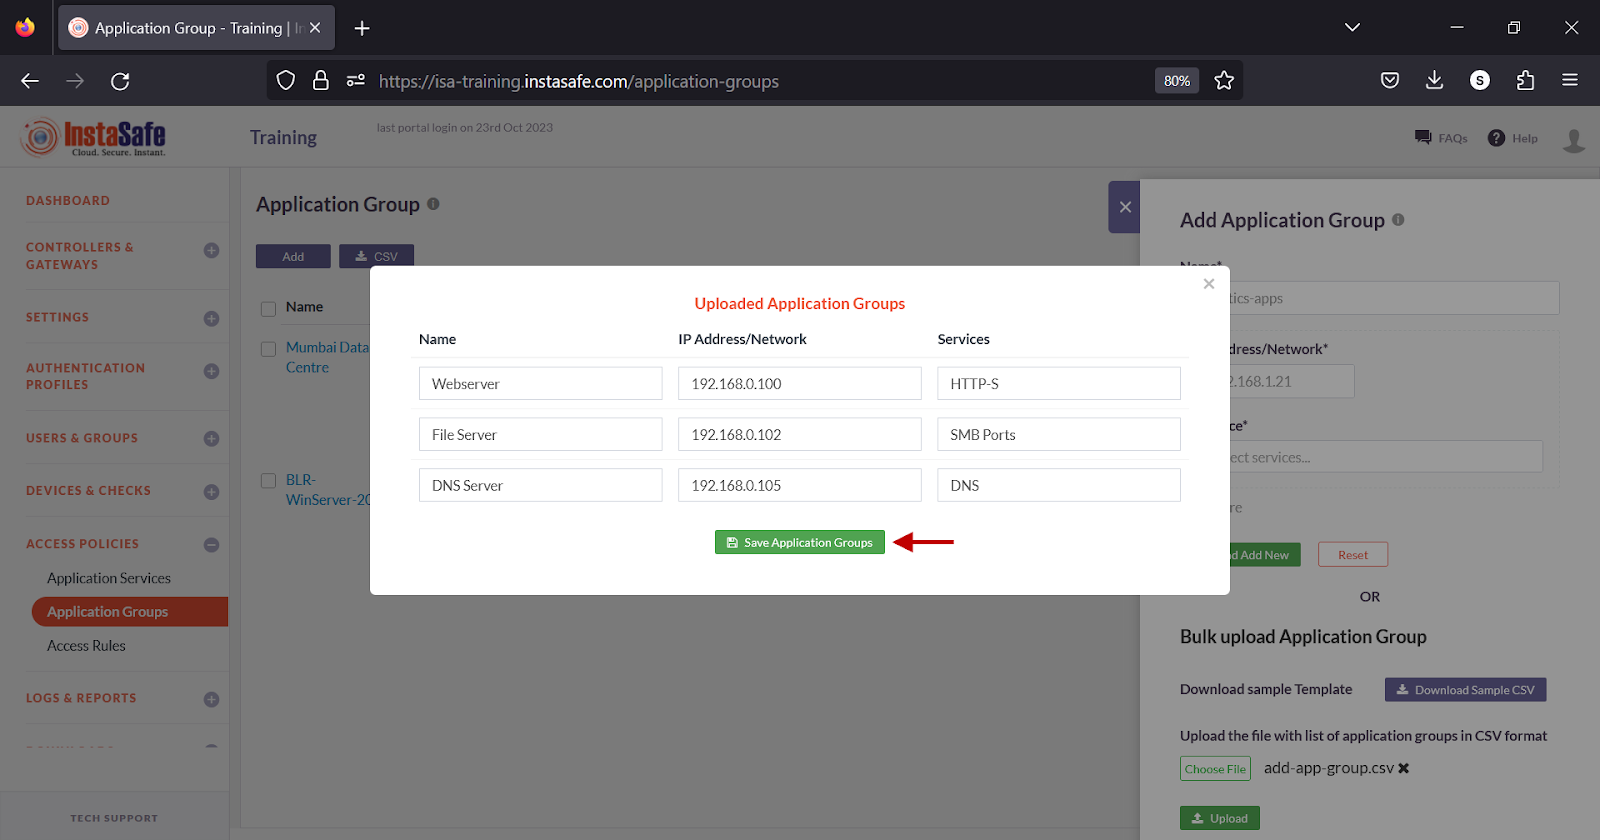
- Click the X button to exit the window.
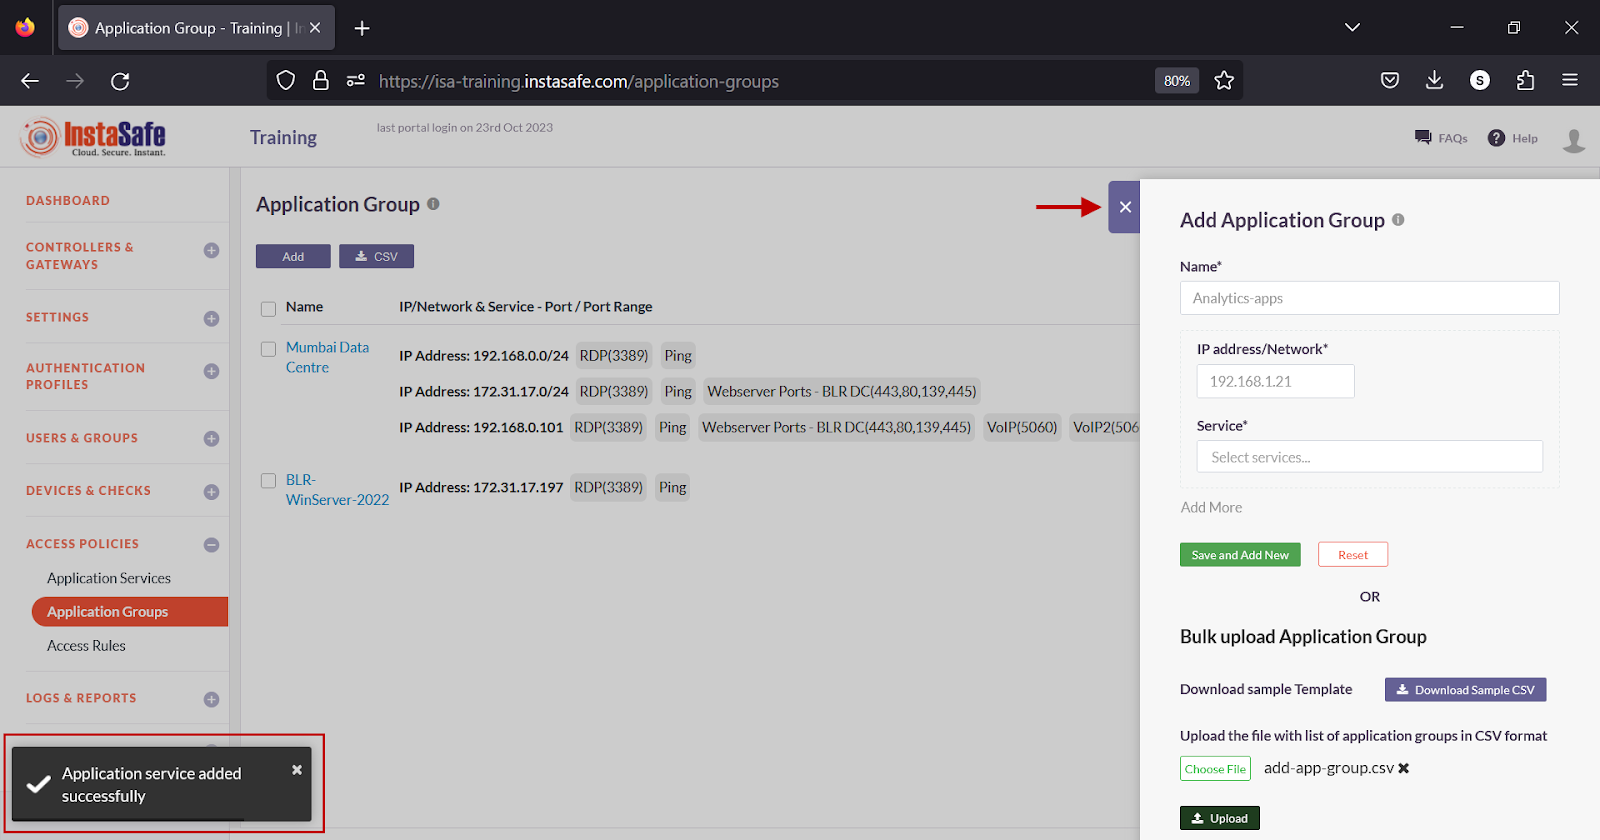
- The newly created application groups are listed on the page.
Download Application Groups List
ISA web portal administrators can download the complete list of application groups by clicking on the CSV button on the Application Groups page. An email with the link to download the file in CSV format is sent to the logged-in administrator’s email address. The file has the following information:
- Name: Name for the application group.
- IP Address/Network: The IP address or subnet in CIDR notation
-
Services: The application services.
-
On the Application Groups page, click the CSV button at the top.
- A message that an email is scheduled to be sent to the administrator’s email address is displayed.
- Click the download link within the email.
- View the file in a spreadsheet application.
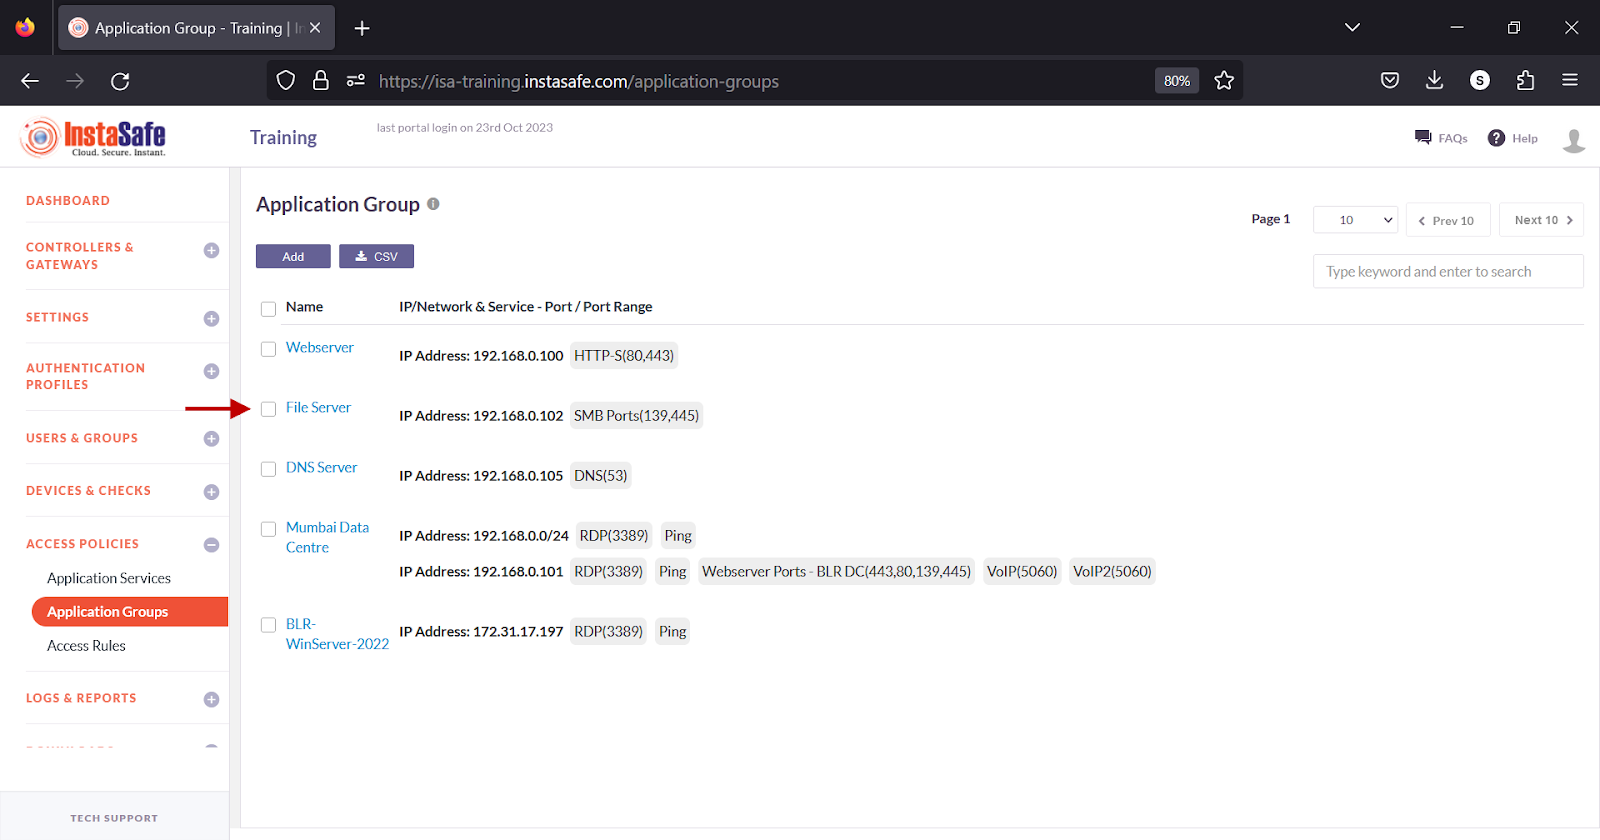
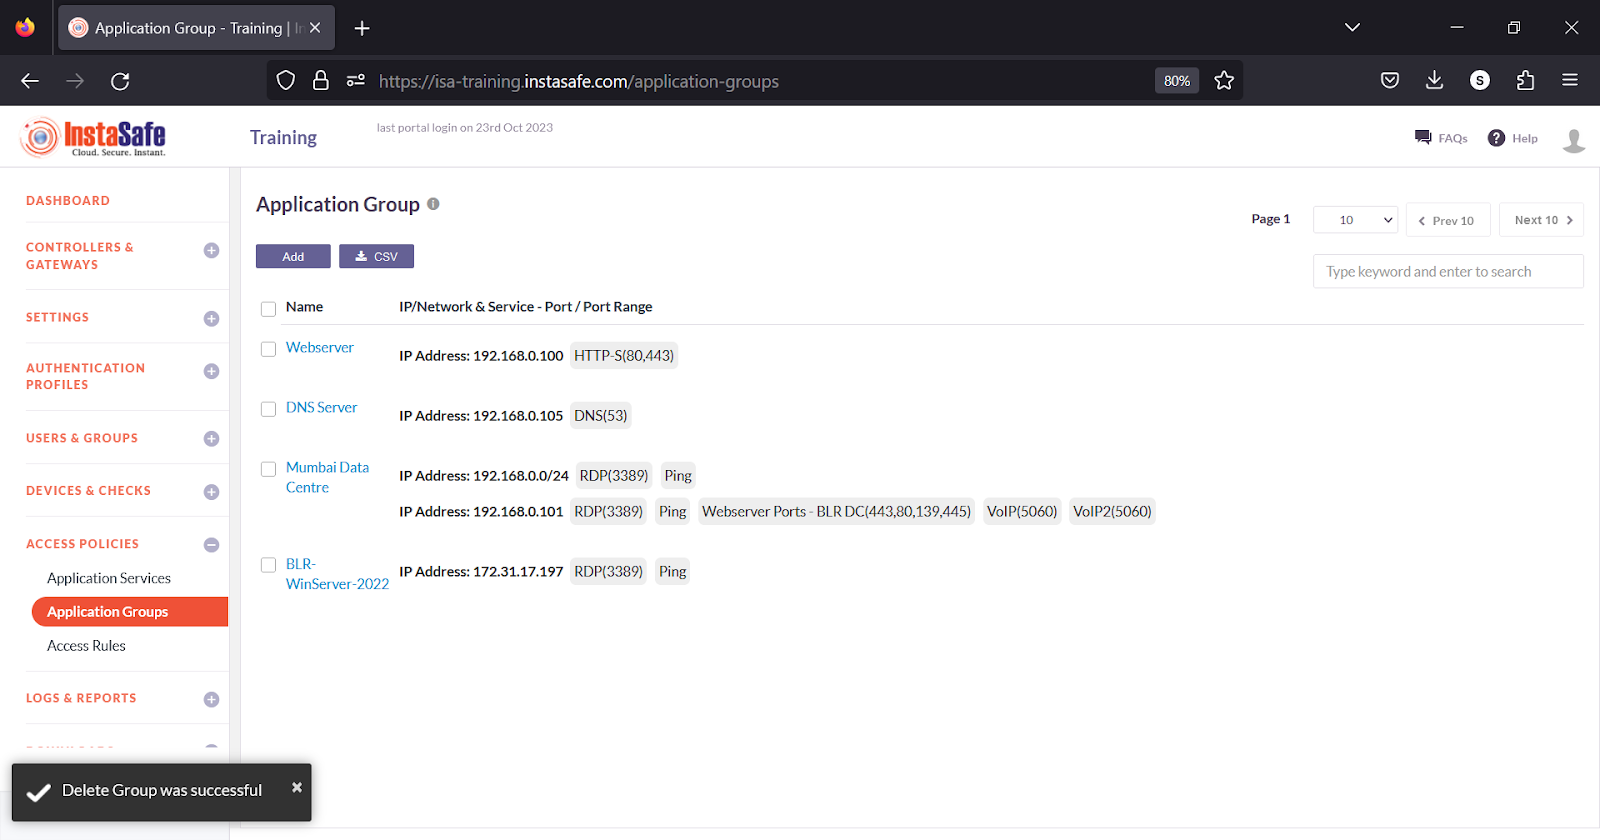
Delete Application Groups
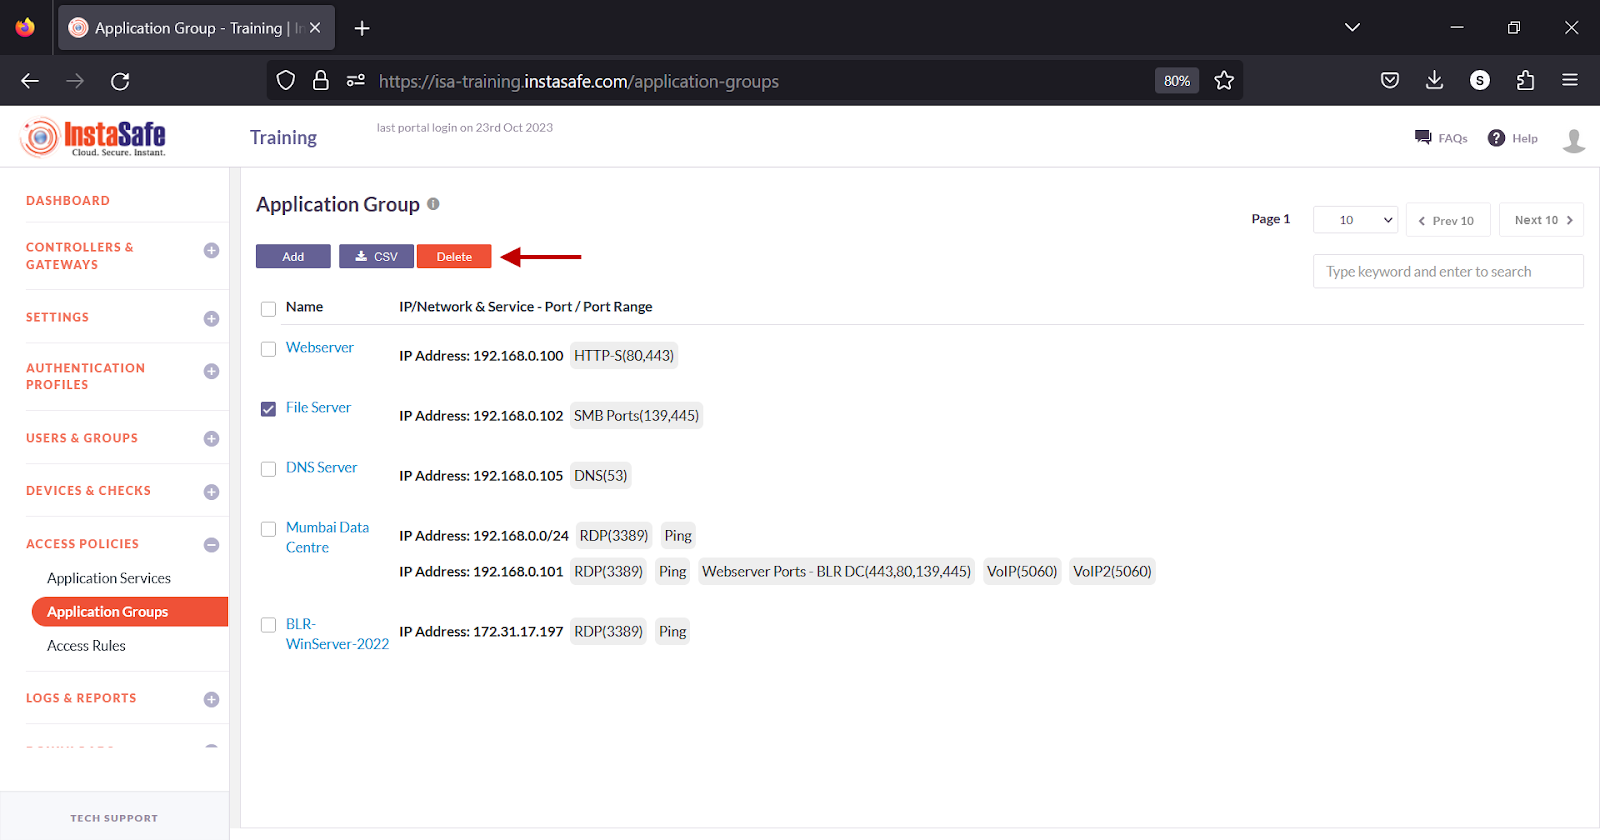
- Enable the check box alongside the group you want to delete.
- Click the Delete button at the top.
- On the pop-up window, click Yes, Delete it!.
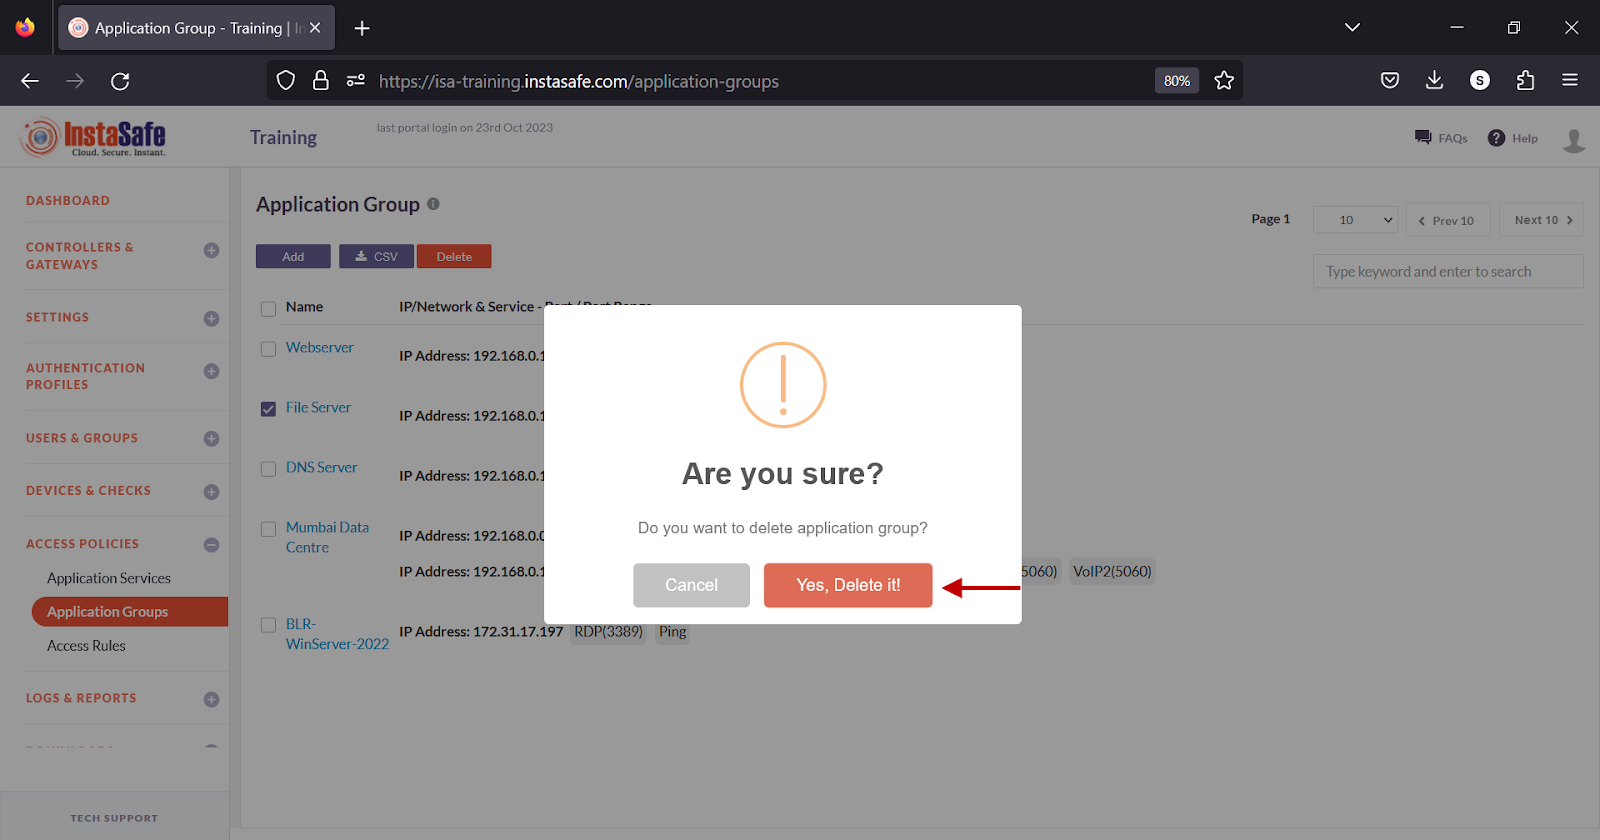
- On the bottom left of the page, the message Delete Group was successful is displayed.
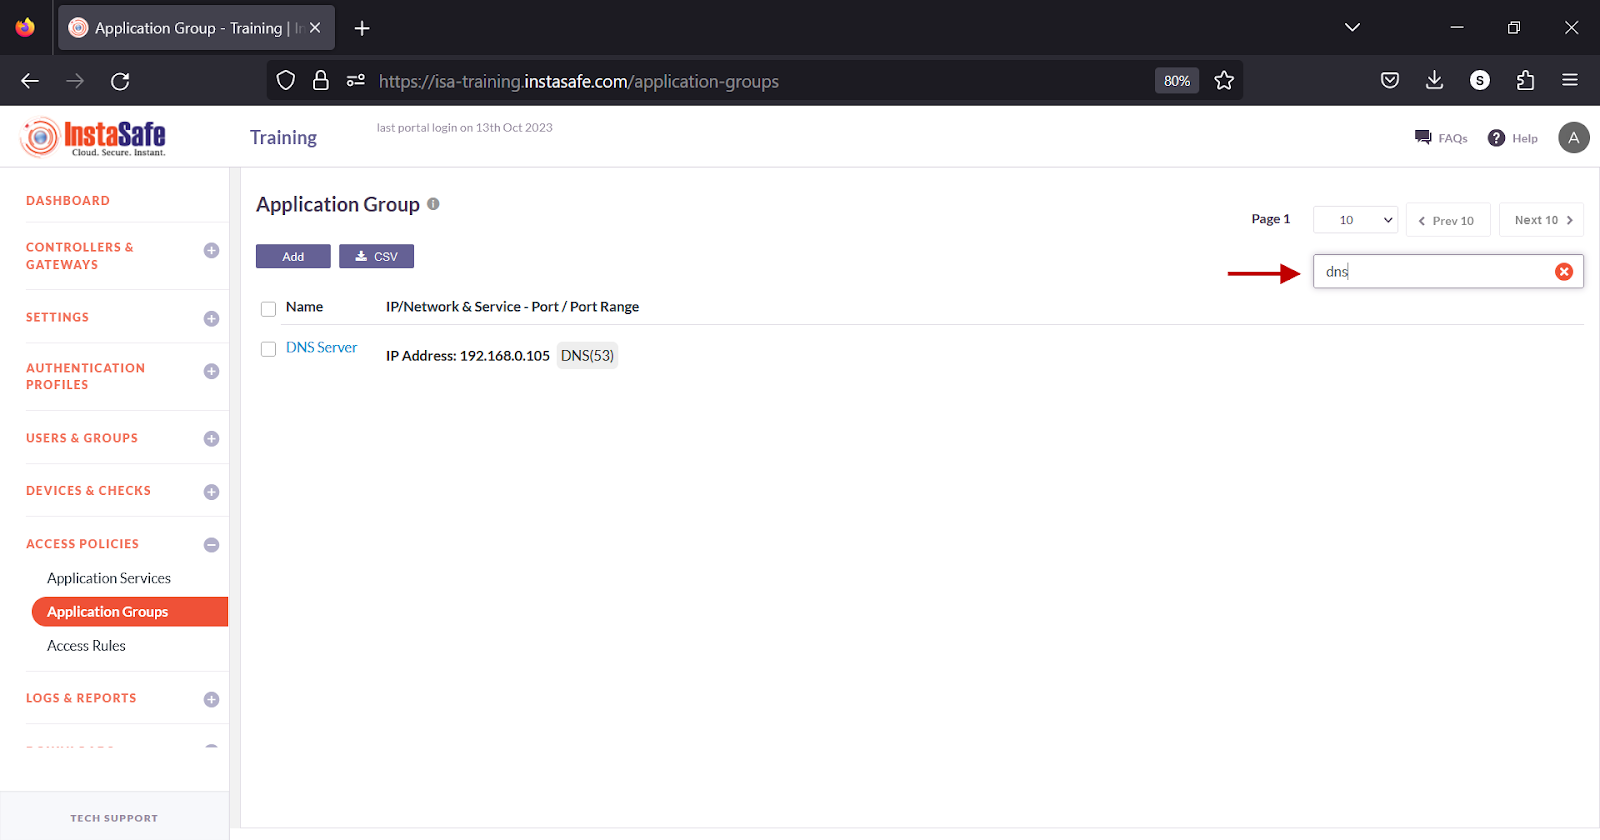
Navigating the Application Groups list
The Application Groups page allows easy pagination for viewing a large number of application groups. You can view application groups by using the navigation control bar at the top right of the page. Click the drop-down box to select the number of groups to be displayed on the Application Groups page. By default, it is set to display 10 groups. You can change it to display either 30 or 50 groups.
Click the Next button to view the next page of groups. Click the Prev button to view the previous page.
You can search an application group by name by entering it in the search box.
Conclusion
The Application Groups page of the ISA web portal allows the administrator to define IP address or network and services pairing which can be used in access rules to allow or deny access to corporate resources.