LDAP Authentication
LDAP (Lightweight Directory Access Protocol) authentication allows user identity verification by validating credentials against a directory server. The ZTAA platform supports LDAP as an authentication method, with TOTP-based Multi-Factor Authentication (MFA) as an added security layer.
Prerequisites
- A service account must be created within the ZTAA tenant.
- Required TCP ports must be open:
389for Go Auth389and636for NGINX- Update configuration in:
- Go Auth properties file
- NGINX properties file
- OpenVPN server must be created and configured.
- In AWS Security Group, OpenVPN IP must be allowed on TCP port
389.
Step-by-Step Configuration
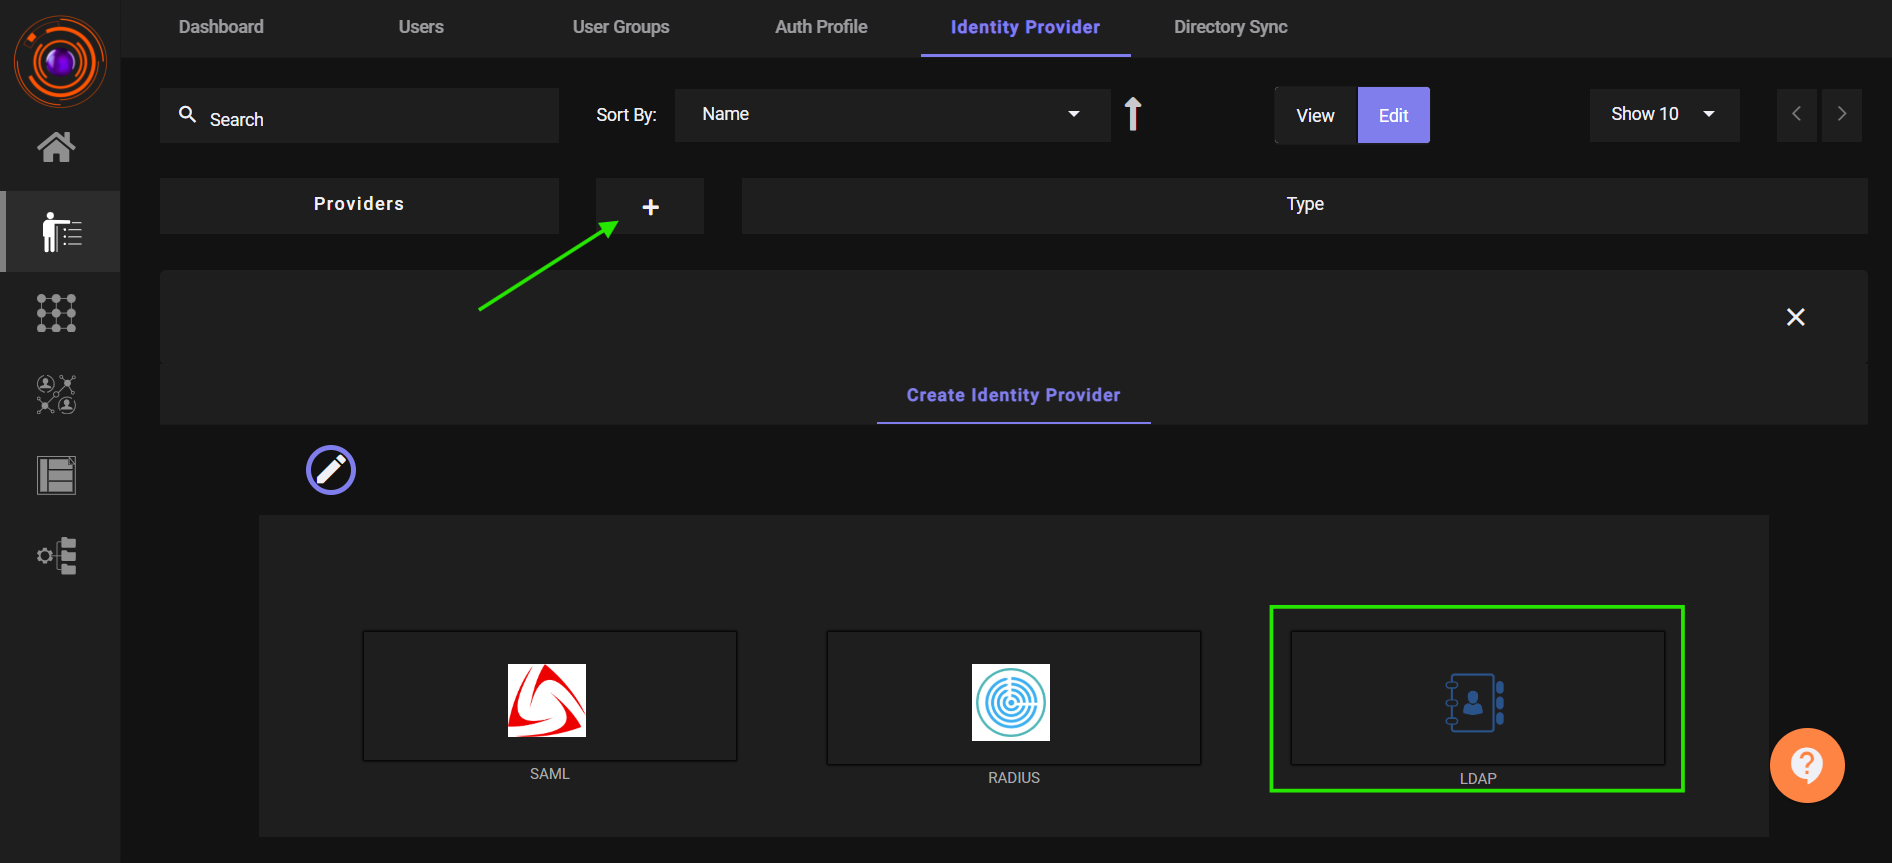
1. Configure ZTAA as an LDAP Identity Provider
- Navigate to:
ZTAA Console → Identity Management → Identity Provider - Click the ➕ button and select LDAP.
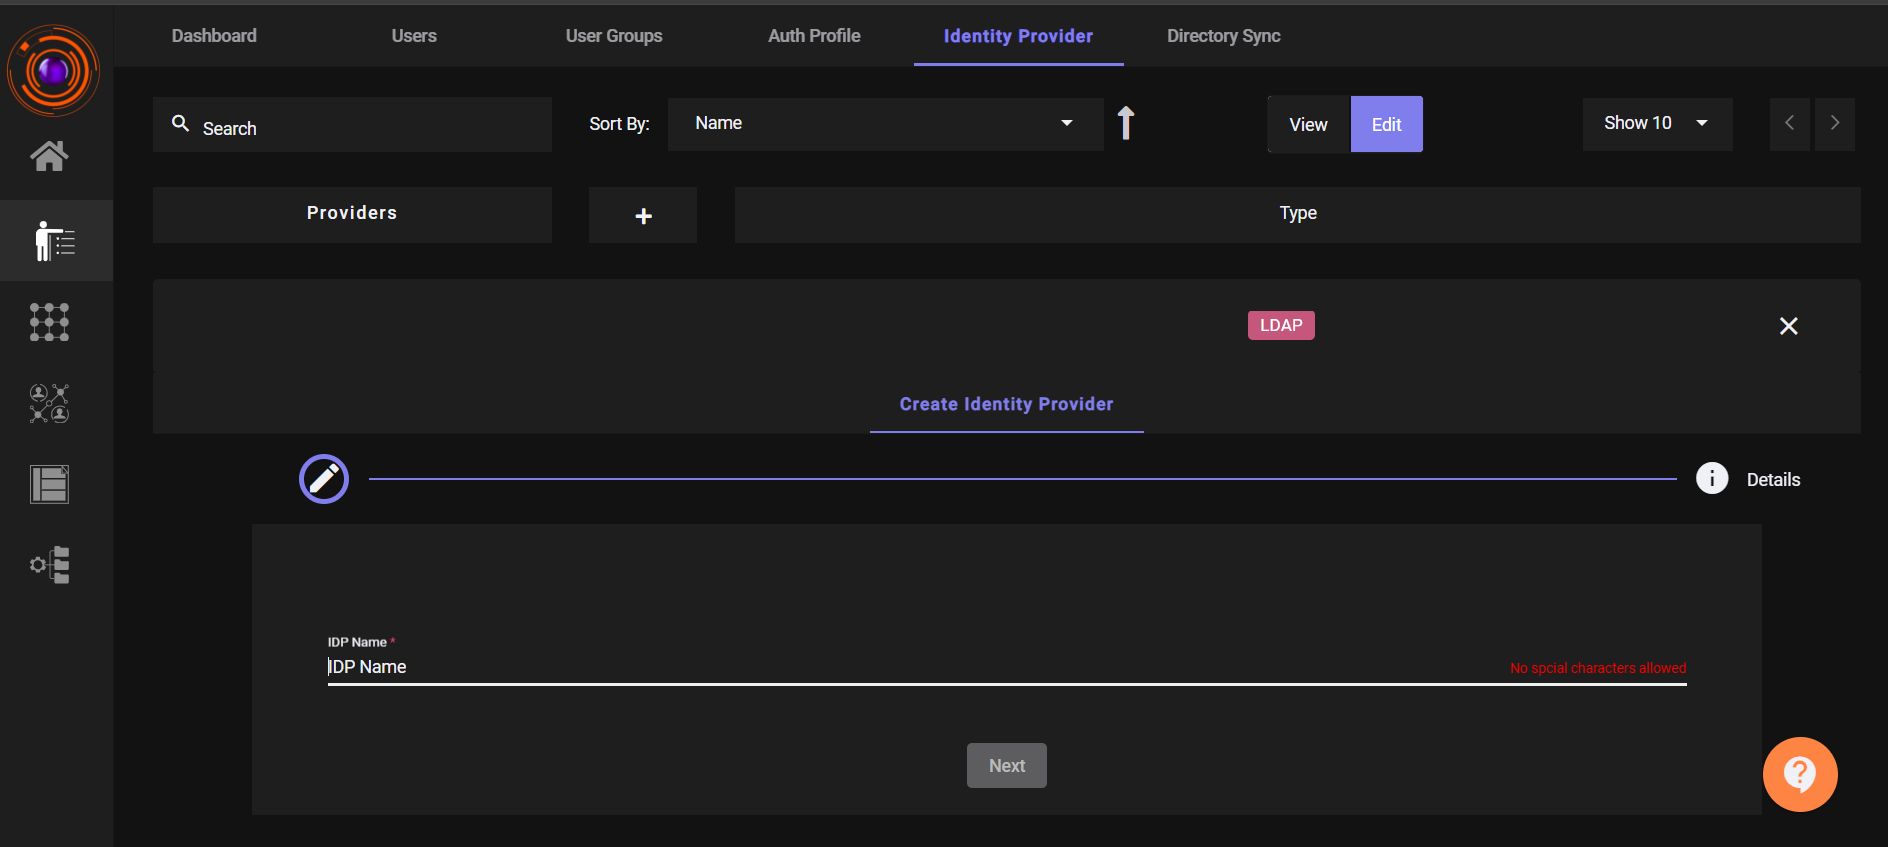
-
Provide an IDP Name, then click Next.
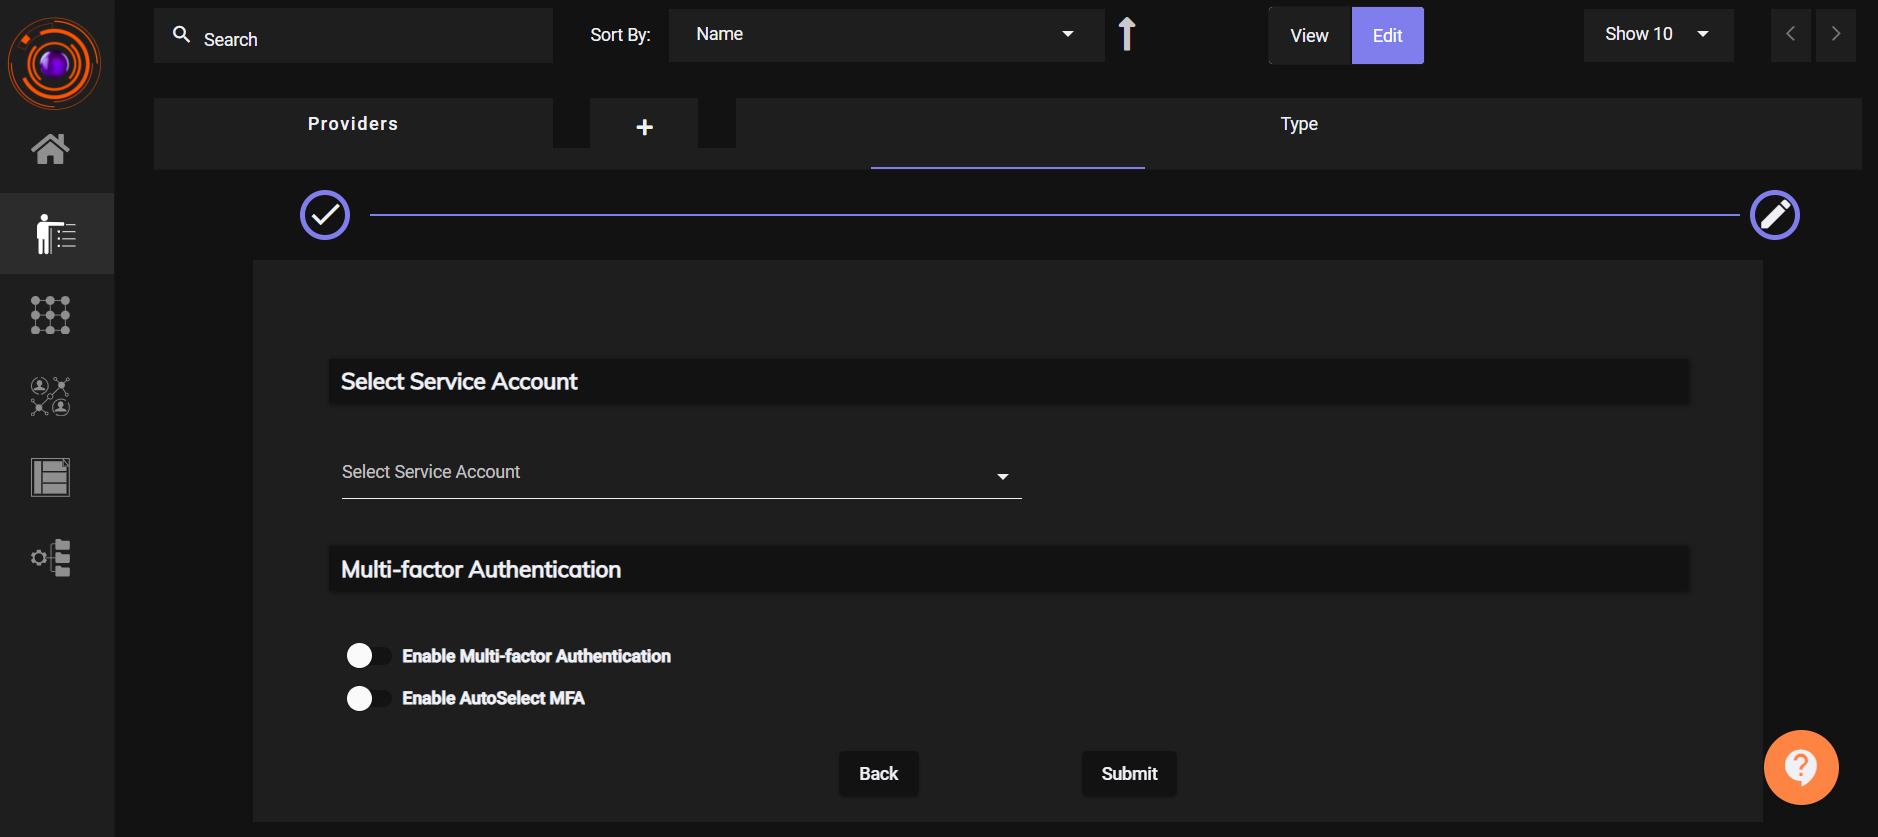
-
Choose a Service Account from the dropdown.
- (Optional) Enable the Multi-Factor Authentication (MFA) toggle.
-
Click Submit.
-
Once created, the Bind DN field will be displayed.
Note this value — it will be used during OpenVPN integration.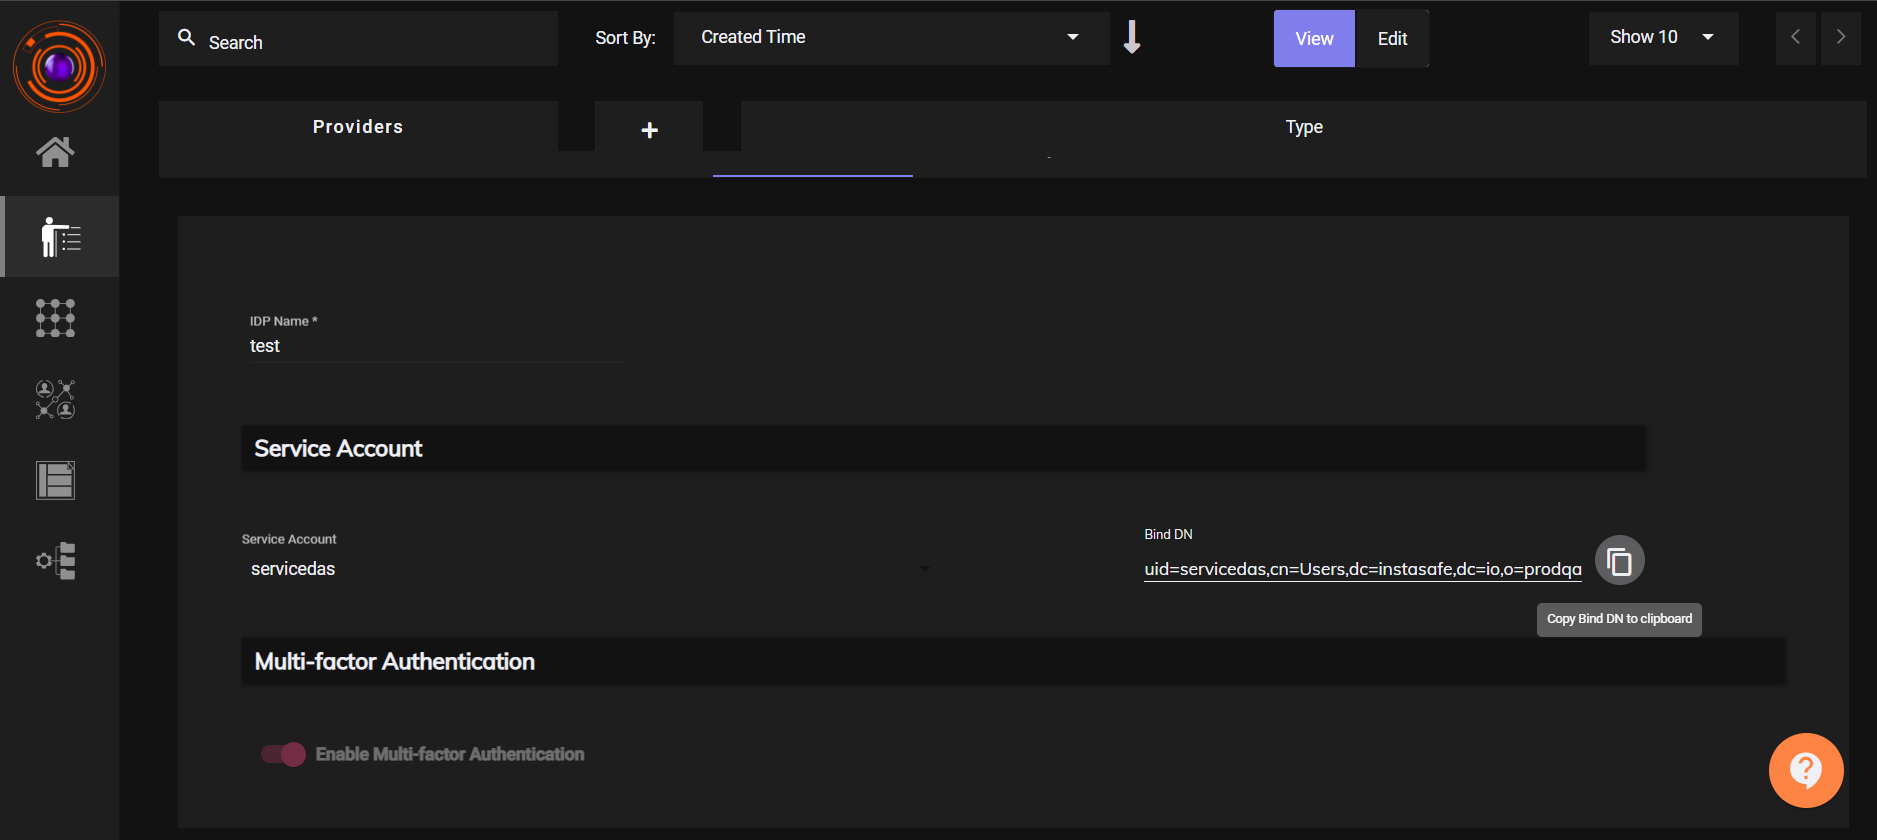
2. Create a User and User Group in ZTAA
- Create an User:
Navigate toIdentity Management → Users, and add a new user. - Create an User Group:
Go toIdentity Management → User Groups, and add the user to this group. - Auth Profile:
Add the created user or group to the Authentication Profile . -
Bind User Group to LDAP Profile:
InIdentity Management → LDAP Profile, click Add User Group and link the relevant group.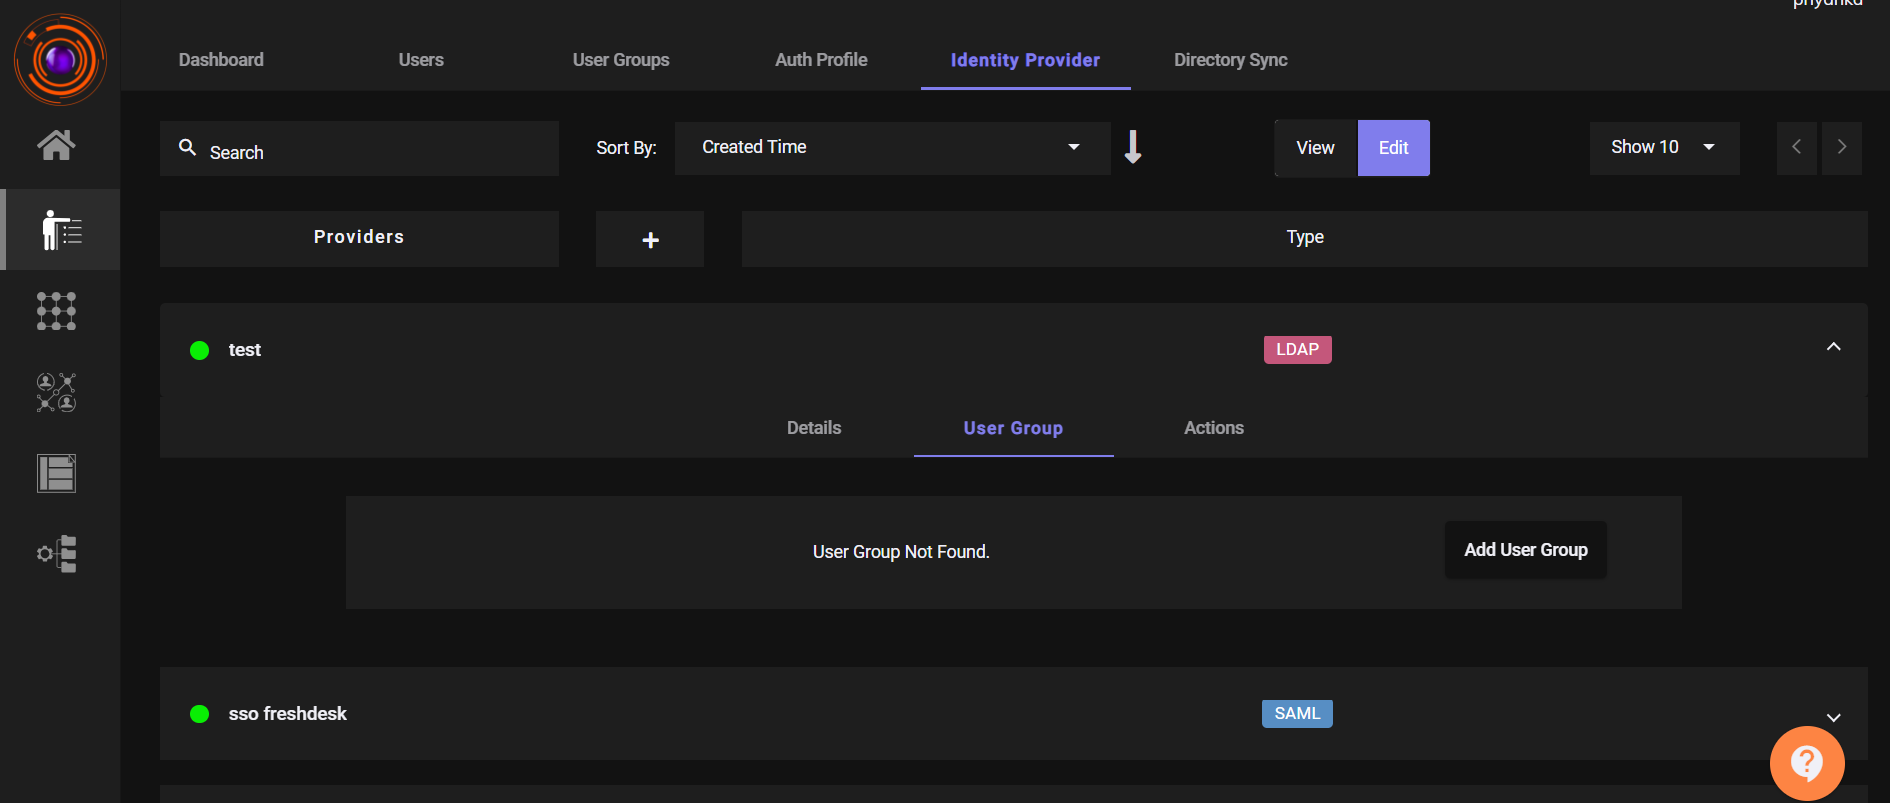
3. Configure LDAP Authentication in OpenVPN
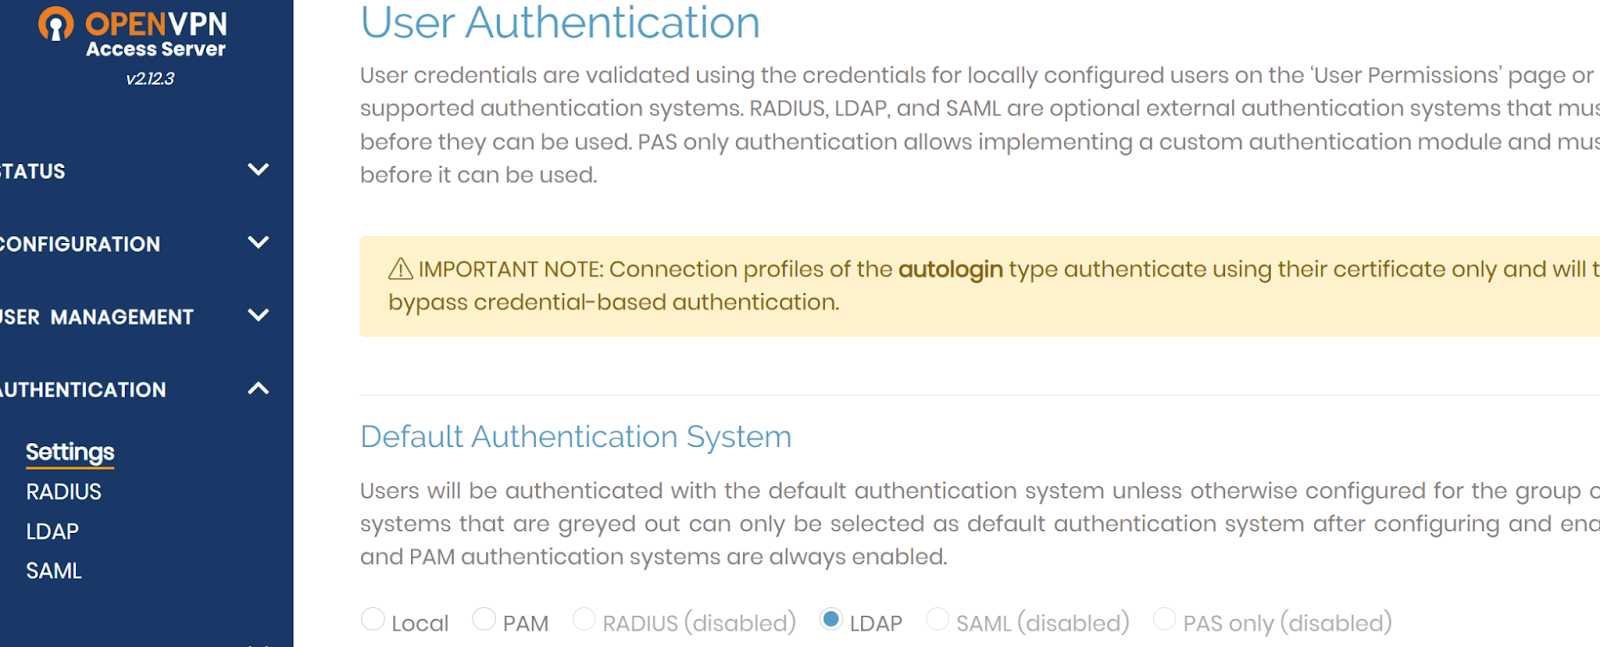
3.1 Set LDAP as the Default Auth System
- Log in to the OpenVPN Admin Portal.
- Go to
Authentication → Settings. -
Set LDAP as the Default Authentication System.
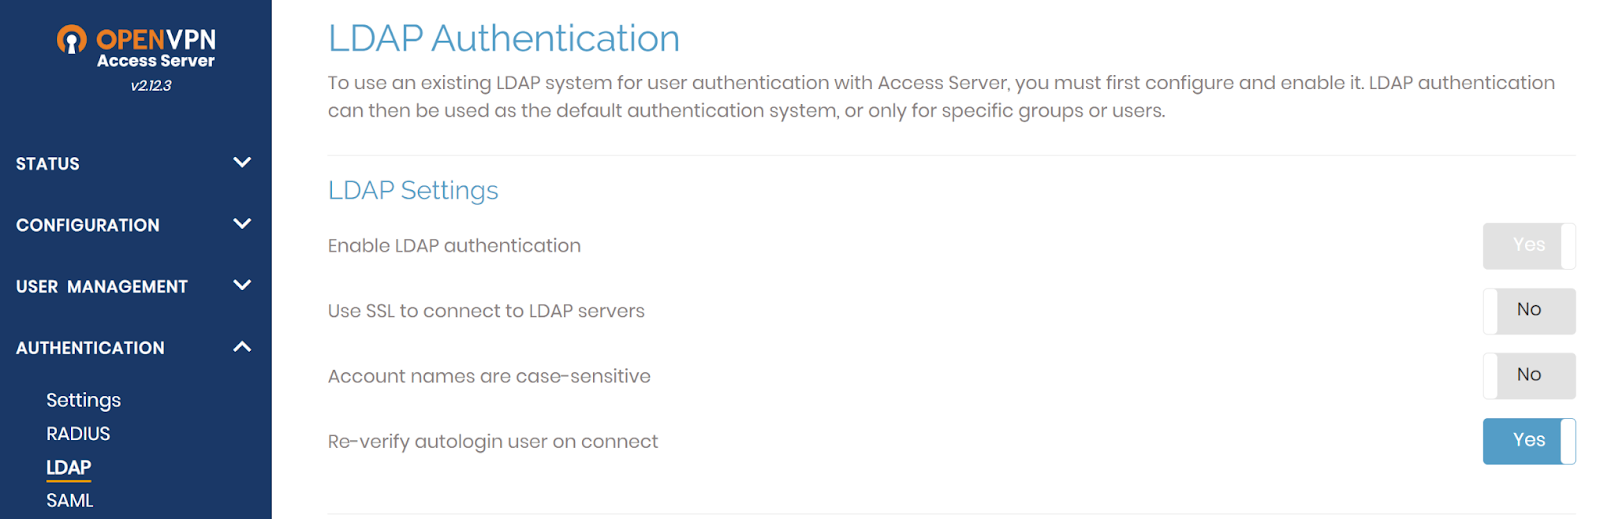
3.2 Enable and Configure LDAP
- Navigate to
Authentication → LDAP. -
Enable the LDAP Authentication toggle.
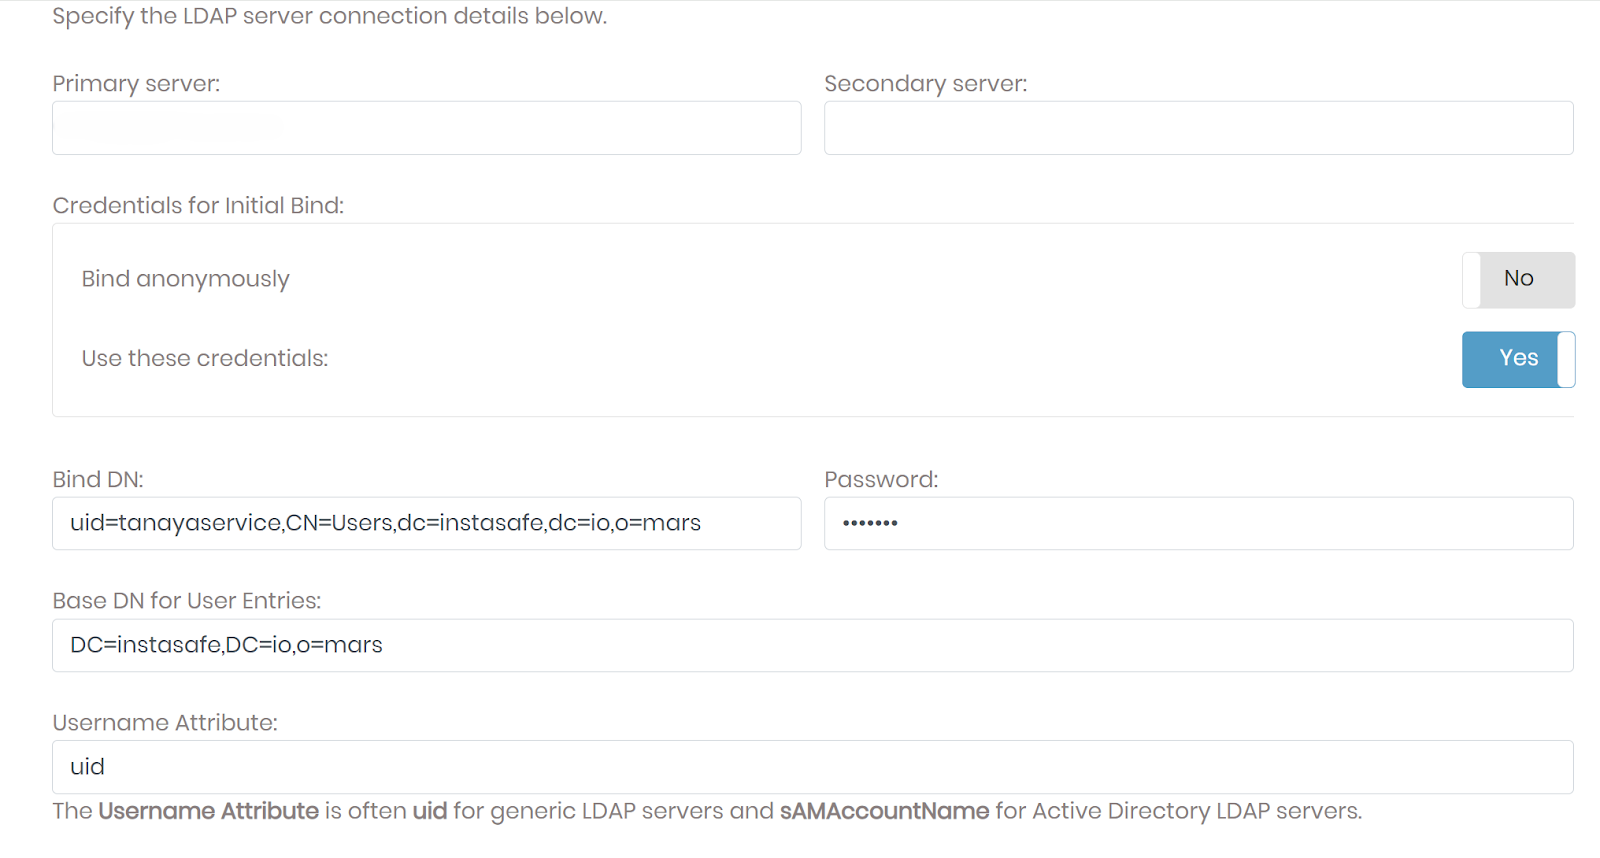
-
In the Primary Server field, enter:
<Environment IP Address>:389 - Enable the Use These Credentials option.
- Copy the Bind DN from the ZTAA LDAP Profile and paste it into the Bind DN field in OpenVPN.
-
Enter the Service Account Password in the Password field.
3.3 User Permission and Profile
- Go to
User Management → User Permissions. -
Add the ZTAA User under Username.
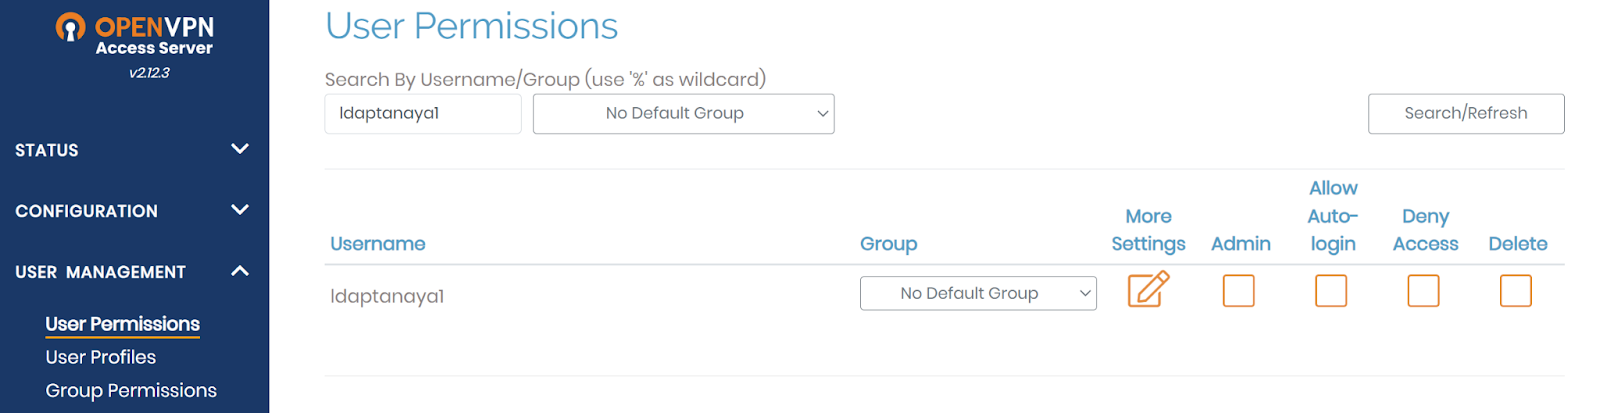
-
Navigate to User Profile, click New Profile for the user.
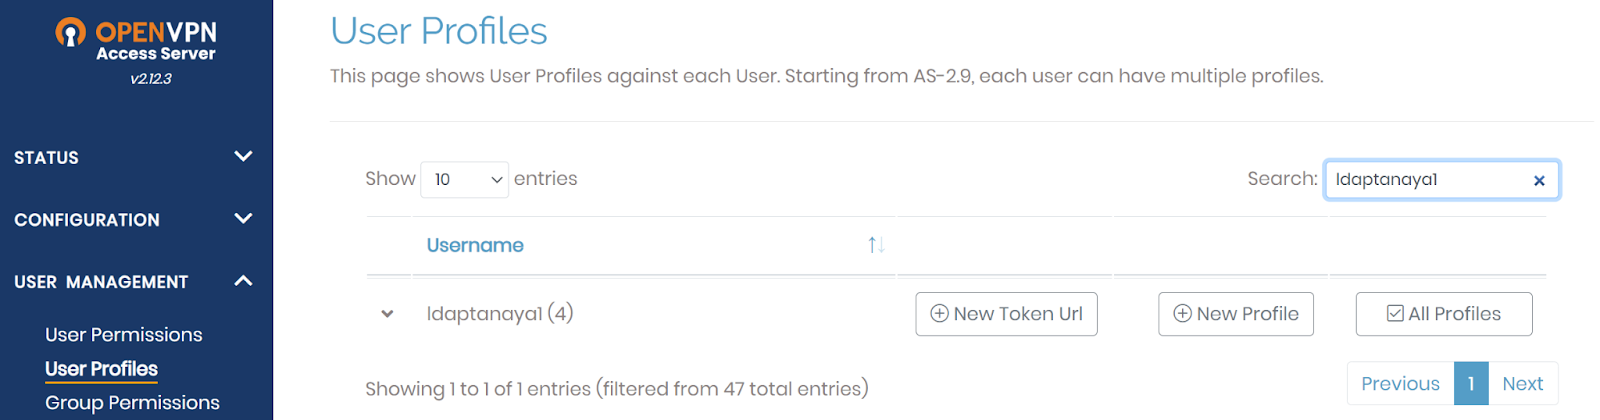
-
In the pop-up, click Create Profile to download the OpenVPN config file (
.ovpn).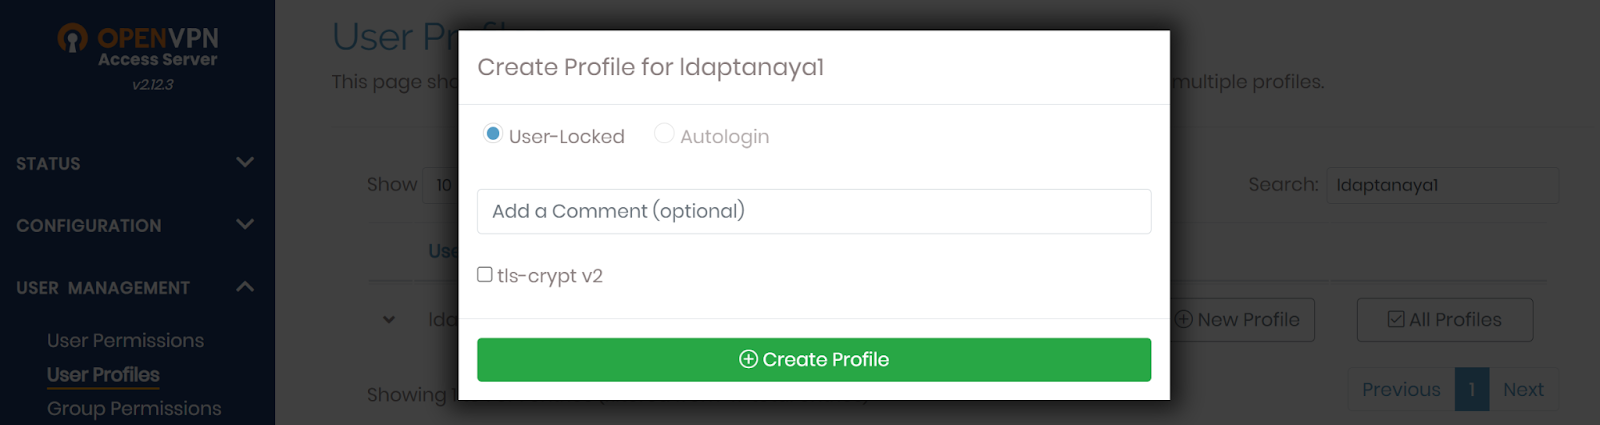
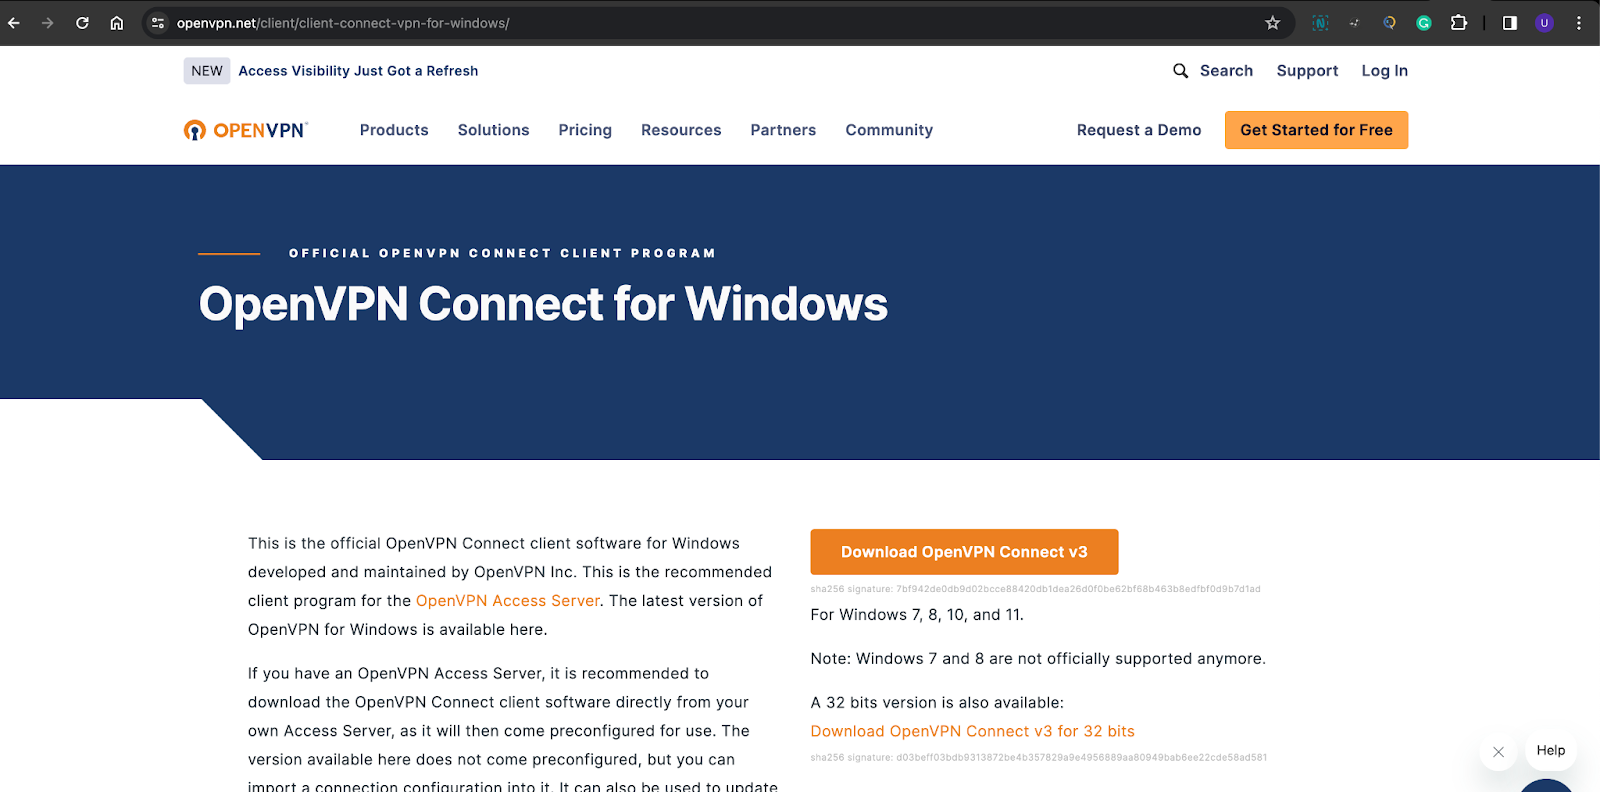
4. Configure OpenVPN Client
For Windows & Mac
-
Download and install the OpenVPN Client from the OpenVPN website.
-
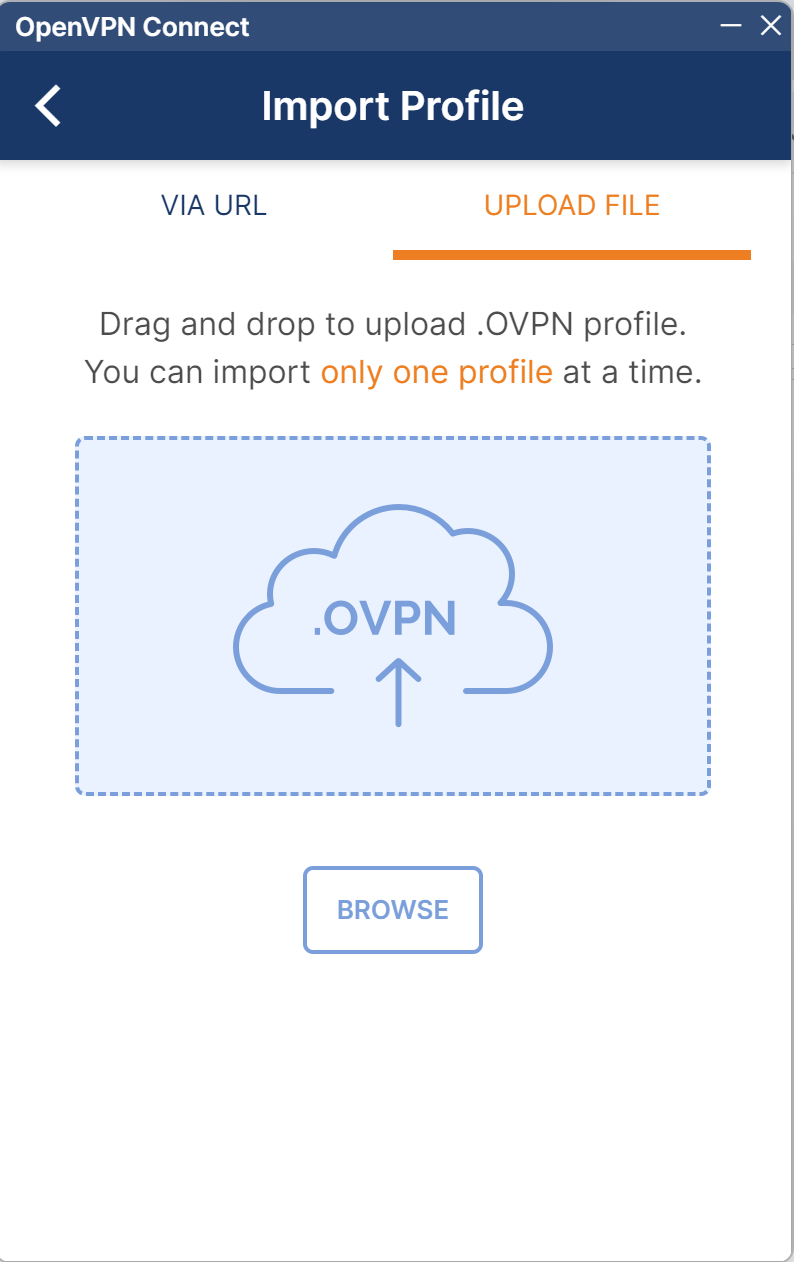
Launch the client and click the ➕ button.
-
Click Browse, select the downloaded
.ovpnprofile, and click Connect.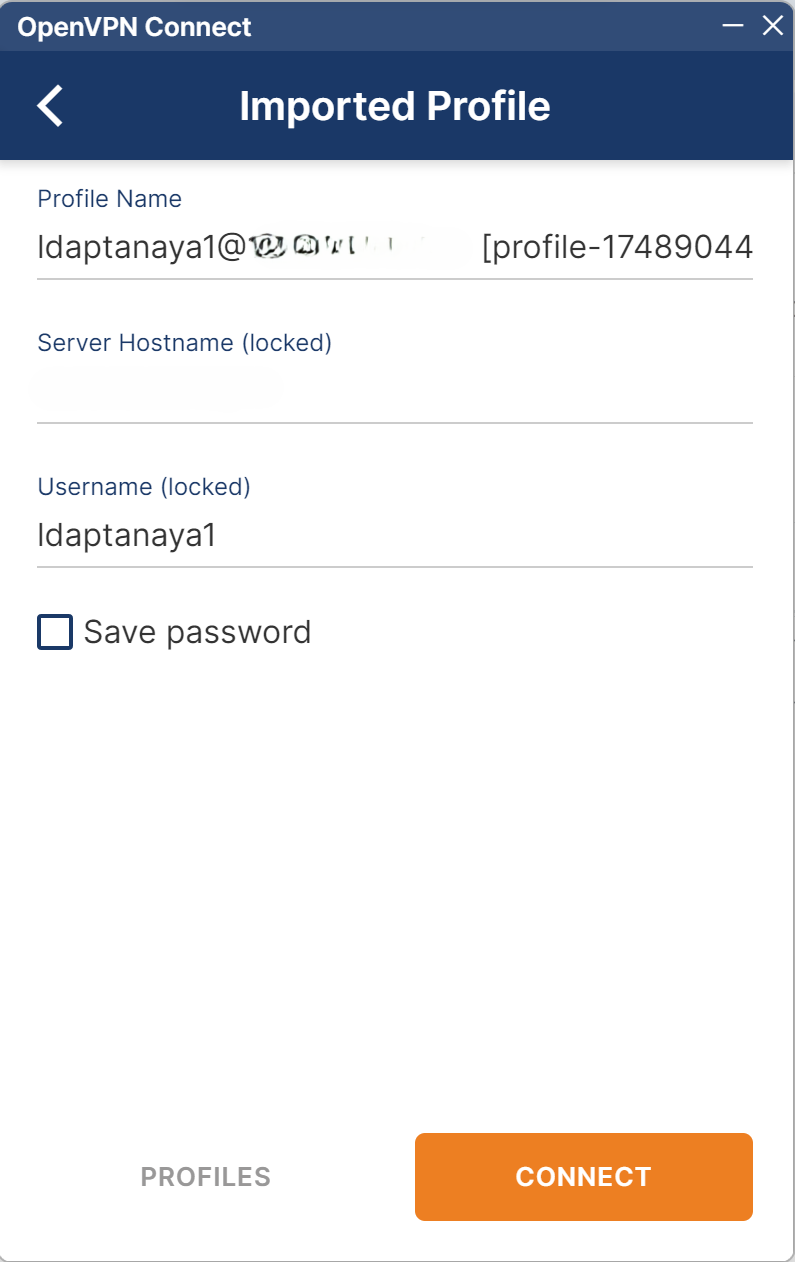
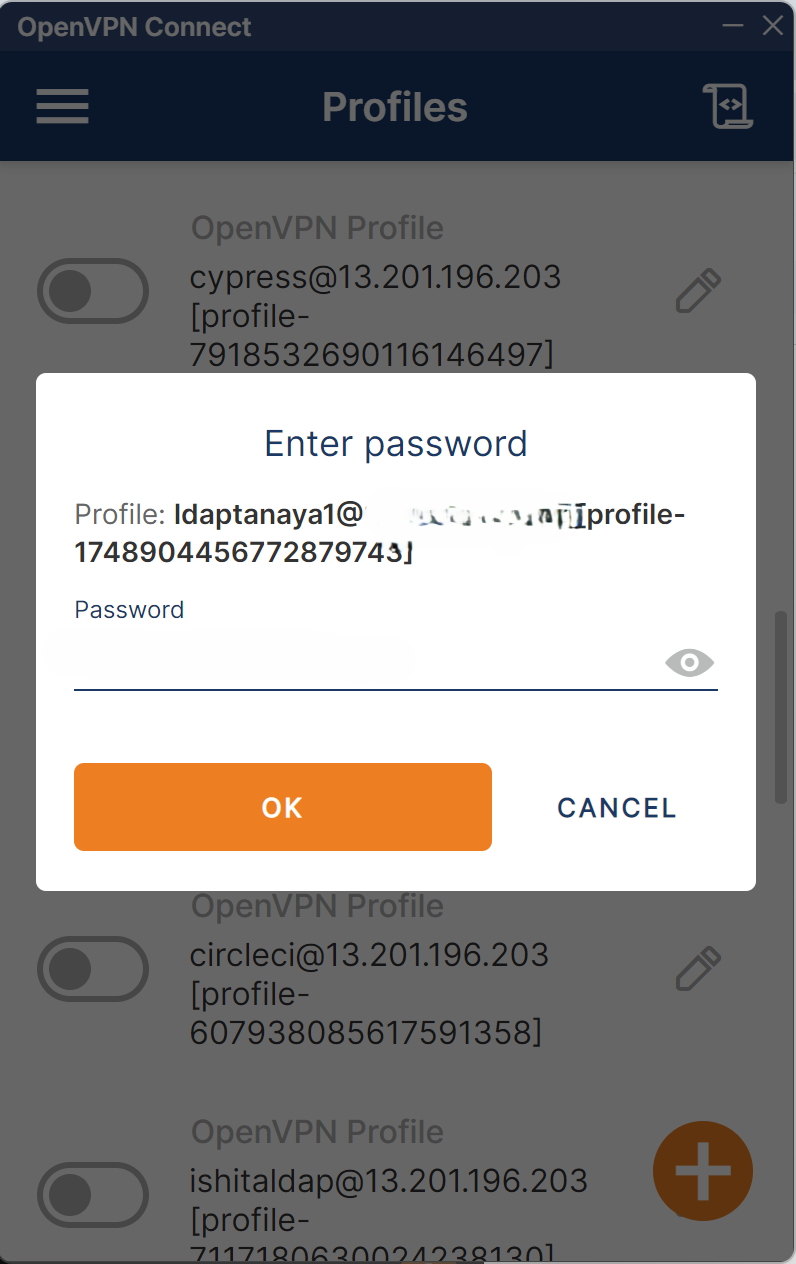
-
Enter Username, Password, and TOTP (comma-separated, e.g.,
password,123456), then click OK.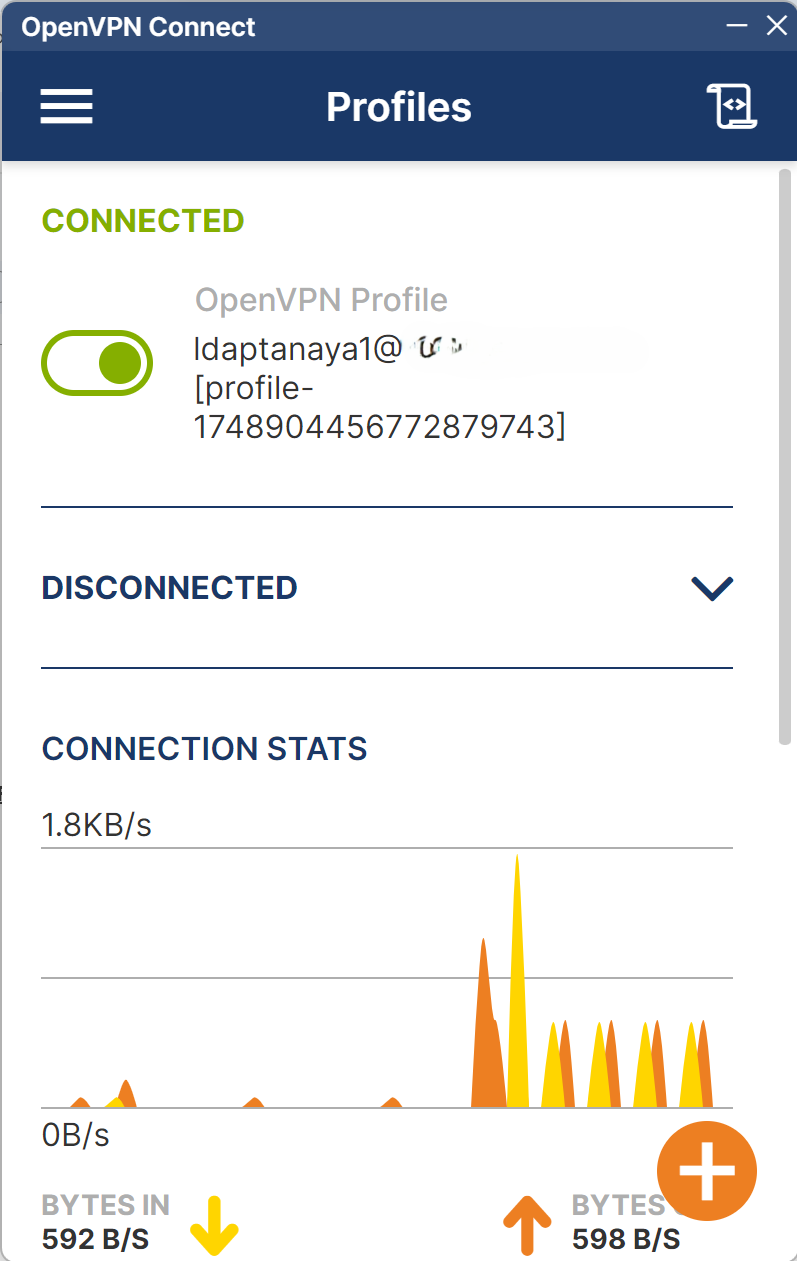
For Linux
Install and Connect
- Open Terminal in Linux OS
- Move to the File where you have saved the Open VPN File
- Run the below command
cd ~/Downloads
sudo openvpn --config
.ovpn sudo tail -f /var/log/syslog
View OpenVPN Logs
sudo tail -f /var/log/syslog